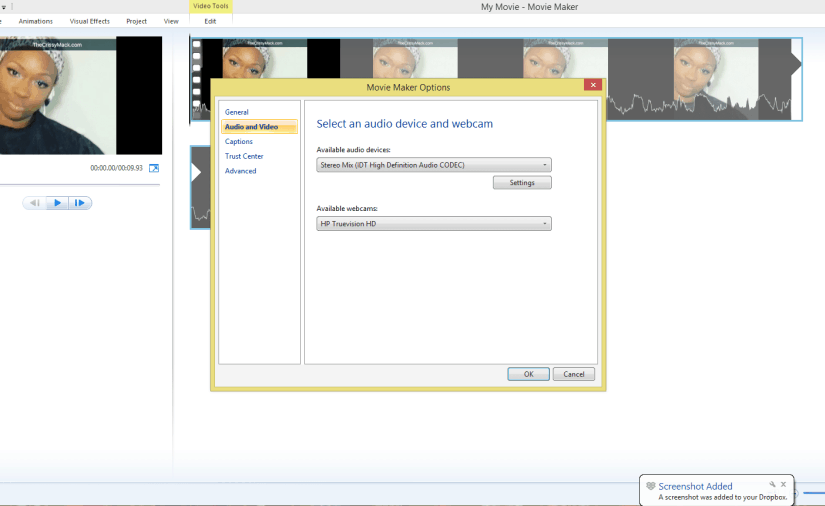
As you might already know, the Windows Movie Maker is a video editing software developed by Microsoft. It lets users create and edit videos, it also lets them publish videos created directly to OneDrive, Facebook, Vimeo, Youtube, and Flickr. The Windows Movie Maker software is very efficient in performing the task it was created for, but just like other software, there are times you experience glitches. In this article, we explore a tutorial on how to fix one of the popular glitches you might experience when using this software. Here you learn how to fix a corrupted video file om Windows Movie Maker.
There is no exact cause facilitating the corruption of videos files on the Windows Movie Maker. Corruption of these video files is caused by different things. Since there exact cause of video corruption, you would have to troubleshoot the problem using different methods, which will be listed in this article. Apart from these methods for troubleshooting video corruption on the Windows Movie Maker, there is third-party software that solves the fixes corrupted video files, with few clicks, we also explore a tutorial on how to fix corrupted video files using this third-party software. Before we dive into the tutorial proper, here is a list of potential facilitators causing Windows Movie Maker videos to get corrupt.
Potential Causes of Movie Maker videos getting corrupted
- Corruption in the hard drive
- Virus or malware
- Faulty video codecs
- Outdated video card drivers
- Use of unreliable video converter
- Media player not supporting Movie Maker video file
- Abrupt computer shutdown while saving/working on Movie Maker video
How To Fix A Corrupted Video File on Windows Movie Maker Using Remo Repair MOV Tool
As mentioned earlier, there is third-party software, that helps fix corrupted video files, with just a few simple steps. The Remo Repair MOV tool is an example of such third-party software. Here are the steps to fixing a corrupted video file using the Remo Repair MOV tool:

- Download and install Repair MOV software to your Windows machine.
- Run the Remo and follow the on-screen
- Browse and open your movie file to be repaired as well as a healthy reference file using Healthy File option.
- Click Repair option, to begin movie file repair
- After the file has been repaired, the tool shows the fixed MOV video file along with its component details. The software also allows you to preview the fixed file using “Preview Repaired File” option.
- Save Repaired Movie Maker File using the SAVE REPAIRED FILE option
Troubleshoot: Repair Windows Live Essentials
If you are unable to get access to any third-party video file fixer, you can go ahead to doing manual troubleshooting. The first thing to look out for, when troubleshooting this problem, is Windows live essentials. Corrupt file error messages can
Corrupt file’ error messages can also pop up when your Windows Movie Maker program has corrupted. To fix it repair Windows Live Essentials and then access your video file in Movie Maker to edit.
Steps to repair Windows Live Essentials:
· Press Windows + R Keys to open Run command
· Type Control Panel. Click on OK
· Under Programs, Click on Uninstall a program
· Go to Windows Live Essentials and right click on it
· Click on uninstall/change
· Select option repair all Windows Live Essentials
Repair corrupt videos with VLC Media Player
VLC Media Player can often repair corrupt or damaged video files. You can try this method to fix minor video corruptions while for severely corrupt video files seek Stellar repair software.
Upgrade Your Ram
Setting aside the already mentioned potential causes of corrupt videos, insufficient RAM may also facilitate the corrupt video error. Insufficient RAM facilitates slow computer speeds and can lead to corruption of videos. This holds sway if your videos are stored in MOV or.WMV. You are advised to consider getting a higher RAM.
Install a Codec Pack
An incompatible Codec may also lead to this error. If your media player is using an Incompatible code, the Video will not play. You are advised to install a codec pack on your PC. Here you will video formats, that will make your computer compatible with all file formats.
Update Video Drivers
Out-dated video drivers is another common facilitator of the corrupted video error. There is very high chances that the video won’t play on your computer If your drivers are outdated. So if you have tried all the steps listed above, and none of them worked. There is a high chance, that the problem is caused by outdated drivers.
Be rest assured that one of the fixes listed in this article on how to fix corrupted video file on windows movie maker, will fix the corrupted video file on your computer. All you have to do is test these fixes, one of them is the solution to your problem.


You must be logged in to post a comment.