Tag: windows 11

  • How to Backup Files on Windows 10 and Windows 11

    How to Backup Files on Windows 10 and Windows 11

    Imagine turning on your computer one day only to find your files, photos, and work are all gone. It happens more often than you think, but it’s easily preventable with the right backup plan. Windows 10 and Windows 11 offer powerful tools to back up everything you care about, whether you use an external drive or cloud storage. This guide will walk you through the easiest ways to set up your backup and secure your digital life.

    1. How to Backup Files Using File History (Windows 10 and Windows 11)

    File History automatically backs up important folders like Desktop, Documents, Pictures, and Music. It’s an easy-to-use tool that helps you quickly recover files if they get lost or corrupted.

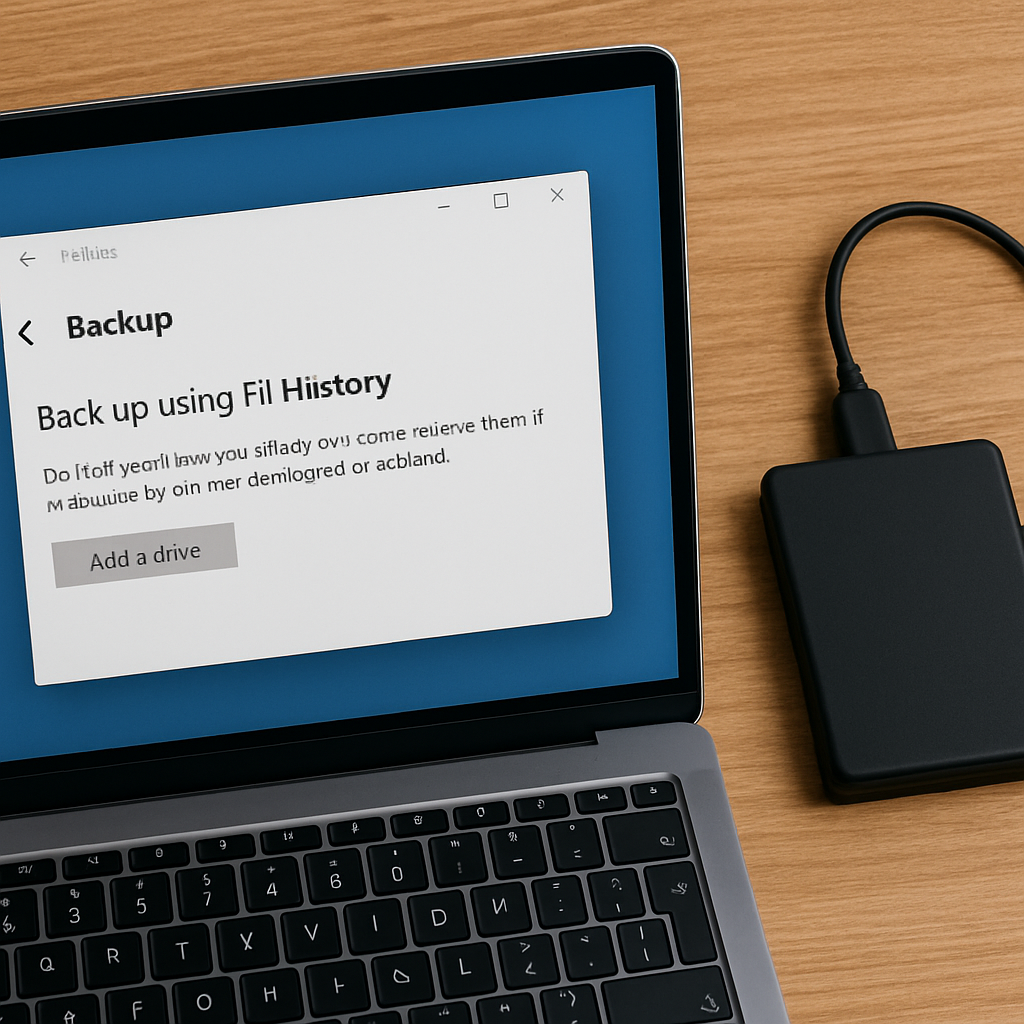
    Backup Windows 10 to External Drive

    • Step 1: Connect an external drive to your PC.
    • Step 2: Go to Settings > Update & Security > Backup.
    • Step 3: Click Add a drive and select your external drive.
    • Step 4: Turn on Automatically back up my files.
    • Step 5: Click More options to choose which folders to back up and how often.
    How to back up Windows 10 and Windows 11

    Backup Windows 11 to External Drive

    • Step 1: Connect your external drive.
    • Step 2: Open the Search bar and type File History.
    • Step 3: Select File History from the search results.
    • Step 4: Click Select drive and choose your backup drive.
    • Step 5: Turn on File History to start backing up your files.

    Note: Windows 11 limits File History to certain folders. To back up other locations, move files into the default folders.

    2. How to Use Windows Backup App

    The Windows Backup app lets you back up settings, files, and apps directly to the cloud (OneDrive). It’s a seamless option if you want to ensure your data is accessible from any device.

    How to Set Up Windows Backup

    • Step 1: Open Settings > Accounts > Windows backup.
    • Step 2: Sign in with your Microsoft account.
    • Step 3: Turn on the options for:
      • Remember my apps
      • Remember my preferences
      • Back up my files to OneDrive

    This makes switching to a new device or recovering files very easy.
    3. How to Create a Full System Image Backup (Windows 10/11)

    System Image Recovery creates a complete copy of your system, including Windows, settings, apps, and files. It’s a great way to ensure that if your system fails, you can quickly restore everything to its original state.

    Create a System Image Backup

    • Step 1: Connect an external hard drive (formatted as NTFS).
    • Step 2: Open the Control Panel.
    • Step 3: Go to Backup and Restore (Windows 7).
    • Step 4: Click Create a system image on the left.
    • Step 5: Choose your external drive or network location.
    • Step 6: Follow the prompts and click Start backup.

    Tip: You must create new system images regularly to keep your backup updated. Make sure your drive has enough space to store the image.

    4. Best Third-Party Backup Tool Option: EaseUS Todo Backup

    For users looking for more flexibility beyond the built-in Windows tools, third-party software like EaseUS Todo Backup can be considered. It offers a variety of features such as:

    • Backing up individual files, folders, entire partitions, or the full system.
    • Scheduling automatic backups based on your preferred frequency.
    • Cloning hard drives for easy migration or upgrades.
    • Saving backup copies to external drives, cloud services, or network storage (NAS).

    EaseUS Todo Backup has both free and paid versions available. Users can explore these options based on their backup needs and preferences.

    Frequently Asked Questions (FAQ)

    Q: How often should I back up my files on Windows?
    It’s recommended to set up automatic backups through File History or Windows Backup to back up your files daily or weekly, depending on your needs.

    Q: Can I back up my system to a cloud service like OneDrive?
    Yes, Windows allows you to back up important files to OneDrive using the Windows Backup app. However, a full system backup (like a system image) requires external or network storage.

    Q: What’s the difference between File History and System Image Recovery?
    File History backs up individual files and folders, allowing you to recover previous versions. System Image Recovery creates a complete snapshot of your entire system, including Windows, settings, and apps, which can be restored in case of major system failure.
  • Safe Mode for Windows 10/11: Boot PCs in 3 Easy Ways

    Safe Mode for Windows 10/11: Boot PCs in 3 Easy Ways

    Have you ever encountered a problem where your Windows PC won’t boot or crashes repeatedly?. This kind of situation can be extremely exasperating, especially if you’re in the middle of very important tasks. Fortunately, Windows 10 and 11 come with a built-in feature called “Safe Mode” that can help you troubleshoot or fix these sorts of issues. Here in this article, we’re going to cover the Safe Mode for Windows 10/11 PC booting options that put some computing magic right at your fingertips.

    What does Safe Mode do on a Computer?

    What does Safe Mode do on a Computer?

    Typically, when a PC is powered up, it loads numerous drivers that enable the computer’s operating system to interact with various hardware devices and software applications. But when a computer is booted up in Safe Mode, only a few essential drivers that the computer needs to operate are loaded. They include the mouse drivers, keyboard drivers, and display drivers.

    Device drivers or drivers as they are commonly referred to are software programs that allow the operating system to properly interact with the hardware components. Such as printers, motherboards, graphics cards, network adapters, ports, sound cards, and other external peripherals connected to the computer. Without device drivers, the operating system may not be able to adequately run these devices.

    Safe mode is a substitute way to fire up your laptop by utilizing just the necessary programs for running it. Booting into Safe Mode in Windows 10/11 is necessary when your notice that your PC’s OS constantly fails to start up or crashes and you can’t seem to identify the underlying cause. There may be a number of different reasons why this is happening. Such as viruses or malware, corrupt files, or other unidentified issues. What Safe Mode does on your computer is to enable you to recognize and rectify the issue.

    How to Boot Your PC in Safe Mode for Windows 10/11

    How to Boot Your PC in Safe Mode for Windows 10/11

    Starting a Windows PC in Safe Mode disables all unnecessary programs and drivers which might reduce some features and functionalities. Such as reduced graphics performance, the computer running slowly, or the absence of security features. A few applications may not function properly, with the computer screen resolution appearing different than usual.

    Booting your PC in Safe Mode for Windows 10/11 can be accomplished through three different methods, each of which is contingent on the computer’s existing condition. They are all relatively straightforward; via Settings, Sign-in screen, or through a Blank Screen. Although accessing Safe Mode through the blank screen is the most challenging and is normally required for PCs that have encountered very serious issues and need to be restarted numerous times.

    Here are the 3 ways to start your PC in Safe Mode in Windows 10/11:

    Start Safe Mode via Settings

    • Navigate to the Start button and select Settings
    • Select System, then Recovery
    • Click on ‘Advanced Startup’
    • A prompt will appear ‘We will reboot your device, so save your work’
    • Select the Restart Now option
    • After the reboot, select the ‘Choose an option prompt
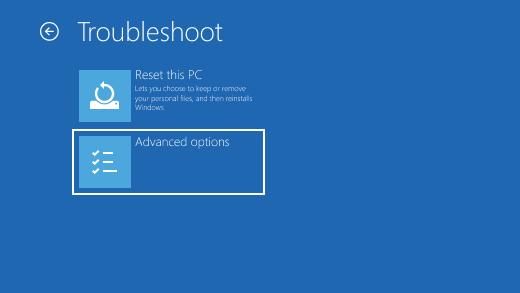
    • Click on Troubleshoot then select Advanced options
    • Once a screen with options pops up, select Startup Settings then hit the Restart button. 

    How to Start Safe Mode via Sign-in Screen

    • Locate the ‘Start’ Menu
    • Click on the Power button at the bottom right of the menu
    • Press and hold down the ‘Shift’ key
    • While holding down the Shift key, hit the Restart button
    • And wait for the computer to reboot.
    • Once it restarts, select the ‘Choose an option prompt
    • Click on Troubleshoot then select Advanced options
    • Once a screen with options pops up, select Startup Settings then hit the Restart button.

    Safe Mode for Windows 10/11 via Blank Screen

    1. Press and hold down the power button for 10 seconds to turn off your PC.
    2. Press the power button to restart.
    3. Once Windows has started, repeat the previous steps twice (press and hold for 10 secs to turn on, then restart again).
    4. After turning off and restarting the computer for the third time, the computer will restart into Automatic Repair.
    5. Select Advanced options for winRE(Windows Recovery Environment).
    6. Then select the ‘Choose an option prompt
    7. Click on Troubleshoot then select Advanced options
    8. Once a screen with options pops up, select Startup Settings then hit the Restart button.

    There you go, how to boot into safe mode in Windows 10/11 whenever your PC is having startup glitches, or constantly crashing.

  • Asus Zenbook S 13 OLED Is The PC You’ve Been Waiting For

    Asus Zenbook S 13 OLED Is The PC You’ve Been Waiting For

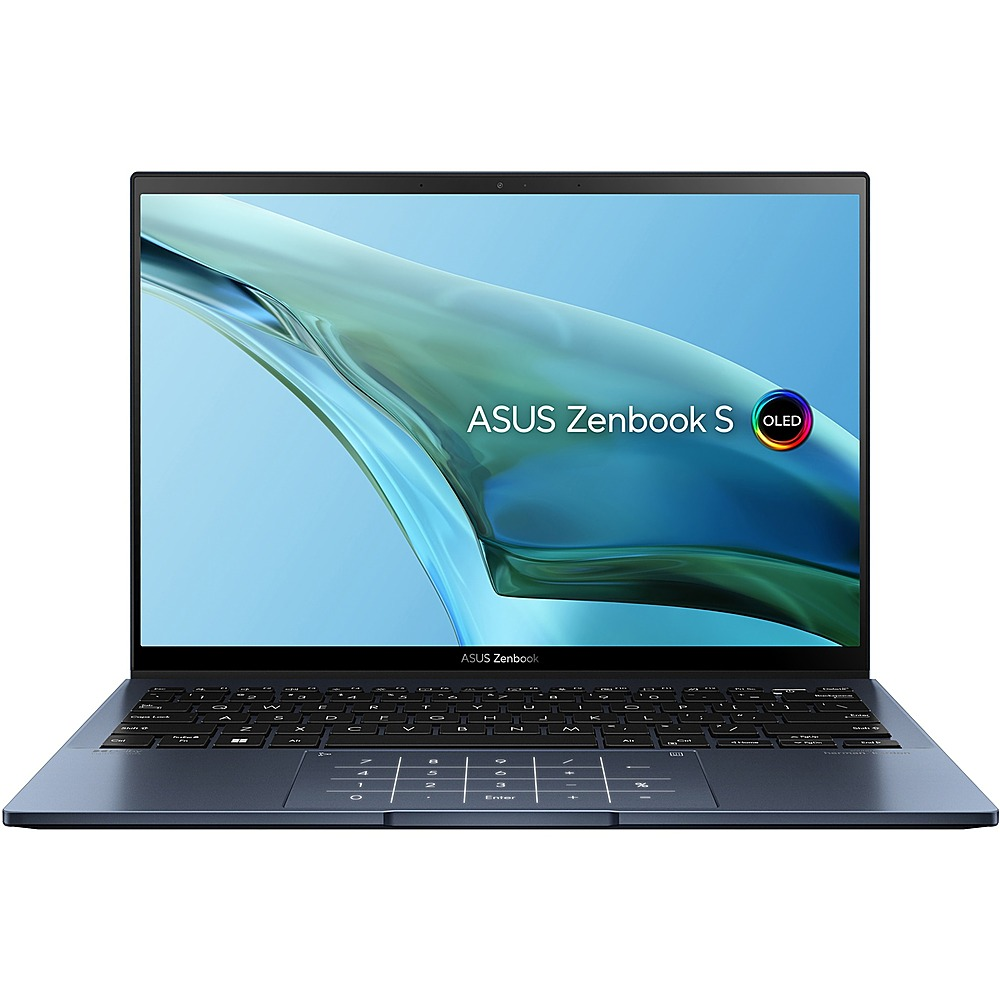
    At the start of 2022, we got wind of a high-tech ultrabook that was dubbed the “best alternative to some high-end PCs like Macbook Air M2” because of its unbelievable weightlessness. The Zenbook S 13 OLED from Asus. Approximately one year later, the good people at Asus analyzed the Asus ZenBook S 13 OLED, and apparently uncovered what we all knew but were reluctant to verbalize — the lightweight 2022 model can be made even lighter.

    Now, the Zenbook S 13 OLED is not just compared side by side with Apple’s MacBook Air, it’s competing for space at the top of the global PC market. Already one of the lightest laptops in the world, the sleek 13.3-inch OLED ultrabook sports mighty impressive features such as a 13th-generation Intel i7 processor, replacing its 2022 model’s AMD processor. It has also been redesigned with several other cool features that we’ll be delving into in this article.

    Asus ZenBook S 13 OLED Review (ZenBook S 13 Series)

    Asus Zenbook S 13 OLED Is The PC You've Been Waiting For

    Compared to its predecessor, the Asus Zenbook S 13 Ultrabook is slimmer and lighter. Although the weight is slightly more than what we see on the spec sheet. And the display specifications remain unchanged. With a 13.3-inch OLED touchscreen with a refresh rate of 60 Hz and a resolution of 2,880 x 1,800 pixels. The panel has a new ID, and the image quality remains excellent with no opalescent effect.

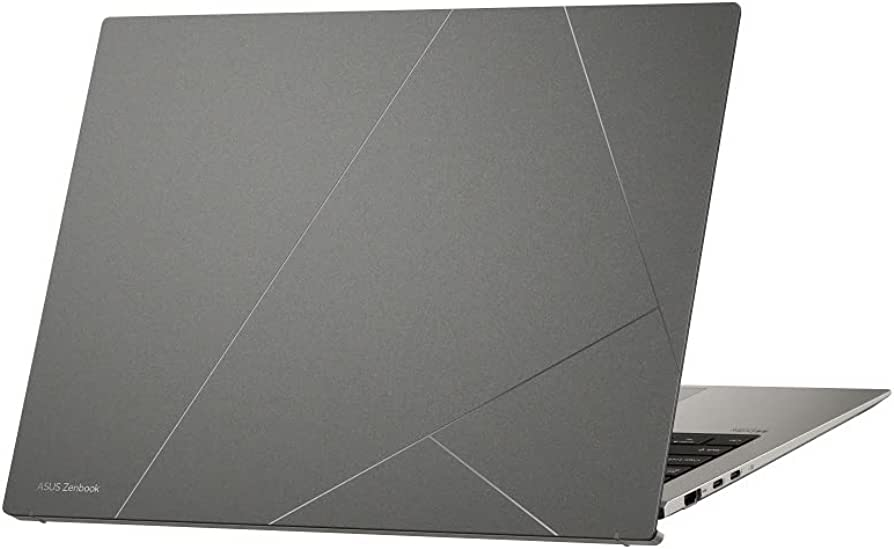
    Asus has equally introduced a new design and material for the case of their 2023 Zenbook S 13 model. Featuring an ErgoLift mechanism that rotates the panel up to meet the display, improving typing comfort for users. The sleek and elegant Zenbook S 13 case comes in two color options: Ponder Blue and Basalt Grey. The lid is made of aluminum and is coated with a layer of plasma ceramic material. This improves resistance to wear and corrosion, and the surface texture also conceals fingerprints perfectly.

    Additionally, Asus has equipped the Zenbook S 13 with a fast PCIe 4.0 SSD from Samsung, providing a storage capacity of 1 TB. The battery capacity is slightly lower than that of the old model, with a battery life of almost 14 hours. The laptop has two USB-C ports. A USB-A port, and a full-size HDMI port, which is more suitable for everyday use. The laptop uses the AZ211 WLAN module from Intel, which supports the most current Wi-Fi 6E WLAN standard and Bluetooth 5.2. The Ultrabook feels premium and is very perfect for creative users.

    Let’s breeze through the full specifications of the Asus Zenbook S 13 OLED.

    Asus ZenBook S 13 OLED UX5304 Full Specs

    Processor – Intel Core i7-1355U 10 x 1.2 – 5 GHz, 44 W PL2 / Short Burst, 17 W PL1 / Sustained, Raptor Lake-U

    Graphics adapter – Intel Iris Xe Graphics G7 96EUs, Core: 1300 MHz

    Memory – 16 GB, LPDDR5, dual-channel, onboard

    Display – 13.30 inch 16:10, 2880 x 1800 pixel 255 PPI, capacitive, SDC417B, OLED, glossy: yes, HDR, 60 Hz

    Mainboard – Intel Alder Lake-P PCH

    Storage – Samsung PM9A1 MZVL21T0HCLR, 1024 GB, 903 GB free

    Soundcard – Intel Raptor Lake-P/U/H PCH – cAVS

    Connections – 1 USB 3.0 / 3.1 Gen1, 2 USB 4.0 40 Gbps. 2 Thunderbolt, USB-C Power Delivery (PD), 1 HDMI, 2 DisplayPort, Audio Connections: 3.5 mm audio port, Brightness Sensor

    Networking – Intel Wi-Fi 6E AX211 (a/b/g/h/n = Wi-Fi 4/ac = Wi-Fi 5/ax = Wi-Fi 6/ Wi-Fi 6E 6 GHz), Bluetooth 5.2

    Size – height x width x depth (in mm): 11.8 x 296.2 x 216.3 ( = 0.46 x 11.66 x 8.52 in)

    Battery – 63 Wh, 8140 mAh Lithium-Polymer

    Operating System – Microsoft Windows 11 Home

    Camera – Webcam: 1080p
    Primary Camera: 2 MPix

    Speakers – Stereo

    Keyboard – Chiclet, 1.1 mm

    Keyboard Light – Yes

    Weight – 1.048 kg ( = 36.97 oz / 2.31 pounds)

    Power Supply – 228 g ( = 8.04 oz / 0.5 pounds)