The fact that Smart TV Boxes are the best ways to convert ordinary TVs into smart tv is unarguable. Smart TV Boxes lets offers a wide range of channels for free; they allow users to stream a lot of premium content for free. This is facilitated by their support for Add-ons. Apart from letting you stream contents, Smart TV boxes also have support for apps that run on its operating system, allow users to play games and use other nonstreaming applications on it.
Despite its usefulness, a lot of people tend to stick with their ordinary TVs. This is due to the discouraging price tags, some of these Smart TV boxes offer. In this article, we explore a list of top affordable Android smart TV box. There are listed as follows:
1. Leelbox Q2 Mini
Leelbox Q2 mini is an Android TV smart box, that makes the price tag featured on other smart boxes capable. It offers so much for so little, without cutting corners. With a price tag of $40, Leelbox offers users premium streaming experience.
The Leelbox Q2 mini is powered by a quad-core Cortex A7 processor, a Penta Core GPU, 2GB Ram, 8GB EMMC Flash storage. It features integrated Wifi and Bluetooth 4.0. The Leebox Q2 comes with Kodi preinstalled.
On default, the Leelbox Q2 Mini is set with a configuration that allows handling is streaming without stress. The Leelbox Q2 is capable of streaming high-resolution videos without buffering or lag. You are assured of hitch free streaming of content with the Leelbox Q2 mini. The Leelbox Q2 comes with a 12-month warranty, allowing users to get free repair within the first year.
2. Goodbang Doo Abox
Goodbang Doo Abox is another Android TV Box that offers so much for so little. It even has a cheaper price tag, when compared to the Leelbox Q2 mini. It lets users stream TV Shows, movies, music, and other entertaining content seamlessly — all for a price tag of $37.
The Goodbang doo Abox Android TV features an Amlogic 2GHz Quad-Core S905X processor, Mali-450 Penta core CPU, IGB RAM and 8GB of internal storage. Similar to the Leelbox Q2 mini, The Goodbang doo Abox Android TV runs onAndroid 6.0. It also comes with Kodi Pre-installed.
3. MXQ Pro 4K
The MXQ Pro offers provides users with top-notch 4k streaming, for a price tag that seems very little. The MXQ Pro can stream 4k content for long, without any form of lag or buffers. It offers all its features for a price tag of $31.
The MXQ Pro 4k is powered by Quad-Core Amlogic S905X processor, a Penta-core Mali-450 GPU, IGB Ram and 8GB of internal storage. The MXQ Pro 4k Android TV features stable Wi-Fi and also supports Ethernet. The MXQ Pro Android TV also has HDMI support and comes with support for many languages.
4. A95X TV BOX
Still, on the topic of top affordable Android TV smart box, the A95X TV box is yet another affordable Android TV smart box. With a price tag of $41, the A95X TV box fits perfectly in this list. It lets users stream 4k content seamlessly.
The A95X TV box does 4k video playback without buffering or any form of lag. It houses a 2.4GHz WiFi and Ethernet, Bluetooth. The A95X TV box has VP9 decoding and H.265 support. This allows it to run faster than most of the low-end TV Box we have today. It also supports DR Vivid world, which allows for improved video clarity, color, contrast and high definition pictures.
5. X96 Mini Android TV Box
Last but certainly not least is the X96 Mini Android TV Box. With a price tag of $26, the X96 mini Android TV box is the cheapest smart tv box in this list. Again have a meager price tag, doesn’t facilitate a denial in quality specs. The X96 Mini is the cheapest and most powerful Android smart TV Box featured in this article.
The X96 Mini Android TV box features an octa-core Amlogic S912 processor, 3GB ram, ARM-Mali T820MP3 GPU. It operates on 1000M ethernet. It houses Bluetooth 4.1, HDMI support. Supports 4k video up to 60 FPS. It comes with Kodi pre-installed and runs on Android 7.1 operating system.
There you have it – A comprehensive list of top affordable Android Smart TV box. Smart TV Boxes featured in this article, have different price tags, it is now left for you to choose the one that suits your budget. If you have other recommendations, please do let us know in the comment section below.
Viruses on Android devices may not be common, but they do exist. Spotting viruses on Android devices may be very difficult for some, but to the enlightened, it is a straightforward thing. When Your Android device is infected, Your Android device begins to malfunction. Browsing through the web, you begin to see add pop-ups, you may; It to porn sites on different occasions. These are some of the signs that a virus has infected your Android device.
Clearing viruses for Android device, you are provided two options. Its either you perform a full system wipe, or you make use of an Antivirus app, to treat the viruses. Using Antivirus apps is a more natural option. There are many Antivirus apps available in the Google PlayStore today. In this article, we explore a comprehensive list of best free antivirus applications for Android devices.
1. Kaspersky
Kaspersky is unarguably one of the best and also one of the most used Antivirus applications we have today. A lot of apparent reasons facilitates this fact. The Kaspersky Antivirus app helps users keep their Android devices safe from Malware and viruses. Kaspersky lets users can use their Android devices for Malware and Viruses free of charge. Upgrading to its premium package, Kaspersky provides real-time protection, anti-theft, anti-phishing, and an app locker. Kaspersky Also features a call filter, find my phone feature and lots more. The Kaspersky app can be downloaded from the Google Play Store.
2. Avast Mobile Security
Avast mobile security is yet another famous Antivirus app. Over the years, the Avast Mobile security app has been able to build a reputation for itself. The Avast mobile security app lets users scan their smartphone for dangerous or infected apps and trojans. Avast antivirus provides total protection against spyware and viruses.
Unlike the Kaspersky antivirus app, Avast mobile security offers all its essential feature for free. Although Avast offers its features for free, it features in-app purchases. These in-app purchases remove ads and provide users with the app lock feature, ass well sim security, camera tap and lots more. The Avast mobile security app can be downloaded from the Google Play Store.
3. Bitdefender Antivirus Free
Bitdefender Antivirus is an app designed to secure your Android devices from all malware and Antiviruses. Bitfender makes use of cloud scanning technology, to offer users top-notch security on their Android devices. Bitdefender Antivirus is one of the Antivirus apps that don’t slow down or drain your battery when functioning.
Still, on the features of Bitdefender Antivirus, it features an Integrated VPN for accessing blocked websites, features a smart unlock for unlocking apps when connected to trusted wifi, it features web protection for scanning adware, malware when browsing. The Bitdefender Antivirus app can be downloaded from the Google PlayStore.
4. Norton Security & Anti-Virus
Famous for its efficiency in detecting malware and spyware, and Viruses, Norton Security is yet another credible Antivirus app for Android devices. Apart from detecting and treating viruses, Norton security can also be used to find missing Android devices. You can use the app to trigger an alarm on the lost device remotely. You can also use this app to remotely lock the missing device, to prevent data theft.
Still, on the features of the Norton Security app, It can be used to scan wi-fi connections, allowing you to detect unsecured wi-fi connections. Norton security can be used for safe Search for flagging unsafe websites during browsing, It can also be used as a call blocker, to block spam and unwanted calls.
5. Sophos Mobile Security
Sophos Mobile security is yet another free Antivirus application that offers all the essentials for free. Sophos mobile security is one of the few free Antivirus apps that doesn’t show in-app ads. Sophos mobile security protects Android devices from malware and viruses. It features loss and theft protection, an app locker, security adviser, which gives you useful security tips, call blocker and lots more.
Still, on the features of the Sophos Mobile security app, the Mobile Sophos security app features a web filter for blocking malicious websites, it houses an app locker, wi-fi security to protect you from snooping.
6. Security Master
As its name depicts, the Security master app is an app designed to give its users optimal security of their smartphones. Security master is the upgraded version of the CM security app. The Security master app keeps your smartphone safe from malware and viruses. The free version of the app offers awesome features like app locker, scanner, message security, Wi-Fi security, junk cleaner, notification cleaner, phone booster, CPU cooler, battery saver, call blocker and lots more.
Still, on the features of this app, the Security master app lets users browse their favorite sites safely within the app. This way, you rest assured of not getting your information leaked or your location tracked. The Security master app houses a safe-connect VPN for accessing websites that are blocked in your region, Anti-theft alarm, message security for hiding notification previews and intruder selfie or capturing intruders. Similar to the already mentioned apps, the security master app can be downloaded from the Google PlayStore.
7. McAfee Mobile Security & Lock
Still, on the topic of Best Free Antivirus Application for Android Devices, McAfee is yet another highly recommended antivirus app for Android device. It is a famous antivirus app that has been able to live up to the hype.
The McAfee Mobile security app houses anti-theft features, security lock, wi-fi security, a battery optimizer, memory cleaner and lots more. Still, on the characteristics of this app, the McAfee mobile security app allows users to remote wipe of data on their smartphone, in case of theft, it also has a feature that prevents a thief from uninstalling the McAfee antivirus app from your phone.
8. DFNDR Security
DFNDR Security is one of the top antivirus apps we have today on Android, with top ratings from AV-Test institute, you rest assured of optimal security of your Android device.
The DFNDR security app provides total protection fro viruses. It also has houses anti-hacking and anti-phishing features. DFNDR security can be used to speed up internet connection by closing background apps that compete for bandwidth. The DFNDR security app is available for download from the Google play store.
9. Avira Antivirus Security
Avira Antivirus security is yet another reliable Antivirus app, that can be used to secure your Android device against spyware, malware, and Viruses. Avira Antivirus scans external storage unit and shows how each app rates on a private scale.
The Avira Antivirus security app can be used as a phone tracker, to track missing smartphones. The premium version of the Avira Antivirus security app offers camera & Mic protection, additional browser security and lots more. The Avira Antivirus security app can be downloaded from the Google PlayStore.
10. AVG Antivirus
Last but certainly not least is the AVG Antivirus app for Android. AVG Antivirus is a sturdy security app, that offers users total protection of their devices. Similar to the already mentioned apps, AVG features all the essentials needed in securing your Android device. It features periodic scan feature, Wi-Fi security, junk cleaner, ram booster, call blocker, power saver and lots more.
The AVG Antivirus app features a dual-engine antivirus for removing viruses and other malicious content; it features a performance booster, photo vault for locking photographs and lots more. AVG Antivirus can be downloaded from the Google PlayStore.
There you have it – a Comprehensive list of Best Free Antivirus Application for Android Devices. If you have other recommendations, feel free to drop them in the comment section below.
To the uninformed, ethical hacking is a criminal practice criminal minds use to tap the data of innocent people. Though it may have some truth in it, Ethical hacking has played a huge role in the world of cybersecurity today. It has helped firms fortify their security and also helped government official gain access to fortified criminal data. In this article, we explore a list of best tools for ethical hacking. These tools are listed below:
1. NMAP
Popular amongst infosec professionals, Nmap (Network Mapper) is an open source security tool that is used by infosec professionals to manage and audit network and operating system security for both local and remote hosts. Despite being more than twenty years, NMAP has constantly been updated. These updates have made NAMP remain relevant in the ethical hack business.
NMAP helps professionals Audit device security, helps detect open ports on remote hosts, helps network mapping and enumeration. NMAP helps find vulnerabilities inside any network, it helps professionals launch massive DNS queries against domains and subdomains. NMAP is supported on MAC OS X, Linux OpenBSD, and Solaris and Microsoft Windows
2. Metasploit
Metasploit is an open source cyber-security tool, that is used as a penetration testing tool to discover remote software vulnerabilities. It is also used as an exploit module development platform.
Metasploit features a framework developed using Ruby. This framework can be used to develop, test and execute exploits easily. The Metasploit framework features a set of security tools that can be used to evade detection system, run security vulnerability scans, execute remote attacks, enumerate networks and hosts. Metasploit is available on Windows, Mac OS X, and Linux
3. Burp Suit
Burp Suite is a tool used in performing security testing of web applications. It houses tools, that work in collaboration to support the entire testing process, om initial mapping and analysis of an application’s attack surface, through to finding and exploiting security vulnerabilities.
Burp suit offers an easy to use interface, giving the administrator full control to combine advanced manual techniques with automation for efficient testing. Burp settings allow for easy configuration. It houses features designed to help users with their work, assistance that aids both the beginner and the professional.
4. Wire Shark
Wire shark is yet another open-source software that can be used to analyze network traffic seamlessly. Wire Shark is popular for its ability to detect security problems in any network, as well as its effectiveness in solving general networking problems.
Wire Shark allows users to intercept and read results in human-readable format while sniffing the network. This makes it easy to identify potential problems, threats, and vulnerabilities.
Wire Shark saves analysis for offline inspection, it features a packet browser, powerful GUI, Rich VoIP analysis. Wireshark Inspects and decompresses gzip files, exports results to XML, PostScript, CSV, or plain text and lots more.
5. Open AVS
Popularly referred to as Nessus, OpenVAS is an open source network scanner that is used by professionals to detect remote vulnerabilities in any host. OpenVAS is famous for its ability to scan network vulnerability.
OpenVAS features a powerful web-based interface, over 50,000 network vulnerability tests, simultaneous multiple host scanning. OpenVAS has the ability to stop, pause and resume scan tasks. OpenVAS features a very powerful CLI available. OpenVAS is fully integrated with Nagios monitoring software.
6. IronWASP
Still, on the topic of best tools for ethical hacking, IronWASP is yet another awesome hacking tool, designed for professionals. IronWASP is a free and multi-platform tool, that makes ethical hacking fun.
IronWASP offers a very intuitive GUI, designed for both the expert and the beginner. It lets users perform full scans from a few clicks. IronWASP features web scan sequence recording, exports results into HTML and RTL format. IronWASL features false positive and negative management. It has full Python and Ruby support for its scripting engine. It is supported on Windows, Linux with Wine, and MacOS using CrossOver
7. Nikto
Niko is yet another ethical hacking tool, that is used to scan web serves. It lets users perform a different type of test against the specified remote host. It features a clean and simple command line interfaces, that makes it easy to launch any vulnerability test against your target.
Nikto detects default installation files on any OS, it also detects outdated software applications. Nikto can be used to run XSS vulnerability tests. Nikto can be used to launch dictionary-based brute force attacks. Nikto can be integrated with the Metasploit framework.
8. SQLMap
Written in python, SQLMAP is a cybersecurity tool, that helps security researchers launch SQL code injection test against remote hosts. SQLMAP can be used to test different types of SQL based vulnerabilities, helping professionals harden the security of apps and servers.
SQLMAP features a Multiple database server support: Oracle, PostgreSQL, MySQL and MSSQL, MS Access, DB2 or Informix. It has automatic code injection capabilities, password hash recognition, dictionary-based password cracking, user enumeration and lots more.
9. SQL Ninja
SQL Ninja is a vulnerability scanner, that is bundled with Kali Linux distribution. SQL Ninja is a tool used to target and exploit web apps that use MS SQL server as the backend database server.
SQL Ninja can be run in different modes. Examples of such modes include: Test mode, verbose mode, fingerprint remote database mode, brute force attack with a word list, direct shell & reverse shell, canner for outbound ports, reverse ICMP Shell and NS tunnelled shell
10. Wapiti
Last but not least, Wapiti is yet another ethical tool designed for professionals. It open-source command line based vulnerability scanner written in python. It is famous for its ability to find security flaws in many web applications.
Wapiti can be used to detect security holes like XSS attacks, SQL injections, XPath injections, XXE injections, CRLF injections, Server-Side request forgery. Wapiti has the ability to pause and resume scans, it highlights vulnerabilities found inside the terminal, generates reports and export into HTML, XML, JSON, and TXT activates and deactivates multiple attack modules, Removes parameters from certain URLs. Wapiti can be used to bypass SSL certificate verification, URL extractor from javascript, timeout configuration for large scans and lots more.
There you have it – A comprehensive list of the best tools for ethical hacking. If you have other recommendations, feel free to drop them in the comment section below. we would love to hear from you.
Developing Interfaces for websites and mobile apps requires a lot of planning and strategizing. The designer is tasked with the job of creating a standard workflow, that the developers can work with. This is where wireframes come into play.
Wireframes are visual representations of what is going to be displayed on the website or the mobile app being developed. Wireframes make UI/UX designs easy to understand. Wireframes can best be described as a map to the UI design.
Wireframe tools are essential in developing good wireframes. They make developing wireframes very easy. For beginners, most wireframe tools feature templates that make developing wireframes easy, and for the professional, they are presented with a clean slate to create their wireframes.
In this article, we explore a list of best wireframe tools for windows devices. As already mentioned, these wireframe tools make developing wireframes seamless. The list of wireframes are listed below:
1. Template Toaster
Template toaster offers a very intuitive interface, that allows UI designers to create explainable wireframes. It helps designers create awesome wireframes from scratch, using a wide range of fonts and styling options. Apart from letting you create your own wireframe tools from scratch, Template roaster features responsive mockups with the easy learning curve. Template roster houses a feature that lets you directly upload wireframes created to the server, after which you can ask the client to view. Template roaster costs $49
2. InVision
InVision is a cloud-based wireframe tool, designed to help users develop top-notch wireframes for UI/UX projects. For starters, lets users create a clickable prototype, that gives the UI design life. It lets users create Wireframes from scratch, it features drag and drops functionality, that makes moving images and sketches very easy. The InVision wireframe houses a feature that lets designers create links to their wireframes, allowing other designers to view it and share thoughts. The InVision wireframe tools have plans that range from $15 per month to $99 per month.
3. Moqups
Moqups is yet another web-based wireframe tool that designed for UI/UX designers to create top-notch wireframes for presentations. Apart from being web-based. The Moqups wireframe tool is available as an app on Windows, Android, iOS, and MAC OS. The Moqups wireframe tool houses a drag and drop feature that allows designers to move characters. It also features already made templates, plenty of styling and fonts for design, integrated stencil kits and lots more. Using this tool, you will need to pay a premium fee, that ranges from $13 to $19 per month.
4. WifreFrame.CC
Wireframe.cc provides a very clean and minimal interface for UI/UX designers to design engaging wireframes. Unlike other wireframe tools, Wireframe.cc doesn’t feature many icons or taskbar, everything is kept minimal. Wireframe.cc gives you the flexibility to draw whatever you feel like. Wireframe.cc features a great number of stencils to choose from, it also lets users create permalinks to their designs, allowing designers to share their work with other designers or clients.
5. MockPlus
Mockplus is one of the most sought after wireframe tools today. This fact is facilitated by a lot of obvious reasons. Mockplus houses feature professional UI designers seek. Mockplus lets designers create previews of their UI/UX designs. MockPlus has over 200 components and more than 3000 icons with easy drag and drop facility. Mockplus doesn’t require any knowledge of coding. All you have to do is drag and drop. As might have already guessed, MockPlus doesn’t come cheap; you are required to pay $199.
6. Axure RP
Seeking to give your client a representation of your UI work so far. Axure RP is a wireframe tool that let’s create interactive prototypes and static wireframes. It lets you illustrate your web or mobile application map. The Axure Wireframe tool is available on both Windows and MacOS. It features drag and drop functionality, lets you test prototype on mobile devices. The Axure RP wireframe tool can be used to create High fidelity results so that the end results can be tested via a realistic prototype.
7. Balsamiq Mockup
Still, on the topic of best wireframe tools for windows, Balsamiq mockup is yet another wireframing tool designed for UI designers running windows operating system. It lets UI designers create wireframes seamlessly. It provides users with the same original feeling of sketching with a pencil, only in a digital environment. The Balasmiq wireframe tool features drag and drop function, it allows users to print the prototypes and run the online user stats. The Balasmiq wireframe tool costs $89.
8. Justinmind
The JustinMind Wireframe tool is yet another awesome wireframe tool. It was designed to help designers create awesome wireframes seamlessly. The JustinMind Wireframe tool lets users create operational or Clickable mockup. The JustinMind Wireframe tool is available on Windows, MacOS, Android, and iOS platforms. It houses over 500 web and mobile widgets, over 1500 UI elements for iOS, Android and Web. The JustinMind Wireframe tool costs $19.
9. Fluid UI
Fluid UI is an open-source wireframe designer tool designed to help UI designers develop wireframes that depict his or plans for an app or website to be designed. Fluid UI is one of the few wireframe tools that make use of the latest technologies like HTML5, Javascript and CSS.
The FluidUI wireframe tool features a browser-based prototyping tool, features three paid plans, to meet the needs of a lot of UI designers. Fluid UI gives designers the freedom to test wireframes on any device
10. Proto.io
Last but not least, Proto.io is a wireframe tool that helps designers present sketches showing the pathways of the UI/UX they are currently working on. It allows designers give clients an insight into their plans.
The Proto.io wireframe tool is available on both Windows and MAC operating systems. Apart from being available on both platforms, Proto.io can also be accessed via the web. The porto.io wireframe tool features four paid plans. It provides a high fidelity interaction experience, suitable for working with complex logic and structure. It allows designers to test the prototype on mobile devices, and also make changes there. Porto.io has a massive library of UI elements. It also lets users import sketches and can be synced with Dropbox.
There you have it – The best wireframe tools for windows devices. If you have any other recommendations, feel free to drop them in the comment section below. we would love to hear from you.
Tired of using your stock text messaging app? Do you desire a better text messaging app that offers a ton of exciting features? In this article, we explore a list of top text messaging apps for Android. Text messaging apps featured in this article have been designed to be better alternatives to stock messaging apps. These text messaging apps are listed as follows:
1. Textra SMS
Looking for a third party text messaging app to replace your default messaging app, The extra SMS app may be all you need. The Textra SMS app lets you send SMS and MMS to contacts on your smartphone. It also enables you to schedule the time text messages will be sent. The Textra SMS app features GIFs, 21 text sizes, message blocker/blacklisting, pin-to-top, over 3000 Android, Twitter, Emoji One & iOS style emojis automatic video & picture compression and lots more.
The Textra SMS app has a very appealing user interface. It lets users tweak the appearance of the app to their taste. The Textra SMS app features more than 180 material design themes, bubble & app icon colors. The Textra SMS app can be set to automatically switch between dark and light modes, depending on your schedule.
2. Chomp SMS
Having over 10 million downloads, Chomp SMS is an Android app designed exclusively for sending text messages. It was intended to act as an alternative for your stock Android messaging app. It lets users send text messages as well as MMS seamlessly, in a very intuitive interface. The Chomp SMS app, allows users send scheduled text messages, messages that will be delivered on schedule. You can schedule birthday messages and lots more. Still, on the features of the Chomp text messaging app, this app features a privacy lock, privacy options, ability to stop messages while sending, SMS backup, blacklisting, text snippets, over 3000 Android, Twitter, Emoji One & iOS style emojis and lots more.
3. Evolve SMS
Evolve is yet another power text messaging app designed for Android. It provides an interface that is entirely different from stock messaging apps. It features a highly customizable interface that lets users customize the app to suit their taste. The evolve SMS app features a navigation system, that makes accessing contacts very easy.
The Evolve SMS app features a wide range of themes to choose from, a theme store, gifs, lot of emojis. Similar to the already mentioned apps, the Evolve SMS app is available for download on the Google PlayStore.
4. Handcent Next SMS
Are you tired of using your default text messaging app? The Handcent, Next SMS app, may be the app you need. The Handcent Next SMS app was designed to be a replacement default messaging apps on Android. It features a very appealing interface that meets the needs of its users.
The Handcent Next SMS app lets users send text messages, as well as MMS to contacts on their Android smartphone. This app features quick reply pop-ups, Vacards, themes, backup, restore the system and lots more. The Handcent Next SMS is available on the Google PlayStore for downloads.
5. Google Messages
Despite the fact that this article is all about alternatives to stock messaging apps, the fact that Google has one of the best messaging apps we have today is unarguable.
The Google Messages app is Google’s official messaging app. It comes pre-installed on most Android smartphones. It lets users send SMS, MMS and RCS chats, allowing you to send and receive messages over wifi or cellular data. It lets you stay in touch with your friends and family, allowing you to send text messages seamlessly without stress. The interface of the Google Messages app may not be customizable, but it features clean and intuitive designs. If your Android smartphone doesn’t come with the Google Messages app pre-installed, you download it from the Google Play Store.
6. Go SMS Pro
Still on the topic of best text messaging apps for Android, the Go SMS Pro app, is yet another awesome third-party app, designed to replace stock Android messaging apps. It hs all the essential features needed in text messaging apps. Similar to some of the already mentioned apps, the Go SMS Pro app lets you customize the interface; it also comes with themes that help users design the interface to their taste.
The Go SMS pro app features an Auto-reply feature, Spam blocking feature, scheduled message feature and lots more. This app can be downloaded from the Google PlayStore.
7. Pulse SMS
The Plusle SMS app was designed to be a very good alternative of stock messaging apps. It houses most of the features you wished you stock text messaging app featured. All these features are housed in a highly customizable interface.
The Pulse SMS app features an Unparalleled design and fluid animations, password protection for private conversations, lets you share GIfs, features a powerful searching through messages and communications, automatic message backup and restore, enables you to preview web links, backlists pesky spammers and lots more. The Pulse SMS app can be downloaded from the Google PlayStore.
8. QkSMS
The QkSMS app is an app that offers one of the most beautiful interfaces for text messaging. It was designed to be a better alternative to stock text messaging apps. It makes sending text messages more fun.
Qksms lets users send SMS and MMS via a highly customizable interface, with a wide range of in-built themes. QKSMS has dual sim support, allowing you send messages using any of the sims on your smartphone. It features a pre-contact notification, that allows you to prioritize and distinguish your messages. It also lets you backup and restores messages easily. This app can be downloaded from the Google PlayStore.
9. YAATA SMS
YAATA SMS is a third party app that continues the stock design of stock text messaging apps on Android. Using the YAATA app, you are offered a very familiar interface, with a lot of new features. The YAATA SMS app can be best described as an upgrade of your stock text messaging app.
The YAATA SMS app lets users send SMS/MMS. It has multimedia messaging support that allows users to send media files ranging from videos, Audio, Vcards, and GIFs. It also houses a group chat feature, scheduled messages, allows users to convert SMS to MMS, blacklisting and lots more. This app can be downloaded from the Google PlayStore.
10. Mood Messenger
Still, on the topic of best text messaging apps for Android, the Mood Messanger is yet another awesome text messaging app, designed to replace your stock messaging app. It is an ad-free app that offers a ton of exciting features.
The Mood messenger app lets users send and receive SMS and MMS, in a highly customizable interface. It even features a typing indicator. Mood messenger features over 100 themes, allows users to change text and font size, Animated Emojis – iOS, Android or Emoji One style emojis, animated GIf library, chat encryption and lots more. This app can an excellent from the Google PlayStore.
11. Yippeee Messenger
Yipeee lets you send and receive text messages and MMS. Similar to all the already mentioned apps, the Yipeee app was designed to replace the stock messaging app on your Android smartphone. The Yipeee features a super light and intuitive interface. Yipeee lets you customize the interface to suit your taste.
The Yipeee text messaging app lets you share pictures and audio. it features a spam box that enables you to filter spam messages from essential messages. It has a search feature that allows you easily navigate through contacts and conversations.
12. Dual SMS Messenger
Dual SMS Messanger is a super-fast and highly customizable alternative to stock text messaging app. It offers an exciting and intuitive interface to send text messages and MMS. In addition, Dual SMS Messanger lets users customize its interface, to suit their needs.
Dual SMS Messanger Lets users block unwanted messages; it houses a spam filter feature that lets users filter important messages from spam messages. This app is available on the Google Play Store for downloads
13. New Switch
Are you thinking of replacing your stock text messaging app? The New Switch app is yet another awesome app, that can replace the stock messaging app on your Android device. It features a minimal and intuitive interface that makes sending text messages fast and seamless. The New Switch app provides users with the power to customize their interface, allowing them to design the interface to their taste. It features a vast collection of themes that make customization faster. The new switch app has support RCS messaging, allowing users to send messages over wifi.
14. Messaging SMS
The Messaging SMS app is yet another app that offers an interface very similar to what we have on stock text messaging app. Using this app, you are provided a familiar interface with a lot of new and exciting features.
This app lets users send SMS and MMS seamlessly in real time. It also houses security features that let users encrypt their messages. This app is available on the Google Play Store for downloads.
15. MySMS SMS Text Messaging
Last but not least, the My SMS app, is yet another app that provides users with an exciting and intuitive interface to send text messages. It is a very good alternative to stock text messaging apps.
The My SMS app can be synced to your computer, allowing you to view text typed on any of the devices. It supports remote typing, lets users create MMS group chat, lets users send multimedia messages and lots more. This app is available on the Google Play store for download.
There you have it – The best text messaging apps for Android. If you have other recommendations, please let us know in the comment section below.
The fact that youtube doesn’t allow users to download videos is not news anymore. This has been the case for a very long time. By prohibiting download of their videos, youtube can monetize their videos. This way users can stream videos, alongside the ads that play before the actual video itself.
Putting aside the awesome streaming service youtube offers, users still desire to download youtube videos directly to their devices, for a lot of obvious reasons. Take for example you wish to start learning java off a java playlist, having to return to previous videos when you forget a particular step, can be very stressful, especially in scenarios where you have a poor internet connection. Hence the need to download youtube videos directly to your device. Downloading the java tutorial videos from youtube will make the whole revision process seamless.
Thanks to thoughtful thinking from a lot of developers around the world, downloading youtube videos has become a reality. In this article, we explore a tutorial, containing three easy ways to downloading youtube videos on your PC. These methods apply to both Windows and MAC computers. Methods are listed below.
Download Youtube videos on PC, Using 4k Video Downloader
1. Visit 4K downloader official website and download the 4k downloader software to your PC, Via this link.. 4K downloader is available on both Windows and MAC platform.
2. Install and launch 4k Video downloader on your PC:
On Windows computers, you are required to double click the setup file and then click yes when prompted. after which you are to follow the on-screen prompts
On MAC, you are also expected to double click the setup file, verify the installation if necessary, and then drag the 4k video downloader icon to the ”Applications folder”, after which you are to follow on-screen prompts.
3. Visit Youtube.com, using the browser on your PC and then navigate to the video you want to download.
4. Copy the URL of the youtube video you wish to download. On windows, you can hold Ctrl+A to copy video URL. While on MAC you are required to hold ⌘ Command+A to copy fully select the URL and then hold Ctrl+C or ⌘ Command+C to copy URL.
5. Launch 4k downloader on your PC: Normally, the 4k downloader automatically opens when you copy a youtube URL. In case it doesn’t open automatically, you are required to launch it by your self. 6. Paste Video link in 4k downloader: To paste the copied youtube video link, you are required to click the ”+” icon covered engrossed on green color. 4k Downloader will then extract the youtube address.
7. Select the video format and video quality you desire. Note: Downloading with a video quality higher than what your PC can resolve is pointless, as you won’t get the true quality of the video. If your PC maxes at 1080p, download 1080p. If your PC maxes at 4k, you can download videos with 4k resolution.
8. Click the download button, and select the folder you want to place the downloaded video.
Download Youtube videos on PC, Convert2MP3
Convert2MP3 is another platform that allows users to download youtube videos to their devices. Unlike the 4K downloader, Convert2MP3 is not an app; it can only be accessed via the website. convert2mp3.com. Steps to downloading Youtube videos on PC using the Convert2MP3 platform is given below:
1. Visit youtube.com on your PC using an internet browser and then navigate to the video you wish to download.
2. Copy the URL of the youtube video you want to download. On windows, you can hold Ctrl+A to copy video URL. While on MAC you are required to hold ⌘ Command+A to copy fully select the URL and then hold Ctrl+C or ⌘ Command+C to copy URL.
4. Paste the video URL in the box provided. To paste a video link, press either Ctrl+V (Windows) or ⌘ Command+V (Mac)
5. Select Mp3 or Mp4. If you desire to convert the video to mp3 format, to be played as audio, you should select mp3 format. If you want to play the youtube video in video format, select the mp4 format.
6. Select video quality. Convert2MP3 video quality maxes at 1080p. You are advised to download the video quality your PC can output.
7. Click the convert button on the right side of the page. The youtube address would be converted to a downloadable MP4 or MP3 file.
8. Click on download and the youtube video will start downloading.
Note: If you the video quality you chose is higher the original video quality of the video or you tried downloading a copyrighted video, the video won’t download. You will be given an error message, before the video finish processing.
Download Youtube videos on PC, VLC Player
1 Visit youtube.com on your PC using an internet browser and then navigate to the video you wish to download
2. Copy the URL of the youtube video you want to download. On windows, you can hold Ctrl+A to copy video URL. While on MAC you are required to press ⌘ Command+A to copy entirely select the URL and then holdCtrl+C or ⌘ Command+C to copy URL.
3. Open VLC player on your PC. In case you have not downloaded VLC player, you can download VLC player from this link. VLC is available on both Windows and MAC OS platform.
4. Open Aa new network stream on your VLC player. Network stream allows users to play content from your web browser in VLC. To access the network stream on your VLC player follow these steps
Windows – Click Media, and then proceed to click Open Network stream
MAC – Click file, and then continue to click open Network
5. Paste the copied URL in the box provided. Paste the video URL in the box provided. To paste a video link, press either Ctrl+V (Windows) or ⌘ Command+V (Mac)
6. Click on the play button below the video. The youtube video will open VLC
7. View codec information. To view codec information, follow these steps:
Windows — Click Tools, and then click Codec Information
MAC click the window and then click on Media Information.
8. Copy the “Location” field. At the bottom of the window, you’ll see a long address that you’ll need to copy:
For Windows — Right-click the “Location” text field, click Select All, and then right-click it again and click Copy.
For MAC — Right-click (or Control-click) the “Location” text field and click Open URL.
9. Open a new browser tab and then paste the copied URL in the URL box and click enter 10. Download the video: To download the video, you are required to the right click the video and click save the video. The video will automatically start downloading as an MP4 on your PC There you have it – a comprehensive tutorial on three ways to download youtube videos on your PC. If you have any questions, feel free to drop them in the comment section below.
In a bid to cut down cables, TVs have over the years metamorphosed into stand-alone gadgets, that feature built-in wireless internet connections, with support for a wide range of apps. A modern television with these features is referred to as a smart TV. A smart TV also let you record shows, take screenshots and access YouTube, Netflix and other movie outlets. Now, the idea of having a smart television sounds great, but having to purchase one, may not be too palatable.
Smart TVs don’t exactly come cheap. If buying a one isn’t part of your budget right now, we have good news for your. You don’t necessarily need to purchase a smart TV to be able to gain access to the features of a smart TV. There are external media players you can use to turn your digital television into a smart television. These media players are also know as TV boxes.
A TV box is a small tech gadget that basically transforms your ordinary digital TV into a smart TV. Most TV these days are already equipped with smart technology, however, these does not completely eradicate the need for a TV box. A TV box can relatively expand the capabilities of your television, turning it into a less powerful version of your computer, or a larger version of your smartphone.
If you are in country where DSTV is supported, you won’t need an additional decoder for the kids room. You can can simply connect to DSTV online via your TV box.
Converting your Digital TV (DTV) into a Smart TV
Smart TV with Netflix, YouTube and FilmBox live pre-installed
In this article, we are going to explore the various ways you can convert any Digital TV to a Smart TV using a TV box. While all of these TV boxes run via similar technology, they have different operating systems and thus, different user interfaces. For example, Apple TV runs the mobile iOS format, whereas Fire TV runs off Amazon’s operating system, instantly connecting you with Alexa. Google ChromeCast on the other hand, is powered by a simplified version of Chrome OS.
Using Media Players to Convert DTV to Smart TV
As earlier said, turning a digital TV to a smart TV, can be done using certain external media players otherwise known as TV boxes. These media players are listed below, together with tutorials on how to use them to transform your digital TV to a smart TV.
Using media players such as Apple TV, Fire or ChromeCast is one way of converting your old digital TV into a smart one. However, if these media players are far beyond your reach, there are cheaper alternatives such as using a white label Android TV box. This will be discussed much later in the article.
Note that, most Android TV box or media players require a HDMI port and a HDMI cable. If your TV set doesn’t feature a HDMI port, but instead the traditional yellow red and white port, you can use an HDMI to RCA adapter.
How to Convert any Digital TV to a Smart TV – Using Apple TV
Unarguably, Apple TV is one of the best streaming devices we have today. It is one of the top 3 streaming devices, with others being the Amazon Fire stick and the Google ChromeCast. Apple TV is the only Apple product that isn’t restricted to Apple’s ecosystem.
The TV gadget lets you stream videos, pictures, and music from your digital TV. Apple TV also enables you to buy or rent movies on iTunes. However, you cannot store media files on the Apple TV.
Step 1: Locate the HDMI port on your TV
As earlier mentioned, using a smart media player to convert your digital TV to a smart TV requires the presence of an HDMI port, and also you will need an HDMI cable. You will find HDMI ports on the body of your Digital TV. In case your digital TV doesn’t feature an HDMI port, you can use an HDMI to RCA adapter.
Step 2: Connect Apple TV to your Digital TV
In connecting the Apple TV to your digital TV, you will need to connect one end of the HDMI port to your Digital TV and the other end to your Apple TV. After you might have connected the Apple TV to your digital TV, you are required to power both of them and change your TV’s input to HDMI.
Step 3: Setup Apple TV
immediately you change your TV’s input to HDMI, the Apple TV interface will be displayed. Here you are required to select your language of choice, select a Wi-Fi network and enter a password and download any suggested updates.
Step 4: Use Apple TV as a Smart TV
Once you have completed the steps listed above, you will be presented with a drawer of apps, that include all the top-notch streaming service apps, you will able to stream content from Netflix, Hulu and lots more.
How to Convert any Digital TV to a Smart TV – Using Amazon Fire TV Stick
Amazon Fire Stick is yet another media player that lets you turn your Digital TV into a smart TV. Amazon Fire Stick takes the shape of a pen drive. It is one of those media players that isn’t obvious. Plug it to the HDMI port of your TV, and you will have access to a wide range of streaming services, streaming services that ordinarily won’t be accessed on your digital TV.
As you might have already guessed, the setup of the Amazon Fires Stick is very similar to that of the Apple TV, they both require a functioning HDMI. In case your digital TV doesn’t feature an HDMI port, you can use an HDMI-RCA adapter. Steps to converting your Digital TV using Amazon Fire Stick is listed below:
Step 1: Plug Amazon Fire Stick into HDMI Port Of Your Digital TV
Unlike the Apple TV, Amazon Fire Stick doesn’t require an HDMI cable for connection. As earlier mentioned, the Amazon Fire Stick has the shape of a pen drive. Instead of featuring a USB A or C, the Amazon Fire Stick Features an HDMI connector. So all you need to do for connectivity is plug the Amazon Fire Stick into the HDMI port of your computer.
In case the HDMI port of your TV is located on the rear, and you don’t have enough room for connection since the wall will be obstructing it, you can use an HDMI extension cable. You are required to plug one end of the HDMI cable to your Amazon Fire Stick, while other End will be plugged to your TV.
Step 2: Connect Amazon Fire Stick To A Power Outlet
Apart from featuring an HDMI connector, the Amazon Fire Stick also features a USB port. To power the Amazon Fire Stick, you are required to connect a USB power cord to it’s USB port and connect the other end to the power brick, then finally connect the Power brick to a power outlet. You are also required to place batteries in the remote of the Amazon Fire Stick.
Step 3: Switch To HDMI Input
To gain access to the Amazon TV Fire interface, you will need to switch your TV’s input to HDMI, since the Amazon Fire Stick was connected to the HDMI port of your TV.
Step 4: Setup Amazon Fire Stick
After you must have successfully connected the Amazon Fire Stick to your Digital TV, the next step is to set up the Amazon Fire service. You will be presented with the Amazon Fire interface, as soon as you switch to HDMI output. Here you are required to perform basic tasks before you can start streaming. You will be prompted to press the play/pause button at intervals, you will be required to log in to a wireless network, inputting the password. You are also required to log in your Amazon account. This will ensure This will ensure that you can view your Amazon subscriptions and purchases.
Step 5: Use Amazon Fire Stick As A Smart TV
Once you have completed the steps listed above, and Logged into your Amazon Account, you will be able to view your purchased movies, shows, and games. You will also be presented with a drawer of streaming apps, that you can use to stream content on your Digital TV
How to Convert any Digital TV to a Smart TV using Google ChromeCast
Last but not least, is Google ChromeCast. Google ChromeCast is yet another media player that can turn your Digital TV to a Smart TV. Manufactured by Google, ChromeCast is a media player, that gives you access to many streaming services. Here are the steps to using the ChromeCast to convert your Digital TV to a smart TV.
Step 1: Connect ChromeCast to your TV’s HDMI
Similar to the already mentioned media players; you will need to connect the Google ChromeCast to your digital TV. The ChromeCast comes with an HDMI connector. So all you need to do is locate the HDMI port on your digital TV and connect the ChromeCast HDMI connector. In case your TV doesn’t feature an HDMI port, you can use an HDMI-RCA adapter to connect ChromeCast to your TV
Step 2: Connect ChromeCast To A Power Outlet
ChromeCast comes with a power cable, you can use to power it. All you need to do is to connect the cable to the power port on the ChromeCast and then plug the other end to the USB port on your Digital TV. Please note that the 4k Version of the ChromeCast cannot be powered by a digital TV, you will need a wall socket for connection.
Step 3: Switch To HDMI Input
To gain access to the ChromeCast interface, you will need to switch your TV’s input to HDMI, since the ChromeCast was connected to the HDMI port of your TV.
Step 4: Download Google Home App on your Smartphone
The Google ChromeCast needs a working Google App to function. You are required to download the Google Home App on your smartphone. It is available on both the Android and IOS platform.
Step 4: Setup Google Home App
Launch the Google Home app on your smartphone, click on accept when prompted, you will be taken to the Google Home Page. Click on the devices icon, located on the top-right corner of your screen. Wait for ChromeCast to detect your phone. You will be presented with a confirmation message when ChromeCast recognizes your phone.
Next, you will need to confirm the code on your TV. Once ChromeCast detects your TV, a code will appear on your TV and also on your smartphone. Make sure both codes match. After which you are to tap Yes (iPhone), or I SEE IT (Android).
Now tap continue and then select a wireless network for your ChromeCast. Enter the password and continue. Please note that your smartphone and ChromeCast must be connected to the same network. Follow all other on-screen prompts.
Step 5: Use Your ChromeCast As a Smart TV
Upon completing the steps listed above, you will be able to stream content on your phone, directly on your digital TV. You will also be able to view apps installed on your smartphone
Reading through this article, you must have observed that converting your Digital TV to a smart TV, is a straightforward thing to do. All you have to do is select one these top media players, follow the steps given and you will be home and dry, Streaming media content on your digital TV, as though it was a Smart TV.
If you have any question, regarding this tutorial on how to convert any digital TV to a smart TV, feel free to drop them in the comment section below.
Alfawise A8 Pro Android TV Box
Apple TV, Fire or ChromeCast are the most popular TV boxes in the market. Smaller players like the Alfawise A8 pro device are not so popular but equally effective. It also come way cheaper than most TV box with the same features. The Android TV box comes with both 2.4G and 5G WiFi, provides a faster and more smooth data transmission, which makes it the ideal choice for cord-cutters.
From your A8 Pro Android TV box, you can download apps, watch local TV channels, connect to streaming apps such as Hulu and Netflix. Depending on where you live, you may even be able to connect to premium cable channels at no extra cost, especially if you have installed KODI software.
Despite the existence of laptops with built-in modems, majority of the laptops we have today rely on wi-fi connections, to gain access to the internet. Being the primary source of internet connectivity, having good wi-fi connections on laptops is very sacrosanct. Poor Wi-fi connections facilitate slow internet surfing, which is something the body wants.
In this article, we look at a tutorial on how to boost your WIFI connections on your laptop. Boosting your wifi connection will facilitate faster internet surfing. This tutorial is applicable on laptops running Windows operating systems, and laptops running MAC OS.
Reduce Distance Between Laptop and Router
Due to variance in signal strength, is a widely known fact that bringing your laptop closer to the router, it is a sure way to boosting wifi connections on your laptop. This method works flawlessly, in cases where the router has a short signal range. The closer your laptop is to the router, the better the signal.
Another way you can combat poor signals, as a result of router distance, is by making use of a mesh wifi system. This way, a mini router will be found in all rooms of your home. A mesh wifi system consists of the main router and its nodes. These nodes or satellite module feed from the signal of the main router, they conduct signals better. This way won’t have to bother about the distance of your laptop from the router.
Update Your Router Software
Updating your router software is another method you can employ to tackling poor wifi connections on your laptop. Routers feature a firmware that allows manufacturers to push an update to them, allowing manufacturers to fix bugs that may hinder the proper functioning of these routers. If you reduced the distance of your laptop from the router, and you are still experiencing poor wifi signal, the next step would be to update your router’s firmware.
Update Your Laptop Software
Still on software. After updating the firmware of your laptop, you should also consider updating the drivers of your laptop. Update the drivers that affect the wifi connectivity of your laptop. This can be done through the manufacturers’ website.
Install and External Adapter
Using an old laptop that runs slow on wifi connections? If yes, purchasing an external wifi adapter is very important. The effect of a very powerful wifi adapter won’t be felt on a laptop running an old wireless adapter.
External wifi adapters usually feature a large antenna and make use of updated technologies, designed to improve wifi signals on your outdated laptops. Using these external wifi adapters, you will need to connect them to your laptop via a functioning USB port on your laptop.
Disable the network hogs that run in the background
Another way to boost wifi connections on your laptop is to reduce the apps using the wifi connection. Having many background apps that make use if the connection will hinder hitch free surfing. You are advised to reduce these background apps to boost wifi connection on your laptop.
Check Your Transmission Power Settings
Some network adapters allow users to edit transmission settings, if the setting is available on your network adapter, you are advised to tweak the transmission settings on your network adapter. You can access this setting through the adapter’s driver interface program.
For better wifi signals, your transmission settings should be set to a maximum of 100 percent. Also, your power settings should be removed from the power saving mode.
There you have it – a comprehensive tutorial on how to boost connections on your laptop. In troubling shooting, the cause of a poor wifi signal, the tips mentioned above will be of immense help. You try each tip until the wifi signal on your laptop improves.
Installed software not designed for your laptop? Did you install a wrong driver on your laptop? Or did you mistakenly delete one of the important programs your laptop came with? Any of these will certainly affect the proper functioning of your laptop. Things like this happen to us sometimes. Events like this usually call for one thing, and that is resetting your laptop computer.
In this article, we explore a tutorial on how to reset a laptop, restoring it to factory settings. This tutorial covers procedures on how to reset laptops running windows and MAC OS back to their factory settings.
How To Reset/Restore A Laptop Running Windows Operating System Back To Factory Settings
Before you go ahead to formatting your windows laptop, please be aware that resetting your windows laptop will wipe out all your installed programs and files on your windows laptop. Using an external hard drive is a very secure way to back up your files. Once you have backup your files, you can proceed to reset your windows laptop using the steps listed below.
There is no autonomy when it comes to resetting windows laptops; there are several methods that can be employed in resetting a windows laptop. These methods are listed below.
How To Reset A windows Laptop, Using Built-In Reset Option On Windows 10
On your windows laptop, Navigate through settings > Update & Security > Recovery.
Under “Reset this PC” click on get started
You will be presented with the option to keep files, or remove everything. Select your preferred option. Keeping your files will reset your windows laptop to default, keeping your files and uninstalling your installed apps. The ” Remove Everything option,” remove resets your windows laptop, completely wiping your computer, remove all files and installed apps.
Please Note that click the ”Erase Everything” option, will provide you with another set of options to choose from. You will be asked to select between Removing everything or remove files and clean drives. Selecting the latter will securely erase your hard drive, making it impossible to do any form of recovery.
4. Once you have selected the option of your choice, you can proceed to click the reset button.
How To Reset A windows Laptop, ” Fresh Start” Option in Windows 10
As earlier mentioned, there are different ways to re-setting your windows laptop. Using the Fresh Start option is another method. Steps to be followed when using this method are listed below:
On your windows laptop, Navigate through Settings > Update & security > Recovery page
Click the link ”Learn how to start fresh with a clean installation of windows” you will find it at the bottom of the page. You will be directed to windows defender security center. Click on Get started to proceed.
Note: Using the fresh start option, your files will be retained. There no option to remove all files. Also note that using the fresh start option, the latest version of windows will be automatically be downloaded on your windows laptop. Fresh start option reinstall all bloatware and keeps some of your settings intact.
Reinstall Using A Windows Installation Media
Using Windows 7 or later, this method is for you. The methods mentioned above is available on Windows 8 and above. If you use windows 7 or lower, you can reset your windows laptop using windows installation media.
What is windows installation media? Windows installation media is an ISO file burnt into a pen drive or DVD. Windows installation media allows you re-install windows from scratch, provided you have a product key.
How To Reset/Restore A Laptop Running MAC OS Back To Factory Settings
Unlike Windows operating system, re-setting laptops running MAC OS is a lot easier. There is autonomy here, as there is only one method of getting it done. The steps are listed below:
Note: Please be aware that re-setting your MAC Book will completely wipe your hard drive, no file will be left, and all settings will be restored to default. Backup your files if need be.
Hold Down Command and R keys on your keyboard, and turn on your MAC Book. Let
both keys go, when te Apple Logo pops up
Select Langauge and click the arrow facing right to continue
Select Disk utility and continue
Select your startup disk. Startup disk is named Macintosh HD by default
Click the erase button
From the drop-down menu, Select MAC OS Extended and click erase.
click done and the exit window
Connect to wifi
Select Reinstall MacOS
Click on continue and click agree
Select boot disk and click on Install
wait for the installation to complete
Note: Your MAC Book is will restart several times during the installation. You shouldn’t be bothered, as it is normal for it to reboot.
There you have it – a comprehensive tutorial on how to reset a laptop. As you might have already observed, re-setting a laptop isn’t as difficult as most people claim, all you have to do is follow the steps listed above. If you have any question, feel free to drop them in the comment section below.
Samsung has unveiled a foldable smartphone,tablet-like display and would be able to run up to three apps at once.
The design doesn’t just stand out. It stands apart.The highly anticipated Galaxy Fold is a new foldable device that features the world’s first 7.3-inch Infinity Flex Display, which folds into a compact device with a cover display.
With the breeze of Valentine’s Day looming around, we thought it best to consider creative messages you can send to your friends, family and lover or use in Valentine’s Day cards and post-it notes.
Valentine’s Day is observed as a day for expressing love between family members, friends and romantic couples. Some traditions include leaving lollies and gifts for children and others include acts of appreciation between friends.
February 14 Valentine’s Day, also called St. Valentine’s Day or simply Val’s day, is a day when lovers, friends and families express their affection with greetings and gifts.
Many couples, friends and lovers choose to celebrate Valentine’s Day with dinner, a picnic or special home-cooked meal. Whether you love or loath it, your love ones expect some affection from you. However, you don’t always have to worry about finance when thinking about Val’s day. Heartfelt Valentine’s Day messages for friends and loved ones can make the day unique and special. Expressing how you feel about them can go a long way to put a smile on their faces.
Way back in high school, it was enough just to sign your name twenty times…and maybe tape on a heart-shaped sucker for everyone in your class. But now that you’re older and your valentine list is shorter, you can afford to take your time adding a meaningful personal message to your card or sending an amazing text message.
Now that we have your Valentine’s gift ideas sorted out, the tricky part is what to write in your message. We have offer up inspiration to help you find just the right loving words to add when you sign a valentine or send an SMS. Just click on the appropriate category below to go straight to the ideas you need, or you can read the whole guide and mix and match to create a valentine message that’s uniquely you. Once you’re settled on a message, don’t hesitate to spread the love–you can even send a personalized, handwritten Valentine post-it note. However you choose to use it, we hope our guide adds a little fun and passion to your valentine signing—truly, endlessly and 4EVER!
What to Write in a Valentine’s Day SMS or Gift Card
Select a category below to jump or scroll through the entire article for proper mix and match.
When composing a Valentine’s day message for your sweetie, it’s important to get personal and endearing. Using the recipient’s nickname (or private pet name!) can instantly make a simple wish feel warmer and more personal.
More writing tips for Valentine’s Day messages
For your significant other, you might decide to send more than one Valentine SMS or card…and write more than one personal message. If you go this route, consider giving a mix of serious, heartfelt and playful messages, delivered at different times of the day—tucked behind his toothbrush, left on the seat of her car, sent to his office, hand-delivered over a candlelit dinner…
If you’re married to your Valentine, consider including in your count all the Valentine’s Days you shared before tying the knot. Depending on how long you dated, it could make for a much bigger number than your anniversary count!
No matter what you say, use words that sound like you. If you are sincere and you are yourself, your card will be as meaningful as you want it to be.
You are the best I could ever get.
My life was empty, you filled it with love and happiness. You are the best I could ever get. I love you. Happy Valentine’s Day Bae!
Always on mind
You are always on my mind. Even the thought of losing you makes me go numb. May our love grow stronger with each passing year. Happy Valentine’s Day!
Am glad I met you
My Val, I decided to send this text message just as a reminder that you are always in my thoughts and in my heart. Didn’t take your love for granted, and every day I thank God for meeting you.
I will never stop loving you
I like you just the way you are. Nobody is perfect, but I love every single feature of yours. And if you ever change, I will never stop loving you, because your essence will still be the same for me. Happy Val day my baby!
My endless love
You are the reason of my long-lasting joy, unbound happiness, and endless love. Darling you are my life. Happy Valentine’s Day!
You gave my life a meaning
When I think that I spent so many years without you I get so mad. It was such a waste of my life. And then you came, baby. You filled my life with sense and love, and there is nothing more I could ask for. Happy Val day
The touch of your love
You are that woman who transformed my imperfections into perfections, just by the touch of your love. Love you my dearest Boo!
You made me believe in true love
It’s amazing how you’ve made me believe in true love. I used to think that it’s just a fairy tale for little girls, but now I know that it’s real. You’ve showed me, and now I understand. Thank you for everything, sweetheart. I love you so very much.
Am blessed to have you in my life
Am so blessed to have you in my life. You are the best in the world. Happy Valentines Day!
You are my everything
I love you, baby, not just on Valentine’s Day but every single day. Because you are my everything!
My Treasure
It doesn’t matter where I’m, am always yours my Darling. You are my day, you are my night! My treasure and happiness. Happy Valentine’s Day Love
You give me comfort
Darling, all I want is to stay with you for the rest of my life. You give me comfort, confidence and inspiration. I love you, happy val day my love.
I’ll choose you over and over
I choose you. And I’ll choose you over and over. Without a doubt, I’ll keep choosing you Boo. You mean the world to me
Our happiness
Every time I think about giving up, I think about you and it gives me strength. Somehow you motivate me and fill me with inspiration. The amazing feeling of love and gratitude leads me through hardships to happiness. Our happiness. Happy val day my dear
Something about you makes me go crazy over you
There is something about you… Maybe it’s the way you smile… The way you say things… The way you walk, talk, breath… Something about you… Makes me go crazy over you! Happy Valentine’s Day Sweetheart!
Nothing is more precious than our love
As time goes on, nothing is sweeter and more precious than the love I have for you. I am the luckiest woman in the world! Happy Valentine’s!
Am grateful I met you
Though I am sorry that you have had failed relationships or heartaches, I am grateful for every single girl who could not see in you what I do. I am the luckiest of them all to have found my perfect match to celebrate Valentine’s Day with and every other day.
I cherry every moment we spent together
My love every single moment that I have spent with you has been awesome. Wishing you the best for Valentine’s Day.
You are mine
I’m drawn to you in a weird sort of way. I think about you all the time. Your happy smile and sparkling eyes stay in my mind no matter what I’m doing. One thought about you is enough to fill my heart with joy. Thank you for being mine.
My world
Baby you know I love you, and you should never forget that, because you are my sun, my sky and my world… And my everything!
The love of my life
You are the only person who can make me laugh even when I feel like my life is falling apart. I appreciate that so much, baby. I feel like you are the love of my life, and I will do everything to make this last forever. Love you to the Moon and back.
Your sweet voice
My heart beats faster when you are around. My whole body trembles when I hear your sweet voice, I melt down when I see you. I’m desperately in love with you and I know that this love is real. Thank you for being mine, baby
You’re awesome
Just wanted you to know how awesome of a boyfriend you are.
My cutie
Even when you are mad, you are still cute. Happy Valentines Day my love!
Valentine’s Day Messages for Friends
When you are writing a Valentine’s day message to your buddy, don’t be afraid to go for a laugh. If your Valentine likes edgy or teasing humor, you already know it. If not, it’s almost always safe to make light of Valentine’s Day, yourself or love in general.
Friendship and forgiveness
Friendship is all about understanding. It is all about forgiving. It is all about fighting and then finding it so hard to stay angry. Happy Valentine’s day!
Unconditional love
Friendship is all about loving unconditionally. Happy Valentine’s day my friend.
I’m grateful for our friendship
Thank you for reaching out in times when I needed it most. Most of all thank you for the friendship that you gave me. Have a wonderful Valentine’s day celebration my friend. May you have a day filled with happiness and love
Friendly Greetings
Sending warm feelings to a great friend this Valentine’s Day
Listening Friend
Valentine’s day is a great day to let those you love know how special they are. I want to let you know that you are a special friend. Thanks for lending me your ears whenever I needed someone to listen to me.
Valentine’s Day Messages for Family
When writing a Valentine’s Day message to your parents, consider emphasizing certain important words in your message—with all-caps…or maybe even bubble letters.
However, if your recipient is your kid, try to be creative with drawings. Kids appreciate a good drawing—or even just a funny stick figure. Consider adding a few hearts, word balloons or other doodles around your signature.
Role model parents
Happy Val to my dearest Mom and Dad, I want to thank you for playing such a good character in my life. I love you now and forever.
To your lovely sister
Happy Valentine’s Day Sister! Wishing you a day filled with love and surprises-you deserve it! I love you a lot, always and forever.
Lovely Son
Happy Valentine’s Day, My Dear Son! There never was a more delightful son! I love you so much and am thinking of you always!
A parents’ love is unconditional
Dear Mom and Dad, I have let so many years pass without thanking you two. But you haven’t let a single second pass without loving me unconditionally. Love you both dearly. Happy Val day!
It’s easy to love you dad!
Happy Valentine’s Day Dad! It’s so easy to love you, Dad! You’re simply the best around!
You’re the best mom!
The best mother and best wife award goes to you. Thank you for taking care of us and for your unconditional love. Happy Valentines Day sweet mom!
What was your Valentine’s Day Message?
We’re really grateful for the time you took to scroll to this point. On this Valentine’s day you got a great chance to share your deepest feelings with your lover. We are also interested to know how you feel about this article.
Which of the messages did you pick?
What would you have added?
And which of the messages made your day? Please share with us on the comment section.
When you are planning to install Windows 10, Windows 8.1 or Windows 7 on a PC, one of the requirements involves creating media to boot your computer into the setup wizard. This is especially true if you are performing a fresh installation of Windows. In which case, your boot options are DVDs and USB drives.
Since most PC these days hardly come with an in-built DVD drive, your options are further limited to either using an external DVD drive or a USB flash drive.
A lot of people, including me, will favor using a USB flash drive to install Windows 10. However, if you have newer hardware, it’s likely that you’re using Unified Extensible Firmware Interface (UEFI), instead of the legacy Basic Input/Output System (BIOS). If this is the case, you also have to ensure that the bootable media supports the firmware type before you can proceed with the installation.
How is UEFI different from BIOS?
The BIOS will soon be dead: Intel has announced plans to completely replace it with UEFI on all their chipsets by 2020. But what is UEFI, and how is it different from the BIOS we’re all familiar with?
Both UEFI and BIOS are low-level software that starts when you boot your PC before booting your operating system, but UEFI is a more modern solution, supporting larger hard drives, faster boot times, more security features, and—conveniently—graphics and mouse cursors.
Fortunately, if your device features a UEFI firmware, you have multiple ways to create a USB bootable media to install Windows 10, Windows 8.1 or Windows 7. You can use the Media Creation Tool, which is an easy-to-use utility made by Microsoft that downloads and copies the installation files onto a removable drive with support UEFI and BIOS. Or you can use WinToFlash, which is a freely available third-party tool that allows you to quickly create a media with support for UEFI firmware.
In this guide, we’ll try to walk you through the steps to create a bootable USB flash drive with support for both BIOS and UEFI. First we will try without a software, this should work for Windows 10, Windows 8.1 & Windows 7. However, some BIOS may not recognize your USB flash drive as a boot media, using the Media Creation Tool or WinToFlash software will resolve this.
You can always fall back to our troubleshooting guides should you encounter any problems while creating your bootable USB flash drive.
What you need
Before you begin, make sure you have an internet connection if you don’t already have a copy of the Windows OS install in a DVD, .iso or in a folder. You should also have sufficient data storage available on a computer, USB or external drive for the download. Other requirements may include:
A copy of the Windows OS install .iso, in a folder or DVD. You can use this page to download a disc image (ISO file) that can be used to update or install Windows 10, Windows 8.1 or Windows 7. The image can also be used to create installation media using a USB flash drive or DVD. Windows software download is free on the Microsoft OS download page but you might need to purchase a license for usage.
A blank USB flash drive with at least 5GB (or 4GB for Windows 8.1 and below) free space. This drive will be formatted, so make sure it doesn’t contain any important files.
Technician PC – Windows PC that you’ll use to format the USB flash drive
Destination PC – A PC that you’ll install Windows on
Boot Windows from your USB flash drive
Having met all the requirements above, any of the three methods below will get you a bootable USB flash drive. Make sure to pay close attention and ask any questions you may have on the comment section.
One of the most important thing to watch out for is the storage capacity of your USB flash drive. Windows 10 October release will require your flash drive to have at least 5GB storage capacity.
Also, if you are using a modern PC and your device features a UEFI firmware, you will need to format your USB flash drive using FAT32 file system which has a file size limit of 4GB. The Windows image file (sources/install.wim) in Windows 10 October release exceeds this limit.
Step 1 – Format the drive and set the primary partition as active
Connect the USB flash drive to your technician PC.
Open Disk Management: Right-click on Start and choose Disk Management.
Format the partition: Right-click the USB drive partition and choose Format. Select the FAT32 file system to be able to boot either BIOS-based or UEFI-based PCs.
Set the partition as active: Right-click the USB drive partition and click Mark Partition as Active.
Step 2 – Copy Windows Setup to the USB flash drive
Use File Explorer to copy and paste the entire contents of the Windows product DVD or ISO to the USB flash drive.
Step 3 – Install Windows 10 / Windows 8.1 / Windows 7 to the new PC
Connect the USB flash drive to a new PC.
Turn on the PC and press the key that opens the boot-device selection menu for the computer, such as the Esc/F10/F12 keys. Select the option that boots the PC from the USB flash drive.
Windows Setup starts. Follow the instructions to install Windows.
Remove the USB flash drive.
How to create a Windows 10, 8 & 7 UEFI boot media using WinToFlash Software
WinToFlash creates a bootable USB with any modern Windows Desktop [PHOTO CREDIT: EBENEZER OBASI]
If for some reasons, copying Windows through file explorer didn’t work, you can use the WinToFlash tool to create an installation media with UEFI support. Of course, the Windows Media Creation Tool will equally work if your target is to install Windows 10 on a PC. However, it’s faster to use this tool if your already have a copy of the Windows OS install in a DVD, .iso or in a folder.
To create a Windows install media with support for UEFI, connect a USB flash drive with at least 5GB (or 4GB for Windows 8.1 and below) of space, and then use these steps:
Step 1 – Download & Install WinToFlash Software.
Download the free lite edition of WinToFlash from the official website. Under “Download,” click Lite edition Setup Download.
After download is complete, open your download path and double-click the Novicorp WinToFlash Lite [The Bootable USB Creator] x.x.x Setup.exe file to launch the installation wizard.
Follow the installation wizard to install WinToFlash on your PC.
Step 2 – Set Windows source and destination media
After installation, click on the Novicorp WinToFlash icon from your desktop to launch the WinToFlash tool and install Windows 10 OS and below from your USB Flash Drive.
From the application start screen, click Windows Setup Bootable USB Wizard. Select the installation source of the Windows, if you have downloaded an ISO file or loading from a folder.
Startup screen of WinToFlash tool. Select Windows Setup Bootable USB Wizard to load a single OS to your boot media.
Specify Windows source path or file. If your OS is in a CD or extracted from image to a folder, go with the first option. Select the second option if the Windows software is an ISO image or archive.
Click next to setup your Windows source and destination path.
The ‘Windows files path‘ specifies the path to the Windows installation files on your PC. This can be an ISO – archive or folder – CD path, depending on your selection on the previous screen.
Use the ‘USB drive’ drop-down to select the media you want to make bootable.
Step 3 – Wrapping things up
Click next and review all parameters. Make sure that you have chosen the right USB drive.
Ensure that you have chosen the right media to avoid wiping important files from your flash drive.
Complete settings by confirming to wipe USB flash drive and accepting WinToFlash terms (click on the images below to expand).
After completing the steps, the WinToFlash tool will create a bootable media, which you can then use to install Windows 10 on devices using UEFI.
How to create a Windows 10 UEFI boot media using Media Creation Tool
If you’re planning to upgrade or install a fresh copy of Windows 10 on a system using BIOS or UEFI, you can use the Media Creation Tool to create a compatible bootable media. Just insert a USB flash drive with at least 5GB of storage to your computer, and then use these steps:
Under “Create Windows 10 installation media,” click the Download tool now button.
Click the Save button.
Click the Open folder button.
Double-click the MediaCreationToolxxxx.exe file to launch the utility.
Click the Accept button to agree to the Microsoft terms.
Select the Create installation media (USB flash drive, DVD, or ISO file) for another PC option.
Click the Next button.
Select the correct language, architecture, and edition of Windows 10 if the default selection doesn’t reflect the desired options.
Quick Tip: Under “Architecture,” you can select the Both option to create a bootable media that will work for devices using 64-bit and 32-bit processors. Also, if you’re unable to change these settings, make sure to clear the Use the recommended options for this PC option.
Click the Next button.
Select the USB flash drive option. (If you don’t see the drive, click the Refresh drive list option.)
Click the Next button.
Select the removable drive from the list.
Click the Next button. Once you’ve completed these steps, the wizard will download the Windows 10 installation files, and it’ll create the bootable media with support for UEFI as well as legacy BIOS.
Troubleshooting Windows 10, 8 & 7 Boot Media
UEFI systems cannot boot from NTFS and instead the device needs to be formatted with FAT32 which has a 4GB maximum size. If copy fails, it’s likely that the install.wim file on the media is larger than this file size limit. The solution is to split the WIM into multiple files using DISM.
Split the Windows image
Split a Windows image (.wim) file into a set of smaller (.swm) files. Use this procedure when you’re installing Windows from media that can’t handle the Windows image file size, for example:
DVDs (A standard single-sided DVD stores 4.7GB).
USB keys formatted as FAT32. FAT32 is required to boot many modern (UEFI-based) PCs, but has a maximum file size of 4GB.
Split the file
Mount your Windows distribution ISO.
Launch Windows Command Prompt. The quickest and easiest way to do that is to type “CMD” into your Windows search box.
Right click on the resulting “Command Prompt” and “Run as Administrator”.
Copy everything except the Windows image file (sourcesinstall.wim) to the USB drive. Either drag from the mounted ISO and drop on the flash drive, or use the command below:
robocopy D: E: /s /max:3800000000
Where D: is the mounted ISO and E: is the USB flash drive.
Split the Windows image file into smaller files, and put the smaller files onto the USB drive:
C:sourcesinstall.wim is the name and the location of the image file that you want to split.
C:sourcesinstall.swm is the destination name and the location for the split .swm files. The first split .swm file is named install.swm file. The file names for the next files include numbers, for example, install2.swm file, install3.swm file, and so on.
3700 is the maximum size in MB for each of the split .swm files to be created. Kepp the size of the files below 4000 (4GB) to avoid getting the error 87 (invalid parameters) error.
Note, Windows Setup automatically installs from this file, so long as you name it install.swm.
Windows 10 comes with a lot of amazing features but not all of them are readily available. Let’s dig a little deeper and unveil new tweaks, tricks and features that will change the way you use your PC.
With it being free, and Microsoft pushing the update to users, most of you probably already have migrated to Windows 10. Its constantly evolving nature means fresh features arrive twice per year, and with all the new goodies come a legion of new tweaks and tricks—some of which unlock powerful functionality hidden to everyday users. Others simply let you mold the Windows 10 experience into the shape you see fit. Here are some of the most useful tweaks, tricks, and tips that we are able to put together.
However, you need to brace yourself as some of these may break as the operating system evolves given Microsoft’s new “Windows as a service” mentality. The idea is to keep this page updated overtime to reflect the OS’s current status.
Activate Windows 10 Night Light
If you use an iPhone, iPad or macOS system you may use the built-in blue light feature ‘Night Shift’.
The Night Light feature you’ll find in Windows 10 is pretty much Night Shift for Windows.
Night Light makes the screen warmer in the evenings as it reduces the amount of blue light emitted.
Various scientific studies show that exposure to blue light in the evening makes it harder to fall asleep because (like all artificial light) it affects the circadian rhythms that manage our body clock.
Once preserve of late-night caffeine fuelled coders and over-worked, under-fed writers, screen temperature features have since become mainstream. Google’s Android and ChromeOS operating systems have one, as do iOS and macOS from Apple, and Microsoft’s Windows 10.
Like those features, Windows 10 Night Light automatically warms the temperature of your display after sunset. This makes your laptop screen or PC monitor easier on your eyes and reduces disruption to your circadian rhythm, helping it to tick along nicely.
In the morning, your display returns to its regular settings.
Night Light is a system feature; you do not need to install a separate application like Flux to use it. This makes it very easy to automatically adjust the screen temperature in Windows 10.
Night Light for Ubuntu will automatically adjust the amount of blue light your monitor or laptop display emits based on your location and the time of day.
These features are said to help reduce eye strain by adjusting your screen’s color temperature during after-dark computing sessions. That makes it easier to fall asleep when you’re done.
To activate Night Light, head to Settings > System > Display. Once you’ve done so, open the feature’s settings to fine-tune its behavior.
Scroll any window even when they’re inactive
It used to be that Windows only allowed you to scroll active windows. Now in Windows 10, you can set an option to scroll both active and inactive windows by just hovering with the mouse cursor over a window.
This feature is not a ground-breaking Windows 10 hack or tweak but it comes quite handy when time is in essence and your need to peek through your to-do list.
Windows 10 inactive scroll feature is enabled by default, but if it’s not, go to Settings > Devices > Mouse & touchpad, and make sure to enable the Scroll inactive windows when I hover over them option.
Find the hidden images
The lock screen and logon screen have some really cool images, which as it turns out, by default both rotate AND change.
It may seems Microsoft has a CDN that updates these images based on what you click that you like or not. Want to save one or more of those images for future use? Here’s where they are hiding!
Open Explorer and browse to:
%localappdata%PackagesMicrosoft.ContentDeliveryManager_[custom string of characters]LocalStateAssets
Copy all of the files to a new directory.
Open a command prompt in that directory.
Run this command ren . *.png and [enter]
Browse through them and find the ones you like!
Make Cortana’s ears perk up
Cortana’s finally made the leap to the PC in Windows 10, assuming many of the operating system’s search functions and dishing out just as much sass as the Windows Phone version. But by default, she doesn’t listen for your commands. But by default, she doesn’t listen for your commands.
If you’d like to be able to just shout commands at your PC, launch Cortana by clicking the search field in the taskbar and select the three-lined options menu in the upper-left corner. Select Settings for the list, then simply enable the “Let Cortana respond when you say ‘Hey Cortana’” option. You’ll need an active microphone for this to work, of course.
While you’re poking around Cortana’s options, you can dive into the Notebook menu to fine-tune exactly what personal data Microsoft’s digital assistant can access. Remember, however, that like Google Now, Cortana’s effectiveness is directly related to how much she knows about you.
Enabling Cortana on the Windows lock screen lets you use voice commands to view and edit your schedule at a glance. It’s pretty handy! To turn on the feature, open Cortana and head to “Cog” icon > Settings > Use Cortana even when my device is locked.
Secret, powerful new command line tools
Windows 10 packs a slew of nifty new command line features, including—hallelujah!—the ability to copy and paste inside the command prompt with Crtl + C and Crtl + V.
To activate the goodies, open the command prompt. Right-click its title bar, then select Properties. You can find and enable the new features under the Edit Options section of the Options tab.
Bash comes to Windows
If you got all hot and bothered over the ability to use keyboard shortcuts to paste text in the Command Prompt, wait until you get a load of this.
The Windows 10 Anniversary Update added the full, legendary Bash shell to Microsoft’s operating system, thanks to a partnership with Canonical, the company that guided Ubuntu Linux’s development. And it’s running natively, without virtual machines or containers. With the right tricks, you can even use Bash to run graphic Linux applications or even the Unity desktop itself right inside Windows—though those unintended features are definitely limited. Look for Ubuntu, Fedora, and SUSE Linux entries in the Windows Store to start using Bash in Windows.
Windows 10 Audio Source Switching
Windows 10’s in-taskbar volume controls pack a niche, yet nifty touch: selectable sources. Clicking the audio device name in the volume controls summons a list of all connected audio outputs, meaning you can switch from your headphones to your speakers and back again without having to dive into the Control Panel. Yay!
The April 2018 Update added more granular audio options to the Settings app too, breaking them away from the Control Panel even further.
Activate Windows 10 Spatial Sound
That’s not the only audio trick lurking within Windows 10. Windows Sonic for Headphones offers a virtual surround sound format that can make the audio coming from your headset feel more lush and atmospheric. The effectiveness of the feature varies depending on your gear and how sensitive you are towards audio cues.
To activate Windows Sonic, right-click the speaker/audio icon in the system tray on the right side of your task bar, then select Spatial sound (none). In the window that opens, click the drop-down menu and select Windows Sonic for Headphones. Click , then OK, and you’re done!
Windows Timeline
Timeline helps you pick up where you left off. Clicking the Task View button in the taskbar or pressing Windows Key + Tab summons the feature, which displays a—you guessed it—time line of your activity in supported apps, stretching back over the past. Even more handily, Microsoft lets you group related apps together into “Activities” in Timeline, so that when you open that week-old budget document, for example, the presentations and websites you referenced at the time can be easily summoned as well. This even syncs across devices, so it could be especially useful if you use multiple PCs.
The fly in the ointment: Only a limited number of apps work with Timeline currently, though Microsoft offers tools for developers to bake in support. That includes Office, Adobe’s Creative Cloud, and native Windows 10 apps like News and Maps, but Microsoft Edge is the only compatible browser. Bummer. You can deactivate Timeline by heading to Settings > Privacy > Activity History.
Cloud clipboard
Windows 10’s copy and paste functionality has been hit and miss for years, but now you can deploy that bugginess across multiple PCs with cloud clipboard—a genuinely useful feature introduced in the October 2018 Update. Head to Start > Settings > System > Clipboard and enable “Sync across devices” to start copying data on one PC and pasting it on another PC.
While you’re in this menu, enabling “Clipboard history” lets you save multiple items to the clipboard so you can use them again later. Nifty stuff.
Your Phone
Want to tie your phone and PC closer together? Download Microsoft’s Your Phone companion app for Android, and link it to your PC using the new Your Phone app from the Microsoft Store.
Your Phone lets you open, view, copy, and share photos that you took on your phone, as well as send and reply to texts right on your PC. There’s an iOS version as well, but it’s much, much more limited.
Snip & Sketch
The firmly entrenched Snipping Tool within Windows is finally getting replaced and upgraded. The October 2018 Update added Snip & Sketch, a new tool that lets you select a portion of the screen to copy when you press Windows + Shift + S. After doing so, the selected screenshot will be copied to your clipboard, so you can paste it into any image editing software—including the standalone Snip & Sketch app, which lets you annotate and share your marked-up images.
Near Share
Near Share makes it easy to share files and URLs with local PCs over the air, negating the need for flash drives or chat apps to pass something along. If you open the Share interface in Microsoft Edge or File Explorer, you’ll see PCs with Nearby Sharing enabled appear as an option if you have the April 2018 Update installed. Recipients receive a pop-up notification when something is sent. Think of it as an alternative to Apple’s Airdrop, albeit one without any mobile support.
To use Near Share, your computer needs both Bluetooth and Wi-Fi working, and you’ll have to enable the Nearby Sharing option in Settings before you can start using it. Transfer speeds were pretty slow and Bluetooth-like in our tests, so you may still want to resort to alternative means to pass especially large files around. Microsoft says the feature automatically chooses to use Wi-Fi or Bluetooth depending on what’s available, and what’s faster.
Ransomware protection
Ransomware is a growing problem. It infects PCs, encrypts your files, and holds everything hostage until you pay a ransom—hence the name. The best defense against ransomware is frequent backups and strong security software, but Windows 10 now includes basic protection right in your operating system.
Controlled Folder Access “protects your files and folders from unauthorized changes by unfriendly applications.” Your Documents, Pictures, Movies, and Desktop folders are protected by default, though you can block other folders manually or whitelist trusted software to access your locked-down info. You can tweak Controlled Folder Access by opening the Windows Security app (formerly Windows Defender), heading to the Virus & threat protection tab, and clicking the “Manage ransomware protection” link at the bottom.
Dark theme
If you love dark themes, you love dark themes. Light themes sear your eyeballs. Fortunately, Windows 10 now supports a dark theme.
Head to Start > Settings > Personalization > Color and select the “dark” option under “Choose your default app mode.” The Windows 10 October 2018 Update extended the dark theme to include File Explorer, too. Enjoy!
Enable Windows 10 Dynamic Lock
Say goodbye to Windows + L. Dynamic Lock is a handy feature that pairs your PC with your phone over Bluetooth, then automatically locks your computer when you wander away from it.
To start using it, marry the two devices in Control Panel > Hardware and Sound > Devices and Printers, then activate Dynamic Lock at Settings > Account > Sign-in options.
Game Bar
If you’re into playing around on your PC, Windows 10’s Game Bar—summoned by pressing Windows + G in-game—holds all sorts of nifty extras. It’s always been able to take screenshots or videos of gameplay clips, but as of the Windows 10 Creators Update, the Game Bar also offers easy-peasy Beam game streaming and the intriguing Game Mode, which can improve performance on resource-limited systems. The October 2018 Update overhauled the interface yet again, adding inline volume controls.
The Game Bar’s handy even if you don’t actually play, as it can be used to record video of any app—not just games. Windows 10 also has a dedicated Gaming section in its Start menu Settings to let you tinker with options, including Xbox networking and parental controls.
Per-app GPU management
The Windows 10 April 2018 Update added the ability to tell Windows which graphics hardware—discrete or integrated—to use when you open specific apps. It sounds niche, but the feature could prove pretty helpful if you’ve got a gaming laptop and want it to last longer.
By default, booting up a game switches over to discrete graphics, which use a lot more energy than the graphics cores integrated in Intel chips and AMD Ryzen APUs. But a lot of indie and retro games play just fine on integrated graphics. With Windows 10’s per-app GPU management, you can manually tell the system to stick to the more power-efficient option for games that don’t need the extra oomph.
Go to Settings > Display, then click the Graphics settings link at the very bottom of the page to start tinkering.
OneDrive Files on Demand
It’s back, huzzah! OneDrive Files on Demand resurrects Windows 8.1’s “placeholder” feature for the cloud storage service baked into Windows 10. OneDrive Files on Demand shows all of the files you have stored in OneDrive in a folder on your PC, but they’re just pointers synced with the cloud—not actually files installed on your PC. Unless you want them to be. You can select which files and folders to make available locally.
Storage Sense
Over time, your PC can quietly fill with needless junk without your even realizing it, as the Recycle Bin and temporary files suck up your storage. Storage Sense helps combat the creep. Head to Settings > System > Storage and enable the Storage Sense option to have Windows start automatically clearing out unneeded temporary files, and deleting any files in your Recycle Bin over 30 days old. You can tweak those options using the Change how we free up space link underneath the option.
The October 2018 Update added the ability to have Storage Sense send long-untouched files from anywhere on your computer to your OneDrive cloud storage, freeing up space on your hard drive. It could be a useful addition if you’re close to filling up your local storage, but keep an eye on your available OneDrive space—cloud storage isn’t free. Fortunately, the feature includes granular controls.
Mixed Reality
The Fall Creators Update added “Mixed Reality” to Windows 10. The most obvious use for it is in the legion of new Windows Mixed Reality headsets, but you can check out the benefits even if you don’t have one of those. The Mixed Reality Viewer app lets you drag digital 3D objects you’ve created in the Paint 3D app into the real world, using the combined might of your device’s camera and display. It’s not really augmented reality since you can’t interact with the objects, but it’s closer to “Mixed Reality” than the headsets are.
Somewhat related, the nifty Story Remix tool in the Photos app lets you add fantastic 3D animations to videos you’ve captured, among many other talents. It’s pretty sweet!
Start menu folders
What’s old is new again: You can create basic Start menu folders in Windows 10, organizing Live Tiles into clusters. Simply drag your Start menu apps on top of each other to create folders that expand when clicked on. As of the October 2018 Update, you can now name the folders you create, but you have to expand it open to see the option.
Troubleshooting, troubleshot
The Windows 10 Creators Update added a helpful touch for distressed PC users. The operating system’s consolidated all of its troubleshooting tools in a single location: Home > Update & Security > Troubleshoot. If you run into trouble, run there first.
Turn off File Explorer’s Quick Access view
When you open File Explorer in Windows 10, it defaults to a new Quick Access view that shows your most frequently accessed folders and recently viewed files. I love it, personally, but if you’d rather File Explorer defaulted to the “This PC” view found in Windows 8, here’s how.
Open File Explorer, then select View > Options from the Ribbon. A Folder Options window will open. Click the “Open File Explorer” drop-down menu at top, then select the “This PC” option. Click OK and you’re done!
Manage notifications
Windows 10’s Action Center houses and manages the notifications spawned by your system’s various apps. You might not want every Windows Store app you install barking at you all the time, however, or maybe you don’t want to see any notifications while you’re in presentation mode. You might just want to silent the annoying ads that the Get Office app spawns. Fortunately, those are easy to tweak.
To tinker with you your notification settings, head to Start menu > Settings > Systems > Notifications and actions. Individual Windows Store apps, like the Mail app, tend to have more granular notification options in the Settings menus inside the apps themselves.
Schedule your restarts
This is wonderful. If you’ve got pending updates that require you to reboot your PC, Windows 10 will allow you to schedule a specific time for it to do so. Finally!
Open the Settings option in the Start menu, then head to Updates and Recovery > Windows Update > Restart options to see the scheduling screen above.
Get Windows updates from other sources
But the Windows Update upgrades don’t end there. Windows 10 introduces a new option that lets you download updates using peer-to-peer technology, rather than Microsoft directly. It could help you get that hot security patch faster when everybody’s hammering Microsoft’s dedicated servers, or save you bandwidth in a computer-crowded house—just download the new patch once from Microsoft, then share it among the PCs under your care.
To tinker with the setting, head to Start > Settings > Update & Recovery > Delivery Optimization. By default, “Get updates from more than one place” is enabled and configured to grab updates from PCs on both your local network and the Internet at large. If you don’t like the idea of your PC using your bandwidth to share Windows Updates with strangers, be sure to disable it. If you leave it active, the “Advanced options” link lets you fine-tune how Windows uses your network to download and share updates, as you can see above.
Seize control of Windows Updates
While the ability to schedule installation times for updates is very welcome indeed, not everyone is happy about the way Windows 10 handles patches—specifically, that you can’t refuse them. Windows 10 Pro users—but not Windows 10 Home users—can delay downloading updates for some time, but eventually, Microsoft will force them on you.
There are some actions you can take to exert control over your Windows Update experience, however. Most notably, if you’re using Wi-Fi for connectivity, you can set Windows 10’s Wi-Fi connections as metered to download updates when you’d like to, rather than when Microsoft wants you to. The Active Hours feature lets you tell Windows specific times not to install updates. And if you ever encounter a borked update that refuses to play nice with your PC, Microsoft’s released a tool that allows you to choose individual updates so they won’t be downloaded again.
Those workarounds aren’t a replacement for being able to manually choose the Windows Update you’d like to install, but they should help ease the sting a little, at least.
Fresh keyboard shortcuts!
Windows 10 packs a handful of fresh keyboard shortcuts, all tied to newfound abilities inside the revamped operating system. There are many more than we can list here, so head over to our guide to Windows 10’s keyboard shortcuts to learn all about them. If you really want to get fancy, augment those hotkeys with Windows 10’s new touchpad gestures for true shortcut mastery.
Declutter your taskbar
Two of Windows 10’s standout features are its Cortana search integration and newly added virtual desktop support—but they claim a sizeable chunk of your taskbar. If you don’t care about either (or don’t mind using Windows key + Tab to leap through virtual desktops) you can reclaim that onscreen real estate.
Everything starts by right-clicking an empty section of your taskbar. Select Cortana, and choose to Show Cortana icon only. You can also remove the Cortana and Task View buttons from the same Taskbar menu.
Thank You!
We feel the need to thank you following through with this long episode of top 30 Windows 10 trick, tips and tweaks. The article doesn’t stop here; share your ideas with us on the comment section.
You don’t want anyone to know what videos you are uploading, watching, liking, commenting on or any of your activity from YouTube to show on your Google+ page or stream.
The good news is, there
is an update concerning that, YouTube will no longer automatically post your activity
(uploads, liked videos and so on) on twitter and Google+,
In an email sent “After January 31st, the ability to automatically post YouTube activity
(uploads, liked videos, etc.) on Twitter and Google+ will no longer be
available. We’ve found that sharing these actions with a custom message
(instead of through automatically generated posts) provides a better experience
for the sharer and their followers on other social networks.”
The email went ahead to say that “You can continue to easily share videos to your
social network” by using the Share button on a video’s
watch page.”
Drone X pro is a new type of drone made so that anyone can fly it. It is perfect for making the ultimate selfies. It can live stream and record video clips on your phone.
The main advantages of Drone X PRO are its portability (It will fit into every pocket or a backpack), ease of use, HD camera and price, which goes for $99. It Create videos from different angles and impress you with the coolest selfies.
How Drone X Pro Works
To operate drone X pro, first, you will need to install an app. Once you have done that, just plug in the battery. You will power it on and then do a one-button touch in order to get it to take off. Then, you will use a two-joystick remote control to guide the craft.
Drone X Pro
The Drone X Pro app will be use to view the camera
footage the drone is taking as it flies. There is a pair of buttons on the
remote control that provides auto take-off and auto-landing.
The drone X pro site says it can fly “at a speed of 12
metres per second with a top transmission distance of 2km.” And can “fly and film for up to 12 minutes, without having to touch the
ground or change batteries”
It
also has Sensors that detect the ground and other obstacles and change the
flying course automatically to avoid collision
The drone’s camera has a frame-per-second rate of 120. A
frame rate of this speed allows you to turn your videos into slow-motion videos
while maintaining quality.
In this era of mobile and internet devices, there is always something to charge and having that extra USB charging port everywhere you go can make such a massive difference. This is why Kingsons—making digital laptop bags with USB charging port—and Gjemeni has taken to put those vital utilities exactly where you need them.
I mean, what better way to charge your device than the comfort of your couch while watching a TV show and replying your WhatsApp messages?
Gjemeni offers decidedly tech-forward furniture that comes in a single box and can be assembled by anyone in a few minute. It is simple, stylish and innovative.
Gjemeni couch comes with two USB charging ports and one 110-volt grounded AC outlet on each side of its backrest. These ports make it easier for you to charge your phones, laptops, speaker without having to get up and do them.
There’s one 110-volt AC outlet and two 1.5-amp USB charging ports on each side of he couch’s backrest.
The couch is priced at $599. You will need to plug a single cord into a grounded outlet on an adjacent wall to power everything. Gjemeni couch is flexible, durable, and comfortable. It can be used as bed as well.
Accord
to Gjemeni, to set
up, no tools required. Just four clicks
and a flip and your Gjemeni will be ready. This couch also comes in different colors; black, white and
red.
The
only downside is that, the USB ports are rated to deliver 1.5 amps of power; as
such, they are not capable of fast-charging devices that
support that feature.
Some of the advantages of Gjemeni Dual USB Port Couch
Well made with a steel frame and layered memory foam
Bonded leather is easy to clean
Dual back and side adjustments make it very versatile
Safely produced AC and USB ports on each side for up to six devices
The Day 2 keynote at Google I/O was no match for yesterday’s Android keynote (though it did have people skydiving again), but Google delivered when it came to Google Docs: At long last, Google Docs has offline editing. The update has been added to Google Docs as of today, but you’ll need to take a few steps to enable it.
Offline mode in Google Docs is especially useful while traveling on an airplane or if you’re in a cafe with no Internet connectivity. When you get back online, your changes will be synced to the cloud. One drawback, however, is that offline support isn’t available to the full Google Docs suite. You’ll be able to edit only documents offline. You can view spreadsheets, but you can’t edit them. Presentations, drawings and other items from your Documents List won’t be available while you’re offline. If you use Firefox or Internet Explorer, this next bit of news might be disappointing: Offline mode works only in the Chrome browser. It’s a smart tactic by Google to get people to use Chrome, but it is a bit annoying if you don’t regularly use the browser. You’ll need to enable offline mode before you can use it.After setting up Chrome, you will need to allow offline access on your computer. If you’re using the classic look, click the gear icon in the upper right-hand of your window. If you are using the new look, click the grey gear just above your document list. You’ll see a new option in the drop-down menu that reads “Set up Docs offline (beta).” After clicking on that option, you’ll be taken to a separate window with an “Enable offline Docs” button. When you complete that step, you’ll be asked to install the Google Drive Chrome web app (if you haven’t already). You’re taken directly to the Chrome Store where you can quickly download the Drive app. The app will show up alongside your other Chrome apps; click on it and you’re back to your Documents List. Calling offline “magic” is bit over the top, don’t you think?In the upper right corner, you’ll see a notification informing you that your recently open documents and spreadsheets are being synchronized. Click “View offline Docs” from the gear menu, and you can see which documents are available to you offline. And that’s it–you’re ready to start working on Google Docs offline. The whole process takes about five minutes to set up if you already have Chrome installed on your PC. Google Documents in offline mode worked well and felt stable once I had it set up. I was disappointed that Well, it is still in beta.you can’t actuallycreate documents offline; you can only edit them. Bizarrely, there’s a button at the top of your offline documents window labeled “New Document,” but clicking on it brings you to a page informing you “this document is not available offline.” It seems like an oversight to include this non-functioning function, but this is a Google beta project after all. I hope that Google expands offline editing mode to spreadsheets and presentations in future updates as well.
It might interest you to know that you can now configure your java phones using the latest opera mini 5.2 free. examples of java phones are: Nokia C1. Nokia C2, Nokia C3, Nokia 200, Nokia 210 Nokia 2730 Nokia 5300 etc.
* From your phone click on the menu * Click on setting * Select default configuration setting * Chse the Airtel, Etisalat, Mtn, Glo provide file * click on option * Select default that all Open the cast opera mini 5.2 and use these setting on any java phone.
If you really want to get fancy, augment those hotkeys and use Windows 10 like a ninja, try new Windows 10 touchpad gestures for laptop.
Microsoft changed Windows for the better when it introduced trackpad gestures in Windows 8. The new gestures made controlling your PC a far more fluid experience, helping you get things done more efficiently without the need for mouse-like buttons at the top of the touch area.
In Windows 10, Microsoft improved on Windows 8’s foundation. Beyond integrating existing gestures, the company added new touch controls and dumped items that wouldn’t make any sense in Windows 10, like swiping in from the right edge for the Charms bar (since Windows 10 doesn’t have a Charms bar).
The only requirement for using these gestures is that you have a precision touchpad, so some older laptops won’t be able to use them.
If you’re not sure if your touchpad supports gestures, open the Settings app and go to Devices > Mouse & touchpad. Under the “Touchpad” heading it will say “Your PC has a precision touchpad” if you can swipe and tap instead of clicking.
Select an item: Tap on the touchpad
Scroll: Place two fingers on the touchpad and slide horizontally or vertically
Zoom in and out: Place two fingers on the touchpad and pinch in or stretch out.
Right-click: Tap the touchpad with two fingers, or press on the bottom right corner
Open Task View: Place three fingers on the touchpad and swipe up (away from you).
Show desktop: Place three fingers on the touchpad and swipe down (towards you). Reverse the movement to get all your windows to return.
Switch between open windows: Place three fingers on the touchpad and swipe right or left (this is the same as pressing Alt + Tab).
Drag an open window: Double-tap and then drag from the title bar
Open Cortana: Tap the touchpad with three fingers. If you’d rather this gesture opened Action Center instead, you can change this default in Settings > Devices > Mouse & touchpad.
“Recover lost partition” isn’t exactly the latest catchphrase these days. We’re living in times where data loss and system disasters are about as rare as a unicorn sighting.
This positive trend (or not so positive for companies in the business of data recovery) can be attributed to the widespread availability of multiple cloud storage solutions for both PC and mobile users.
Although creating backups remains the most reliable method to prevent data loss, the use of data recovery software becomes invaluable for retrieving files that were not backed up to the cloud.
Moreover, for more severe situations such as damaged systems or HDD partitions, tools like EaseUS Data Recovery Wizard offer effective recovery solutions.
EaseUS Data Recovery Tool Capabilities
Now a days, the problems that we have while saving our data in our devices is that it might get a virus and all of our data is lost. So, many of the software kings worked on creating a better and easy recovery software. In the software world, data recovery is a system or software by which you can easily get you deleted, or you can also filter your corrupted data.
The data is mostly retained by recovering the devices that have info or your precious data in it. The devices are hard drives, SD cards, Magnetic tapes, CDs, DVDs, and many others. It was introduced because most of the time the operating system failed which causes lots of problem to the user. Also, malfunction of a storage device also leads to some other work in this field.
By going through all the problems that humans face to recover their deleted data, we have thought it wise to introduced EaseUS: an App that’s used to get your deleted files again from your SD card, Hard disk, and other devices.
EaseUS Data Recovery Wizard is a free data recovery software that helps you get your accidentally deleted files from Windows PC, Mac OS X machines and Mobile devices. It can recover lost partitions in just a few clicks.
Most commonly used feature of this software is the one used in androids and IOS. With the advancement of technology, we prefer to use mobile phones much more than other devices. That’s why the software is installed on mobile phones frequently.
Why is EaseUS Data Recovery Softwareunique?
Because it has an SD card recovery function which makes the life of its user very simple and easy. Another important feature of EaseUS is that it can be used for all kind of platforms. Also, it supports major file formats. You can use this software free or also by paying for it. In other words, it works on a Freemium model.
Steps to Recover Lost Partition with EaseUS Data Recovery Tool
First of all, you’d need to buy or download the software from their official URL. Without it, you cannot get your information back. If you have any doubt about it, you can go for a free trial and check it right there.
This software takes care of your security. People are usually very sensitive about their data or information saved in the various devices. So next step is to use the license code that’s sent to your email.
The important part is to know how this software will work. For getting your results, you need to connect the device you are thinking of recovering to your PC.
Check the files which you want to recover and then click on the recover button. This is the unique part because you need to choose carefully which files you want to recover because there are some cases where people recover viruses by mistake too. Make a new folder for the recovered files.
For partition recovery, you’d need use the advanced option and allow the software to run comprehensively. Once completed, you can go from the preview, and then choose the files you’d like to recover. That’s all.
Wrap Up:
That’s all that’s needed to recover your lost files, damaged partition and/or accidentally deleted files with EaseUS Data Recovery suite. Still need a help with getting back your deleted files? Please do let us know about it in comments.
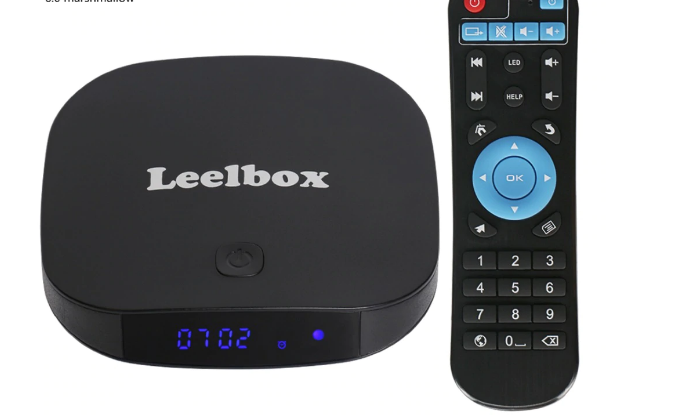
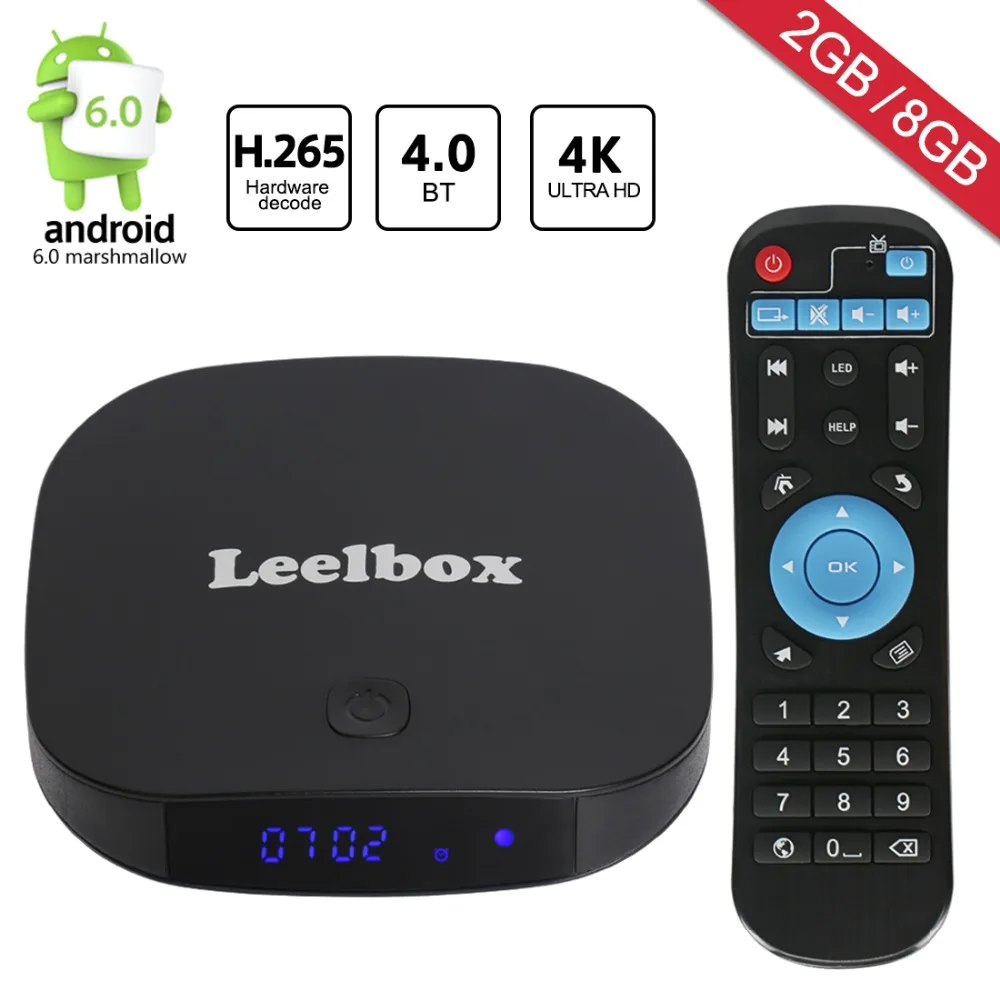
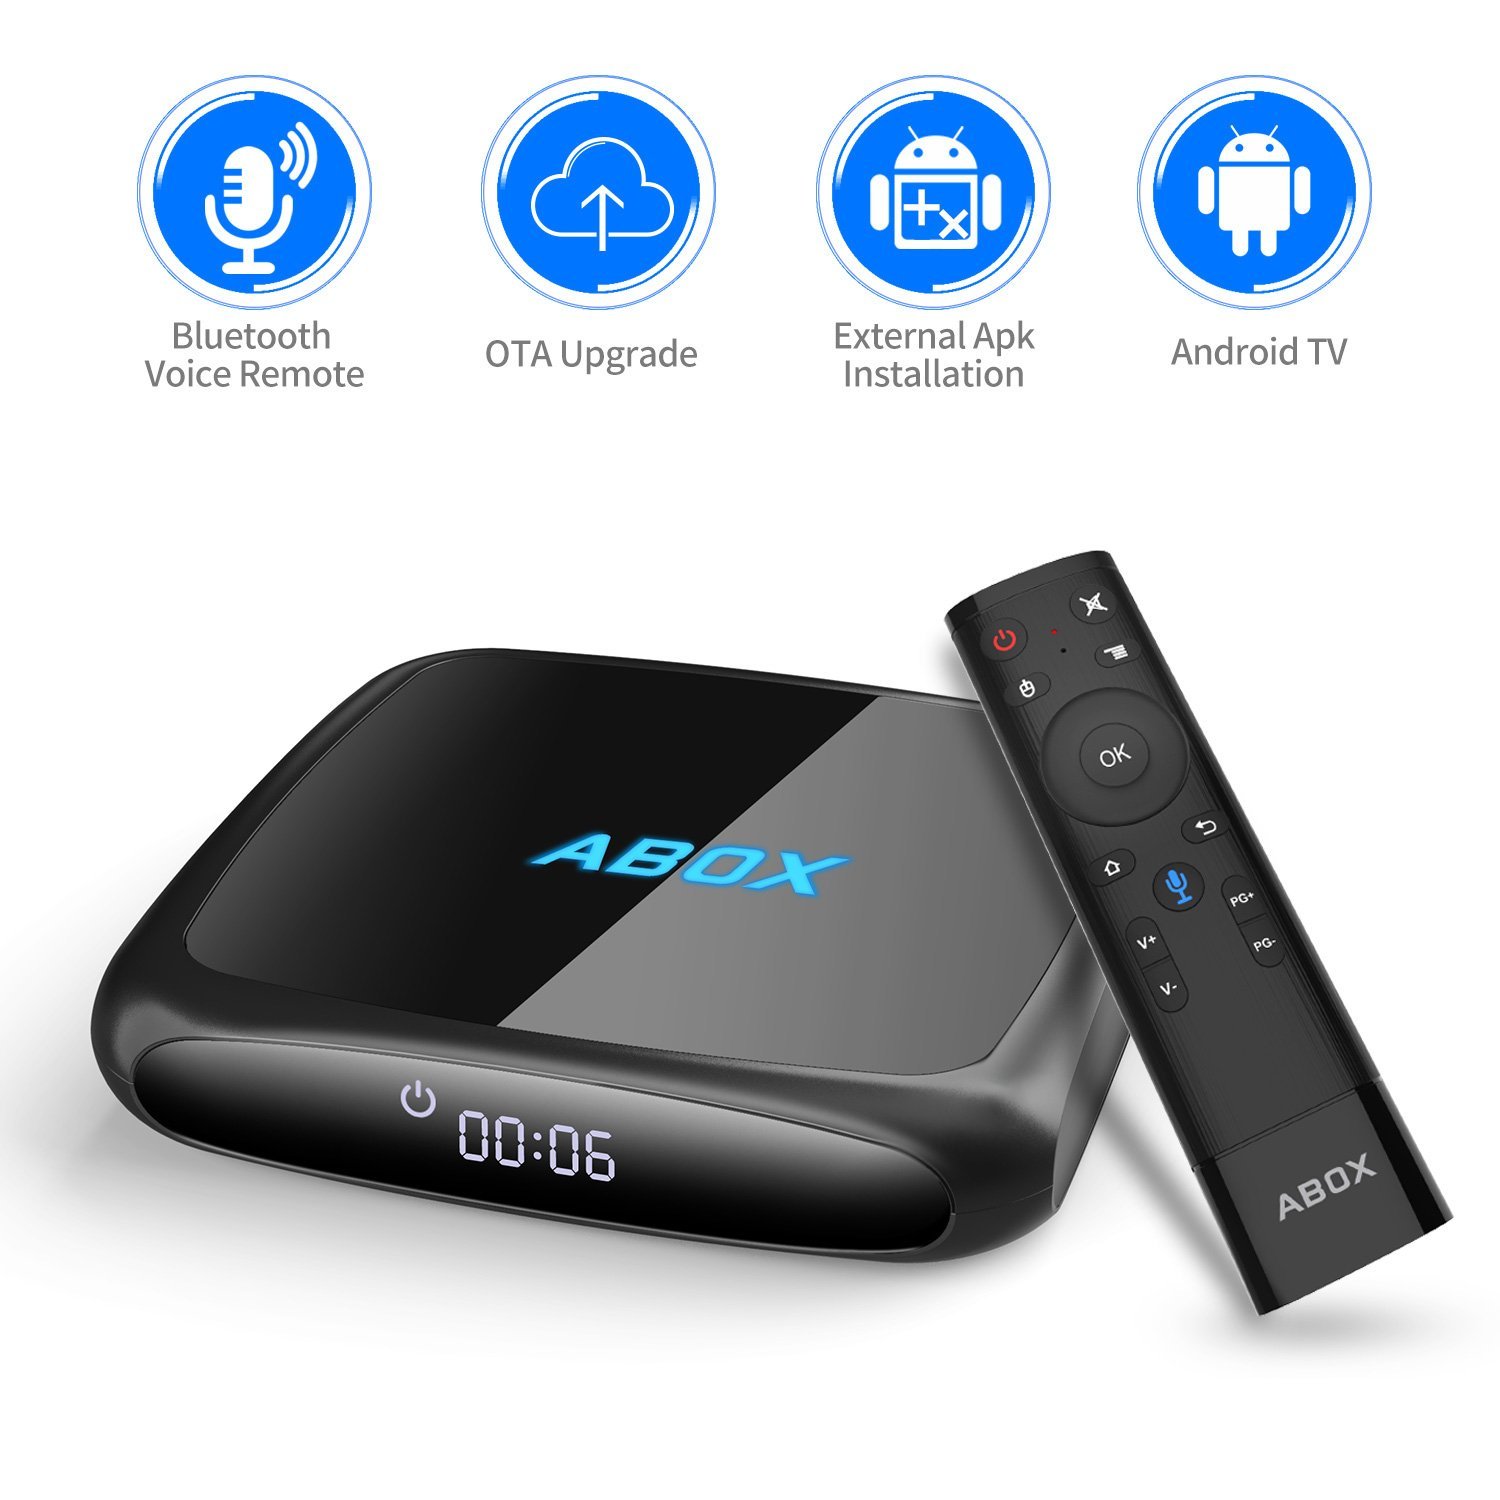

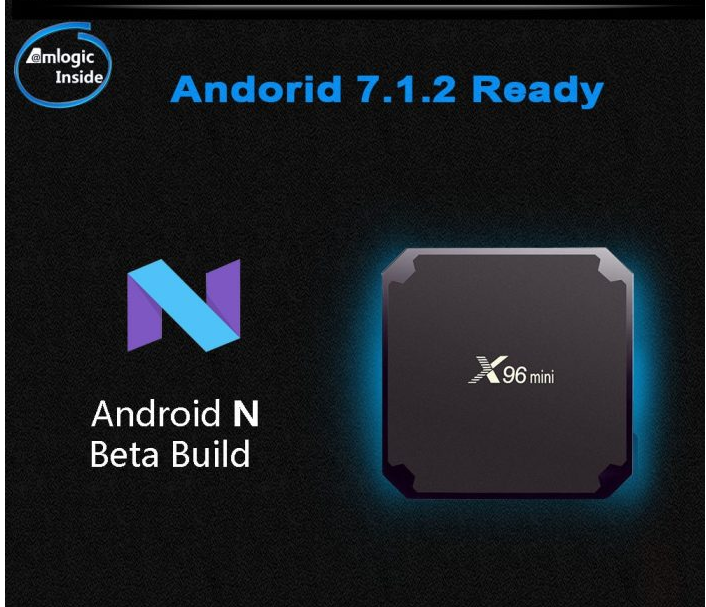
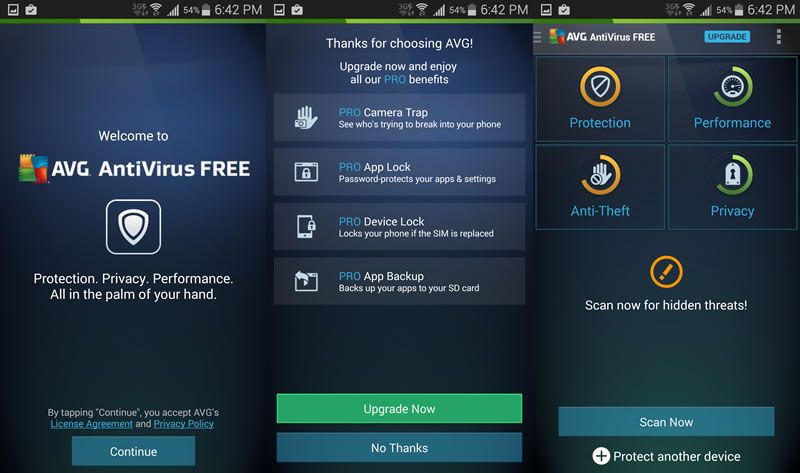




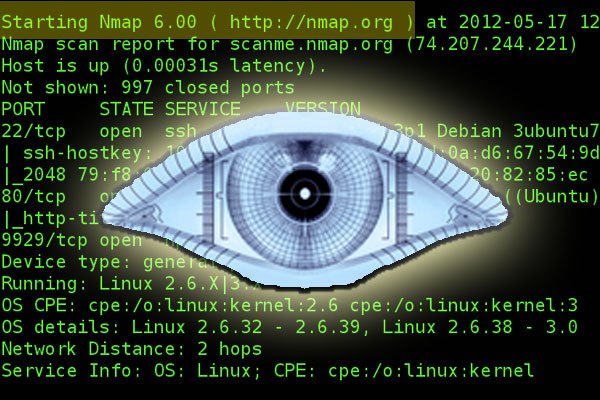


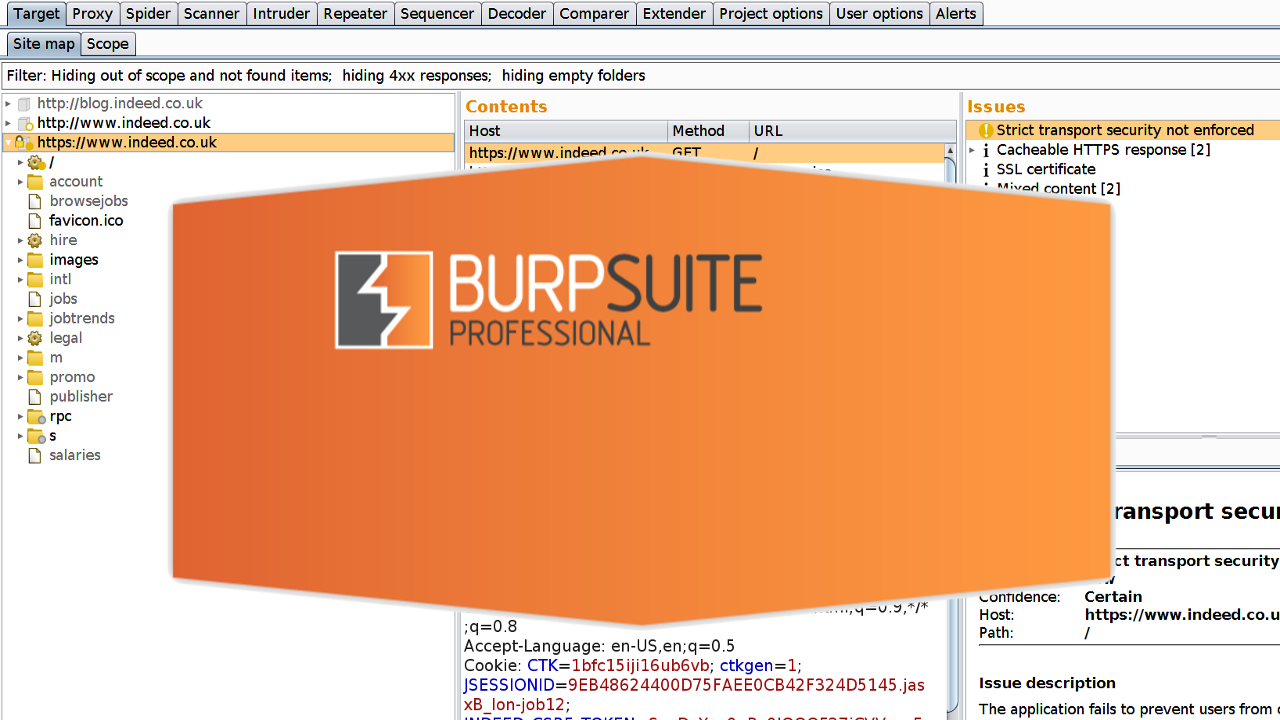
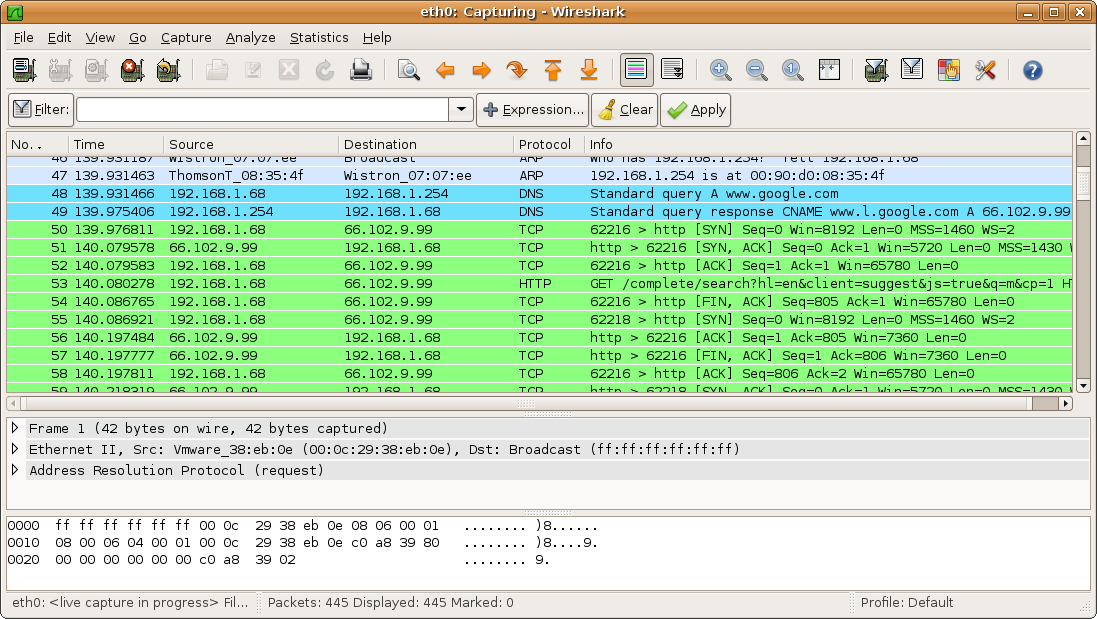


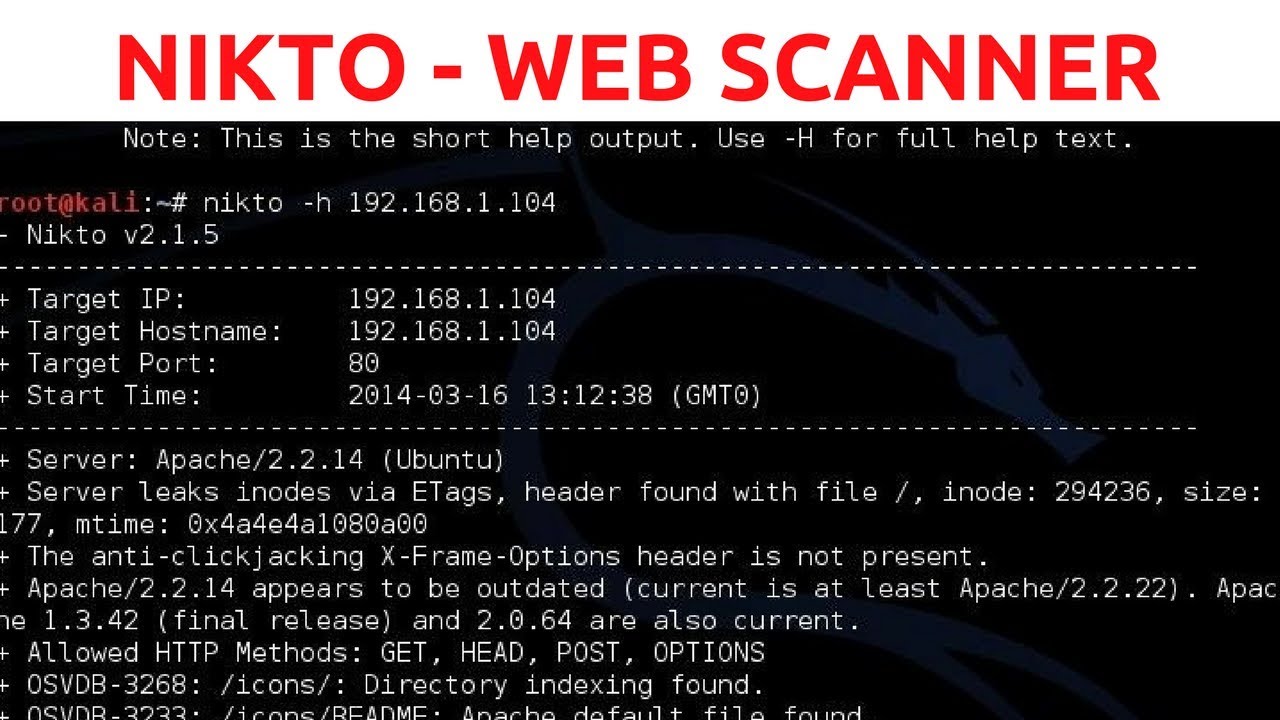
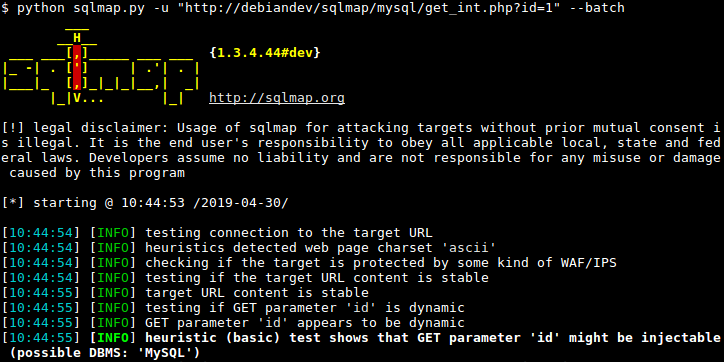



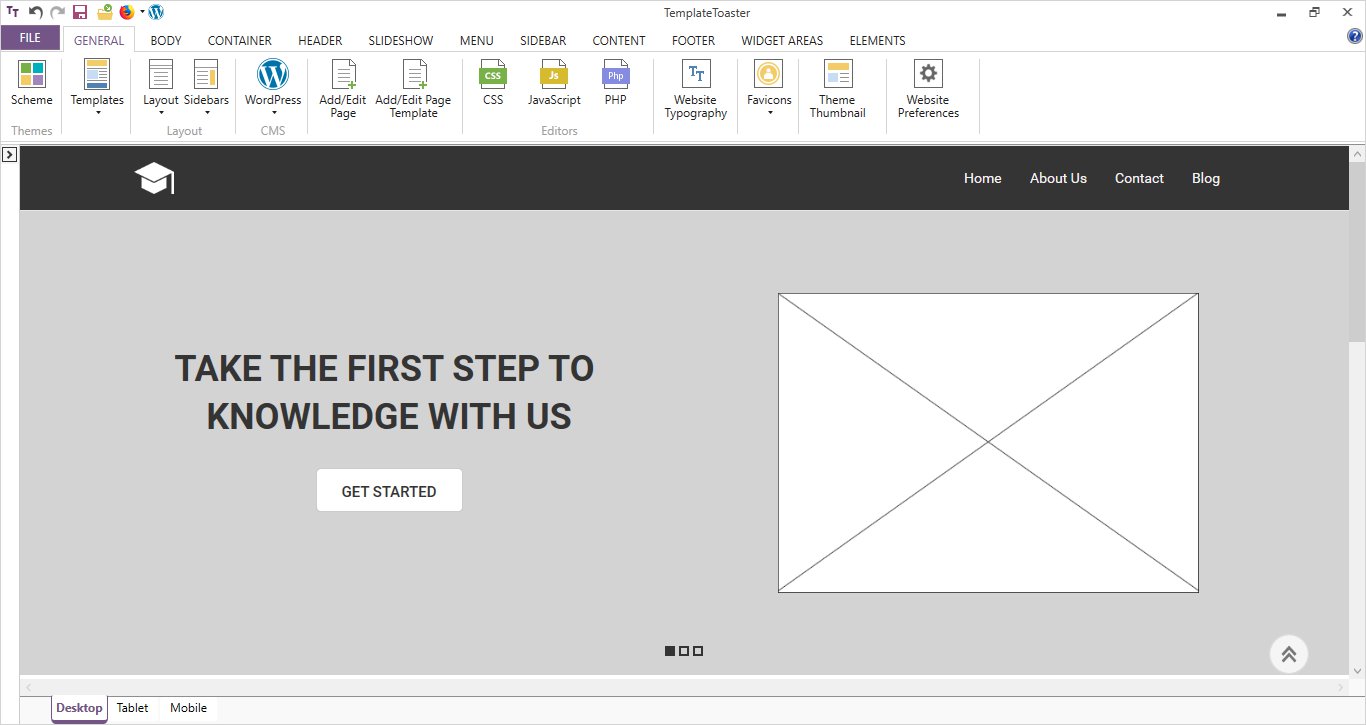


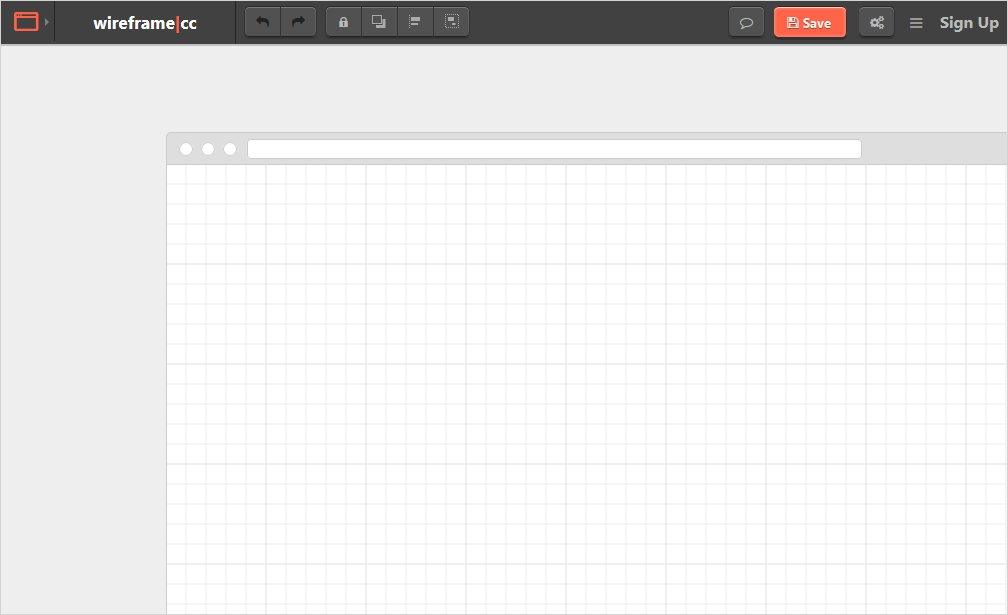
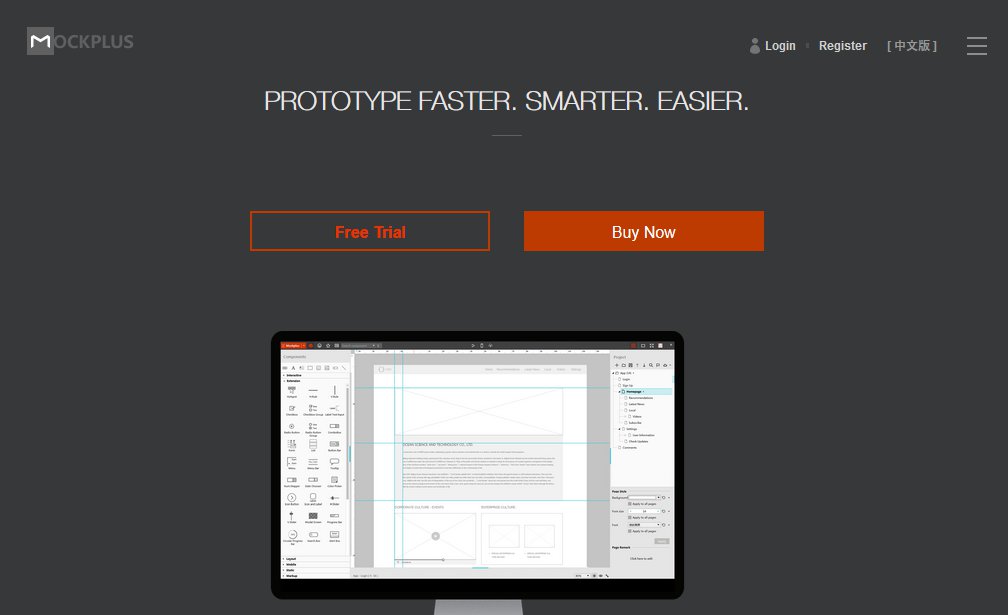
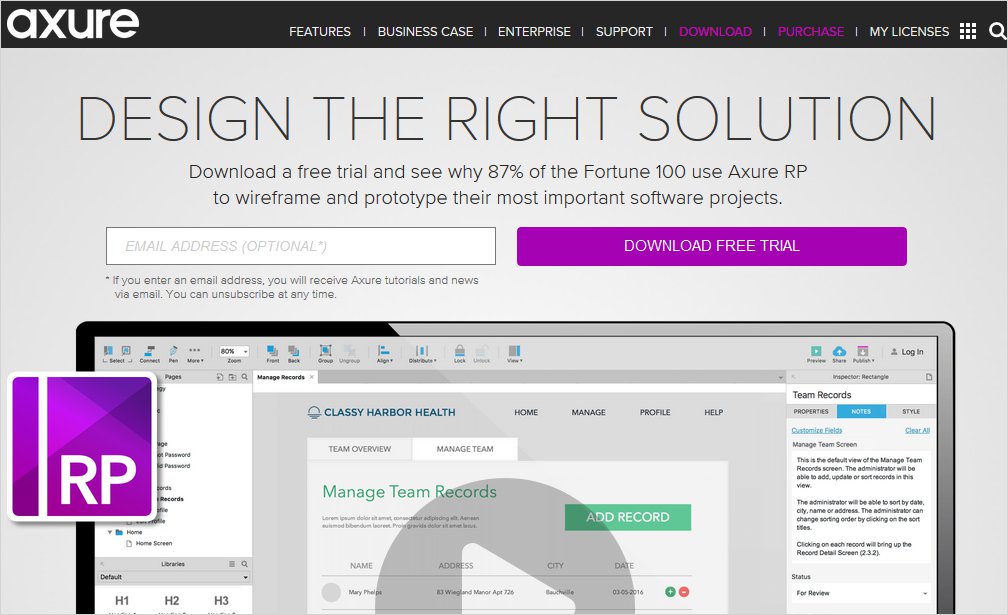
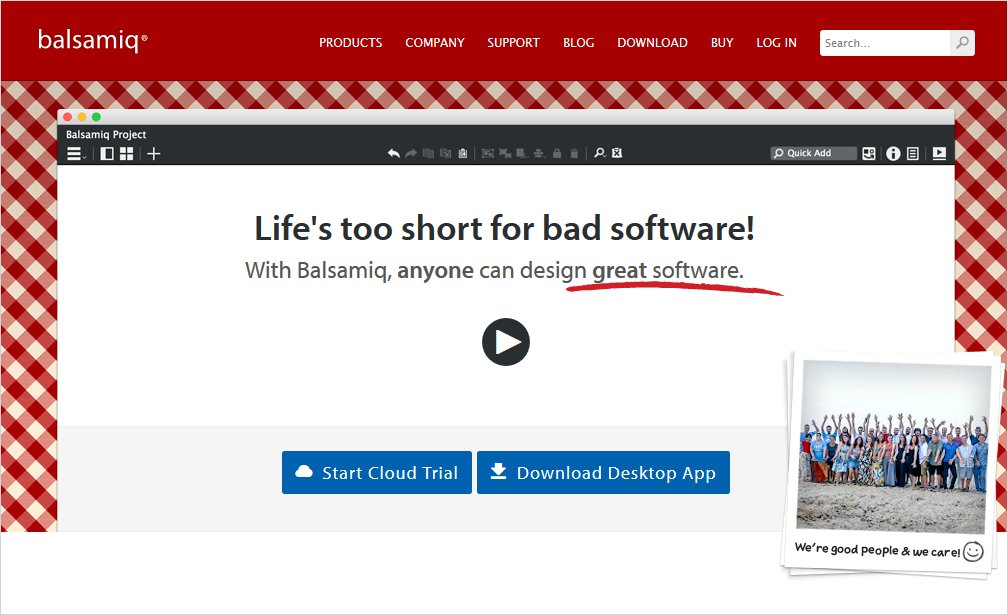
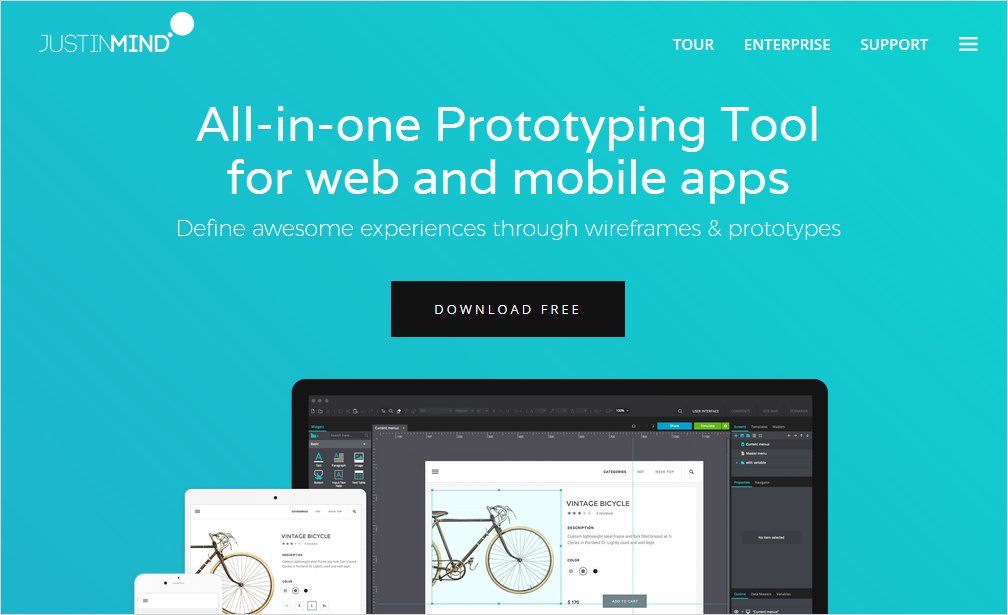

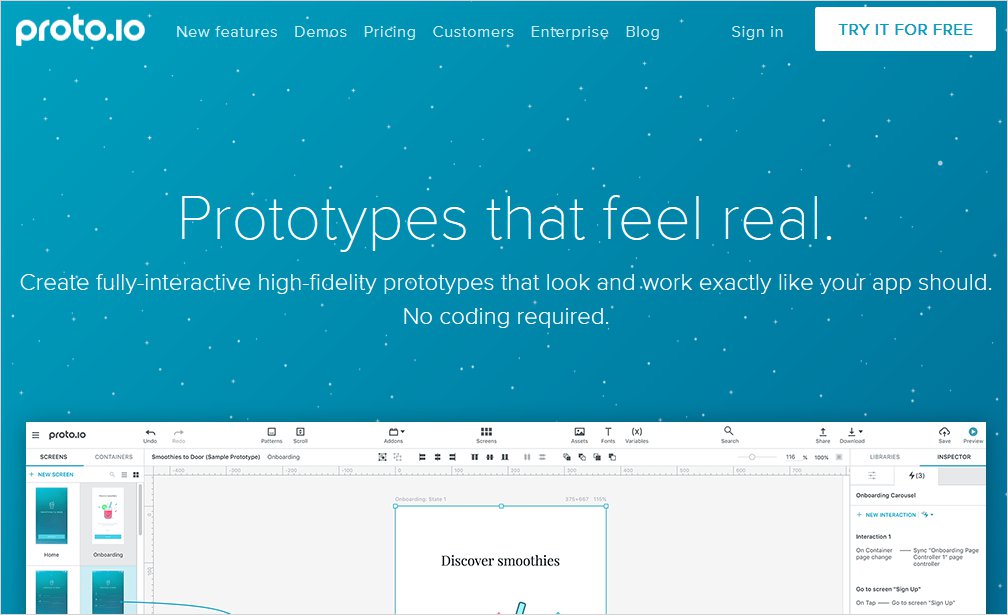
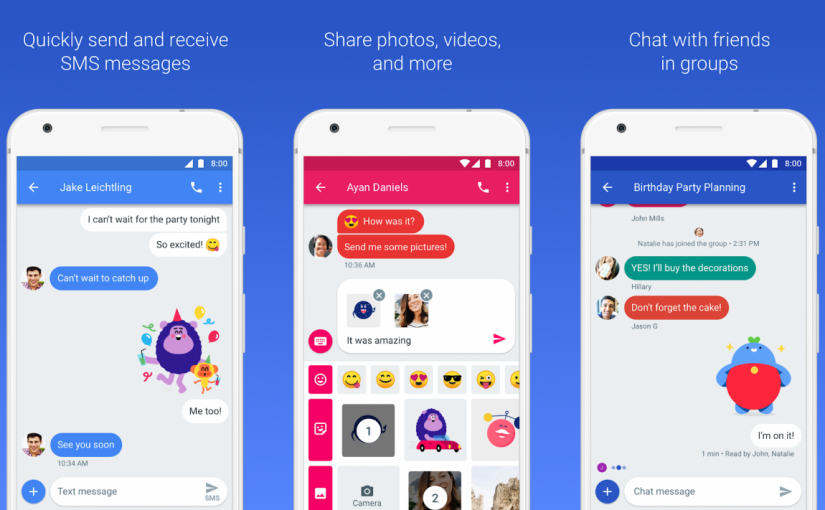


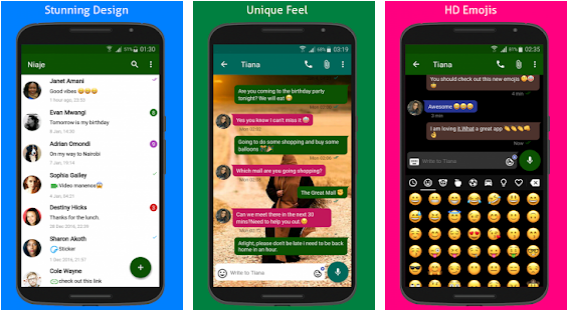
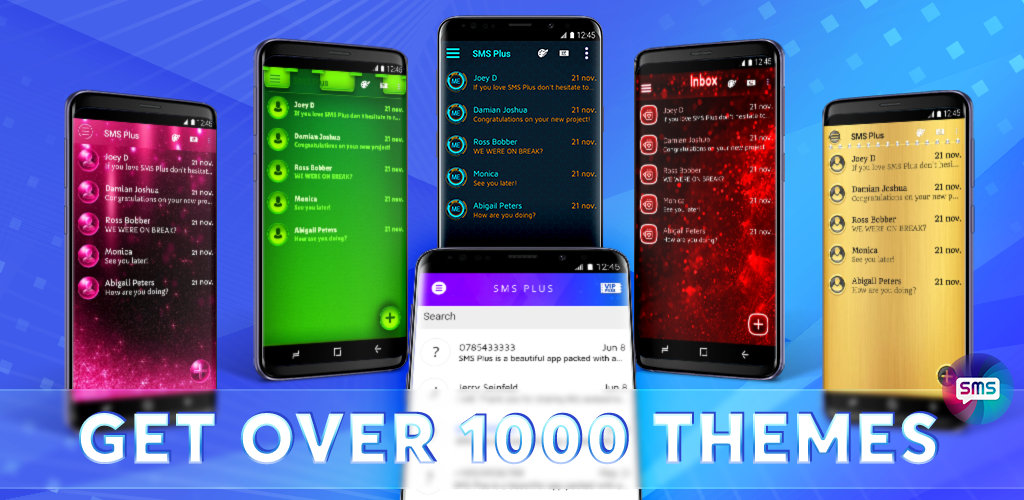
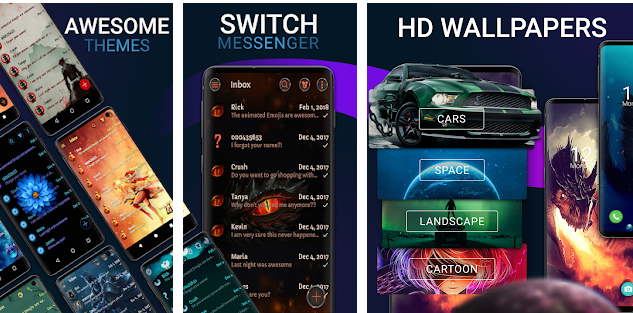
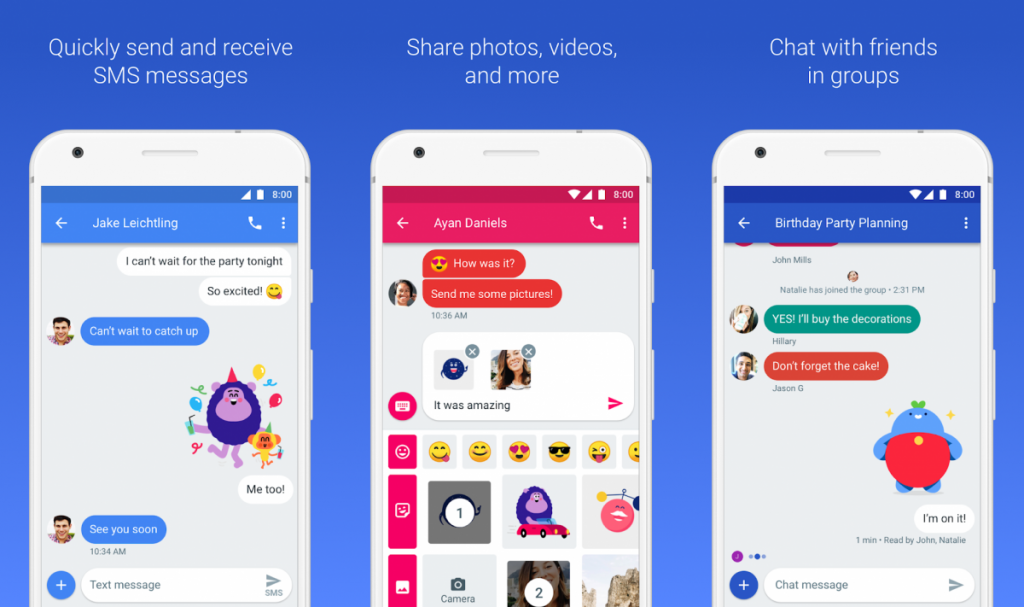
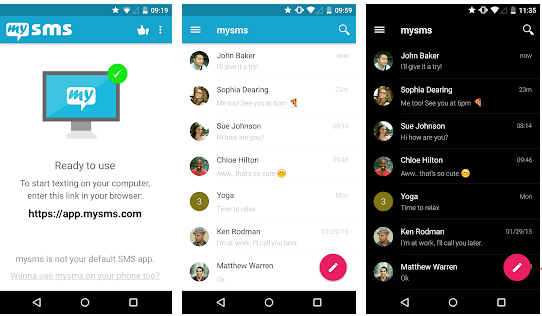



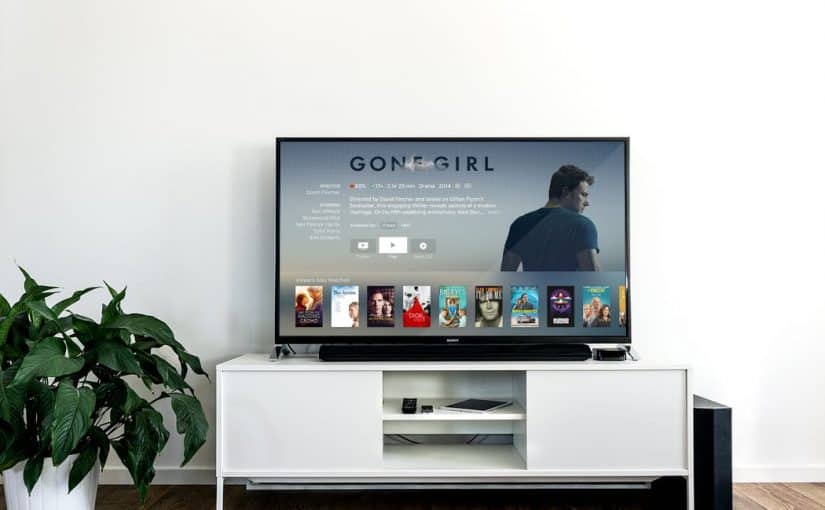
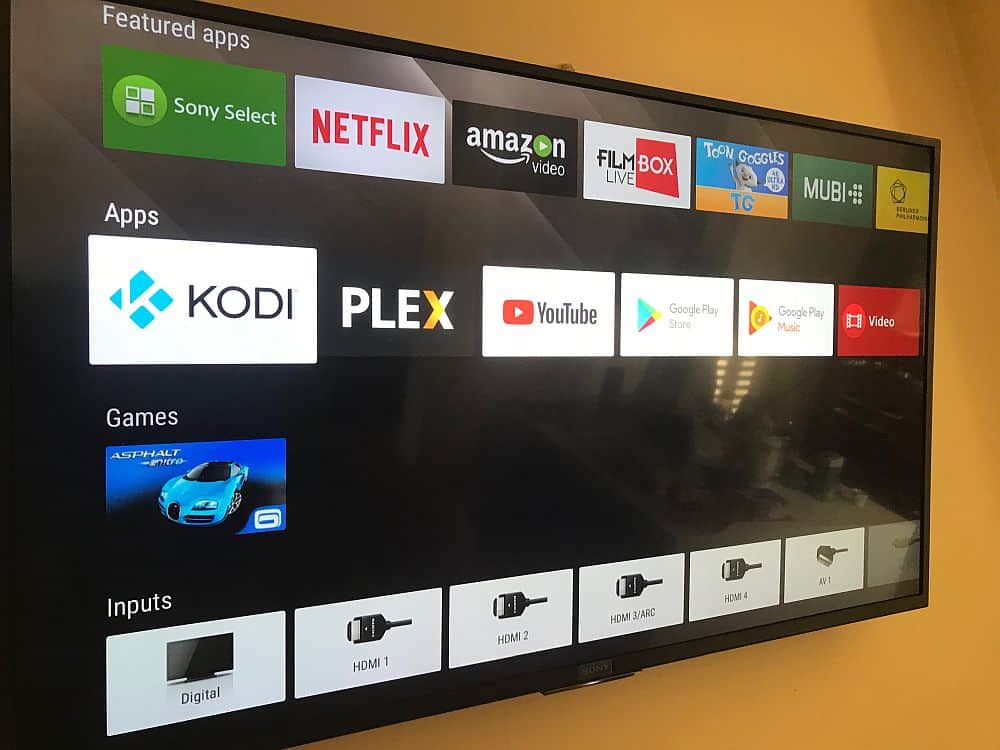
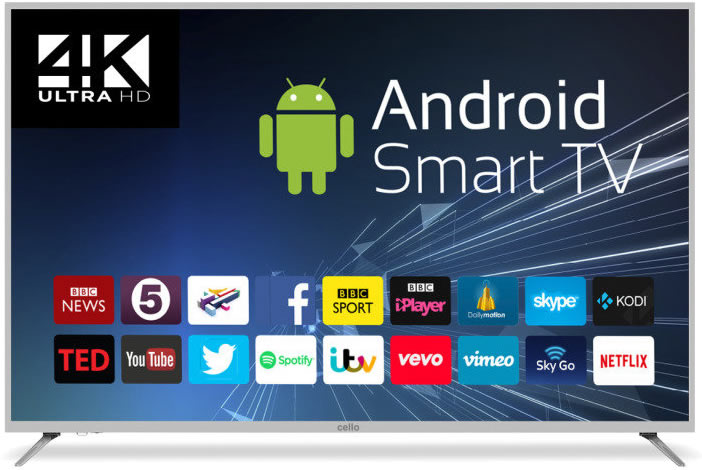
/cdn.vox-cdn.com/uploads/chorus_image/image/58541691/akrales_170919_1976_0104.0.jpg)
/cdn.vox-cdn.com/uploads/chorus_image/image/61618787/Fire_TV_Stick_4K_with_all_new_Alexa_Voice_Remote___Straight.0.jpg)
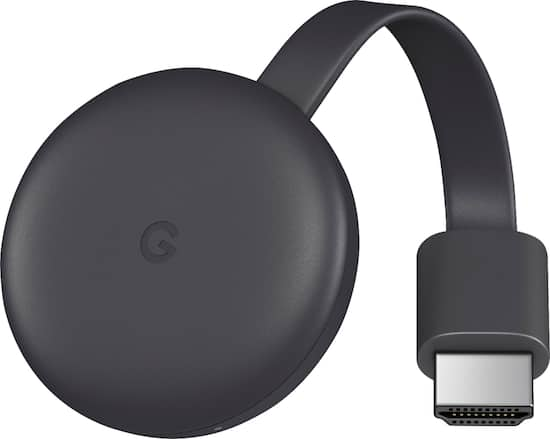
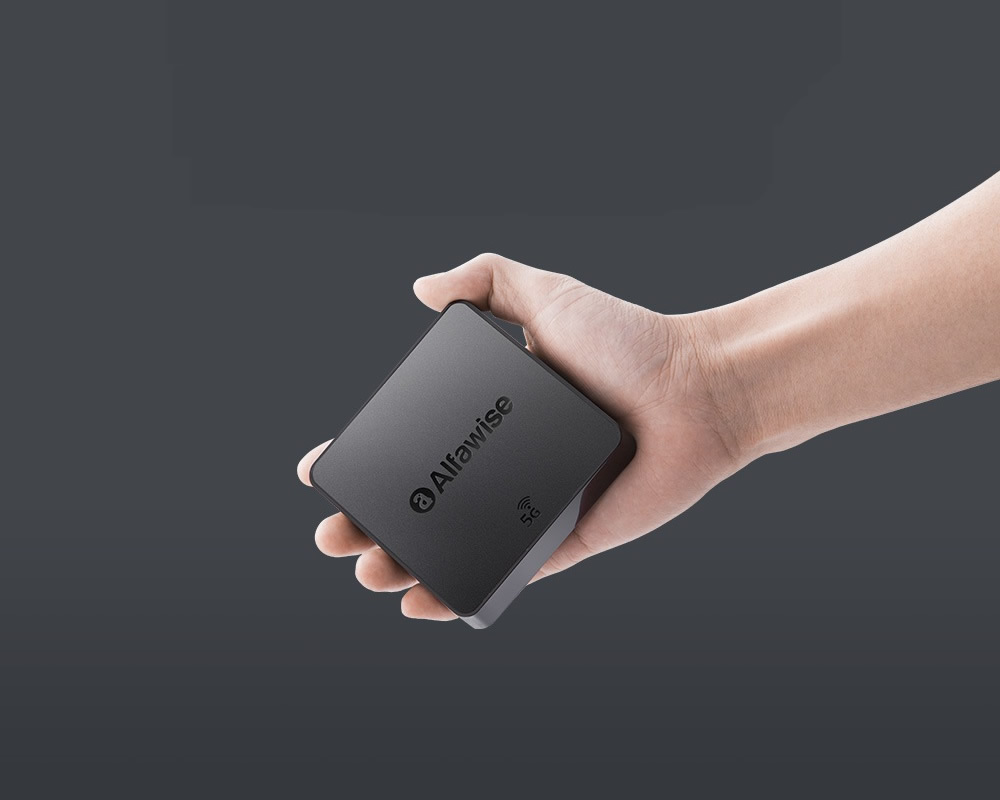
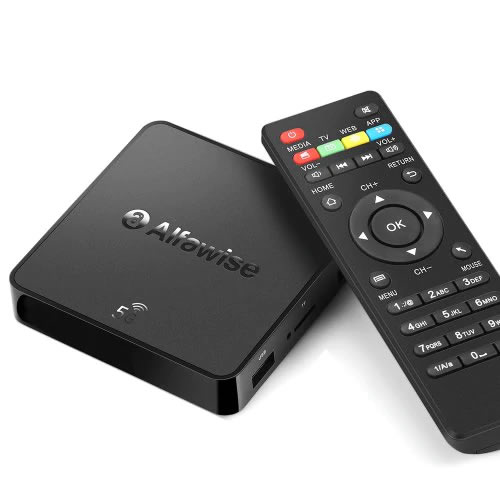
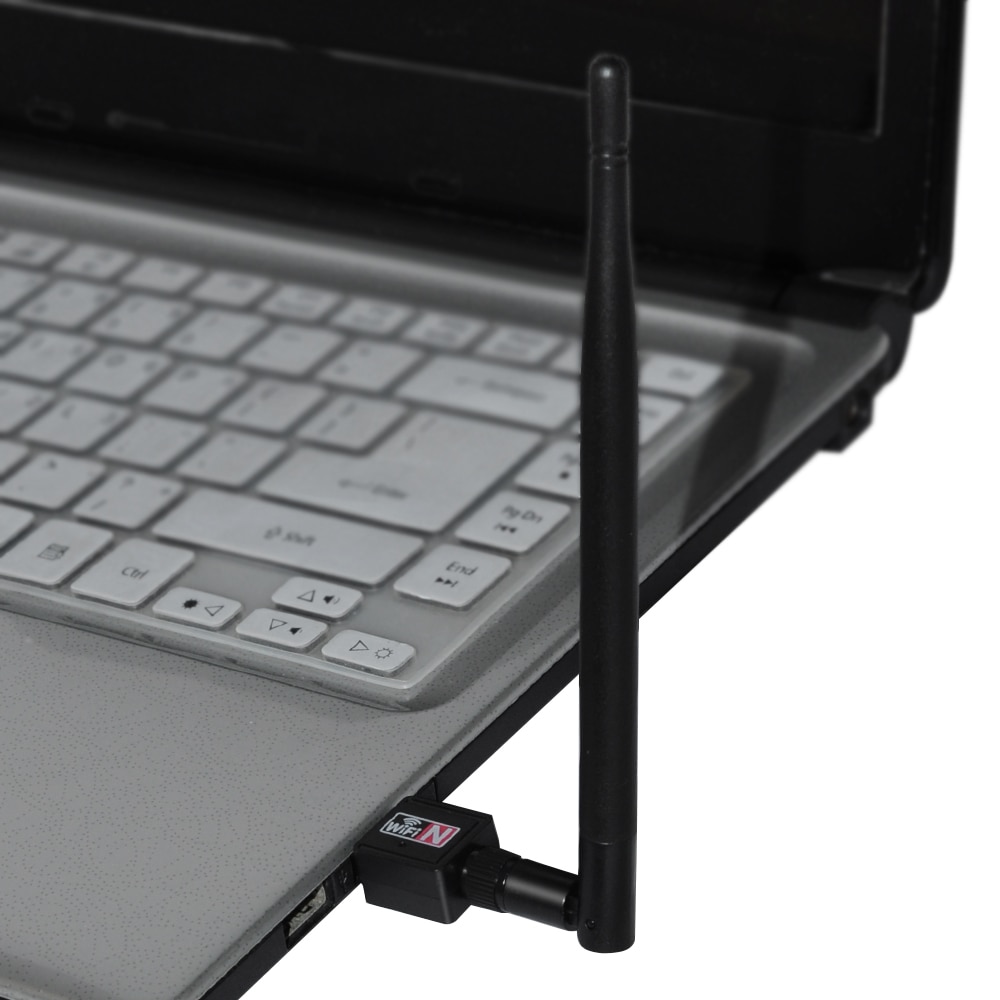
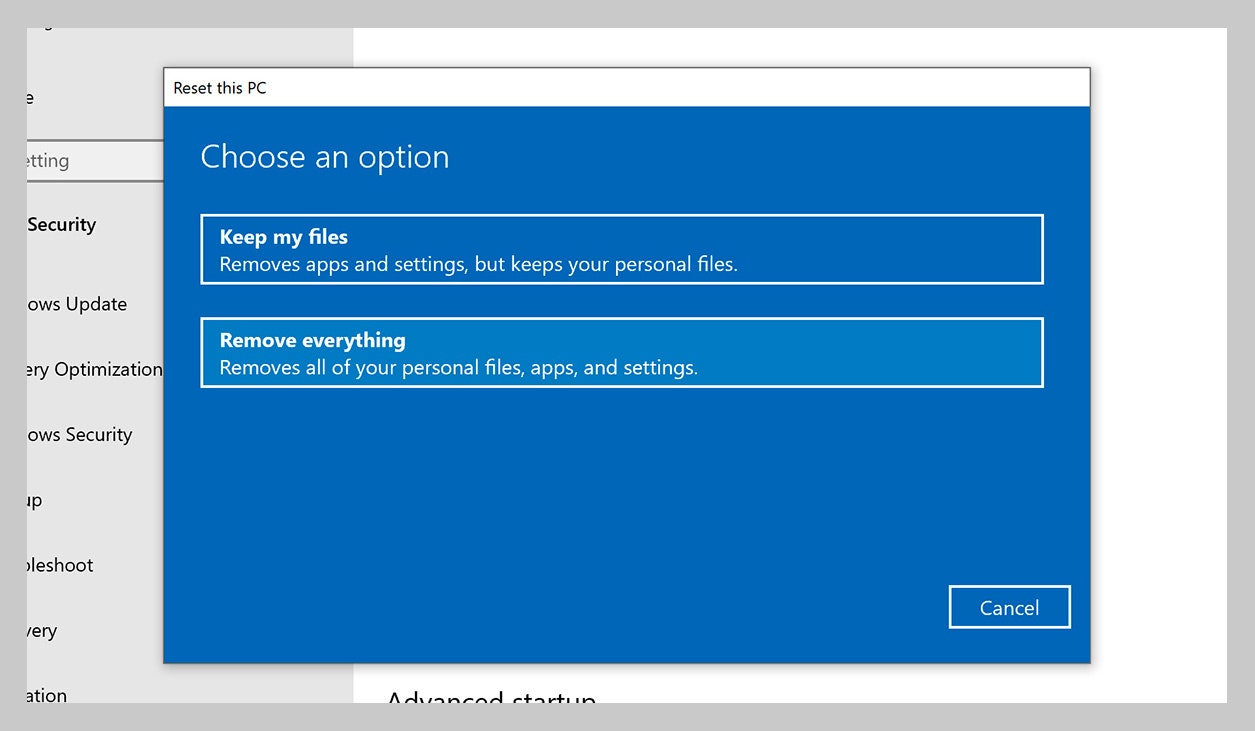
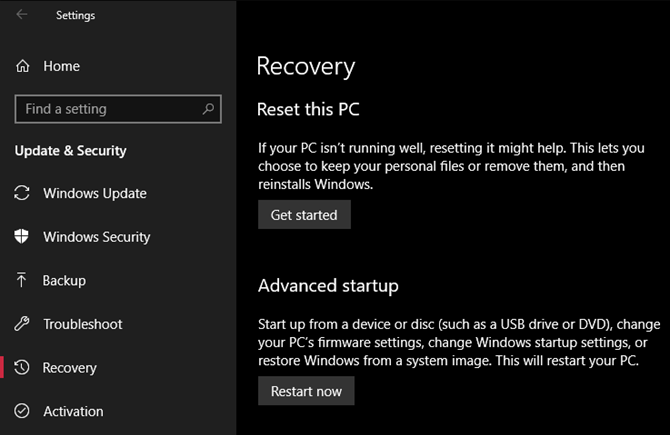
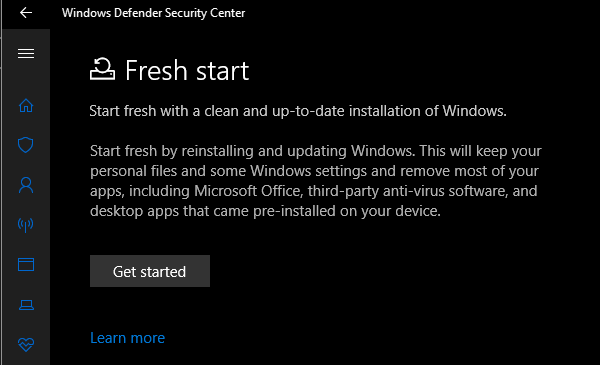

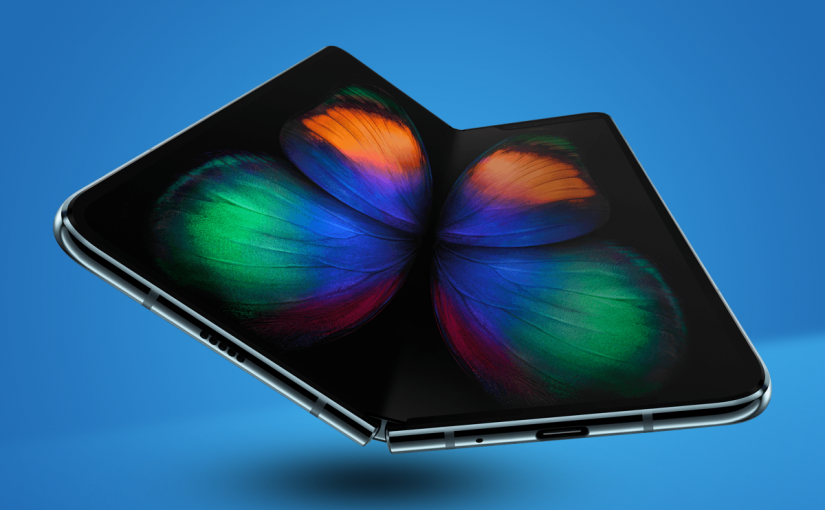










































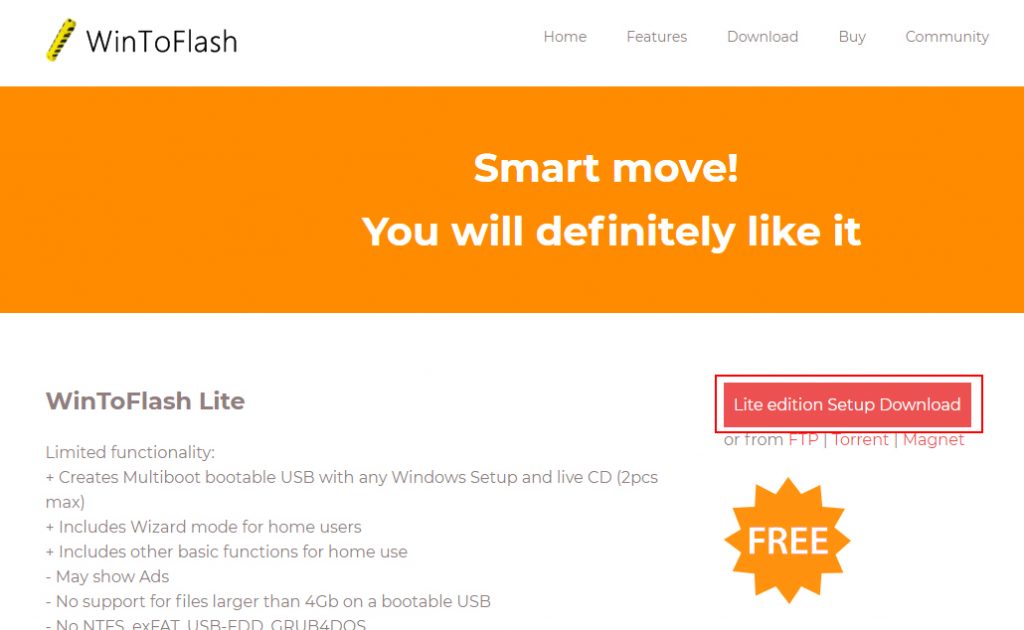
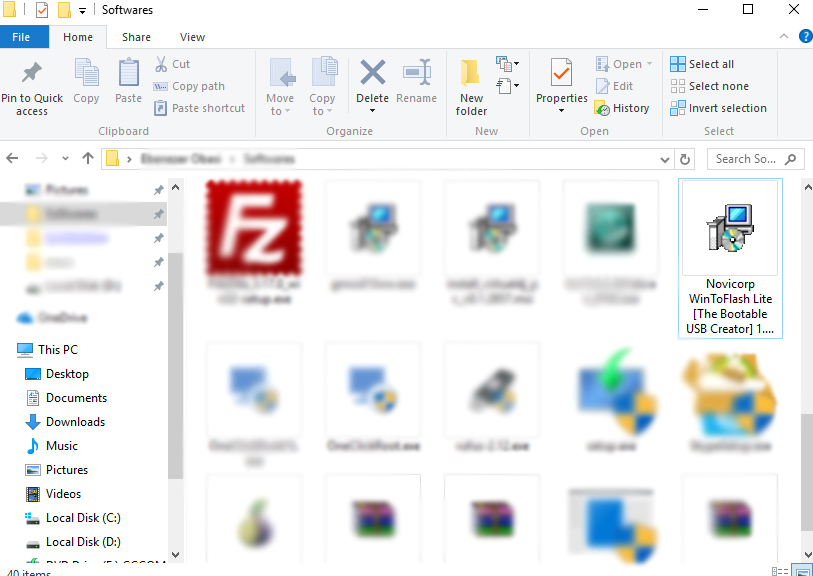
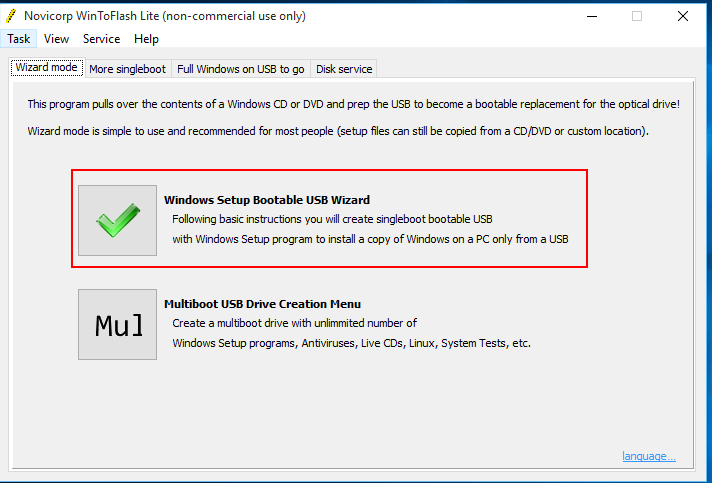
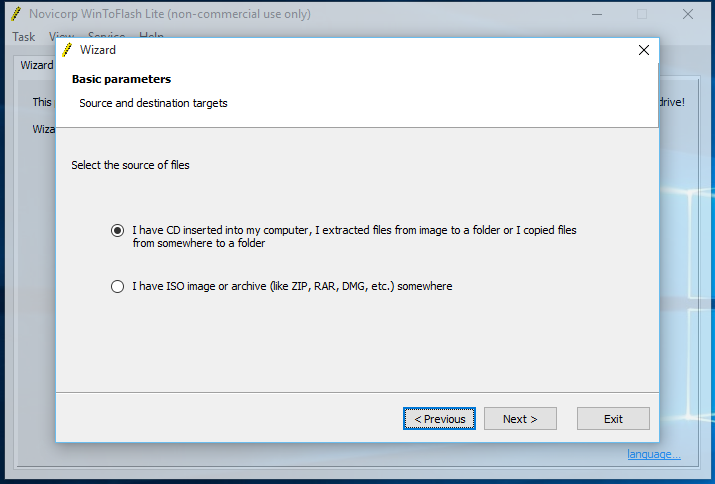
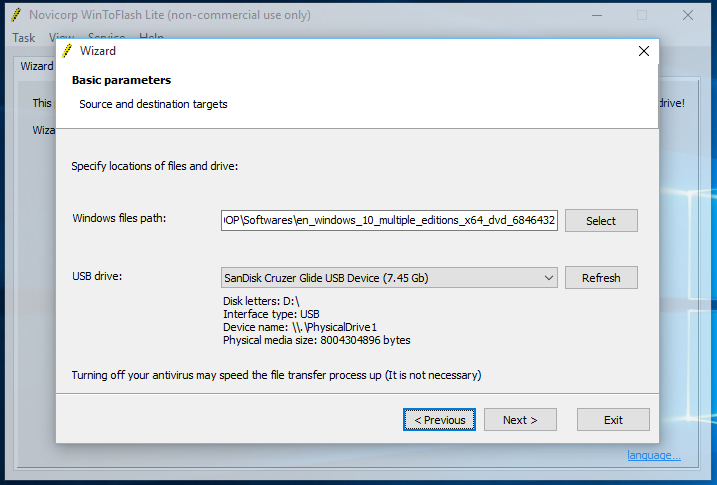
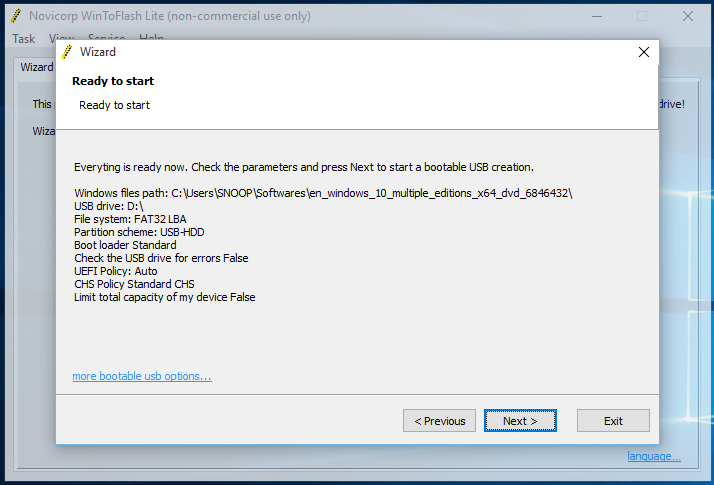
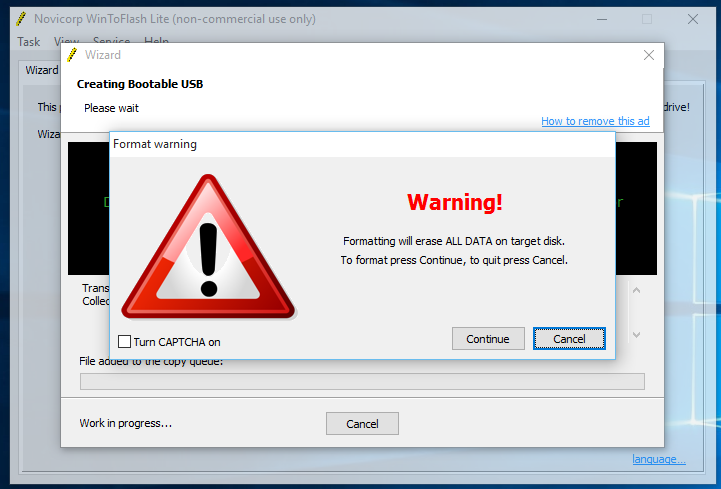
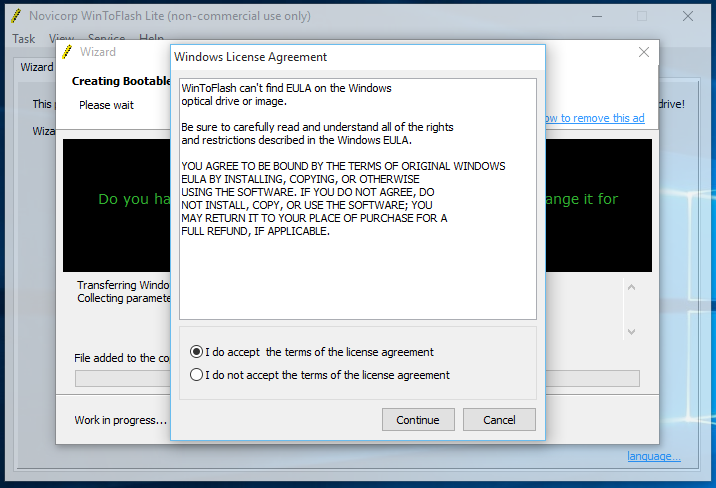
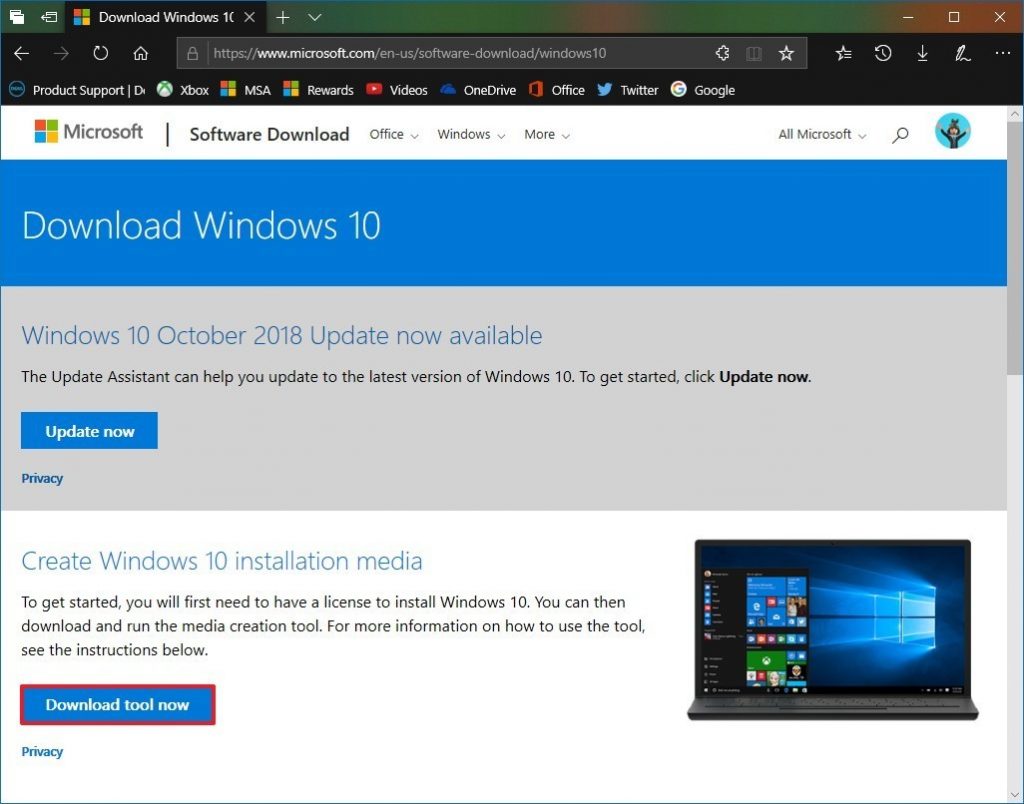
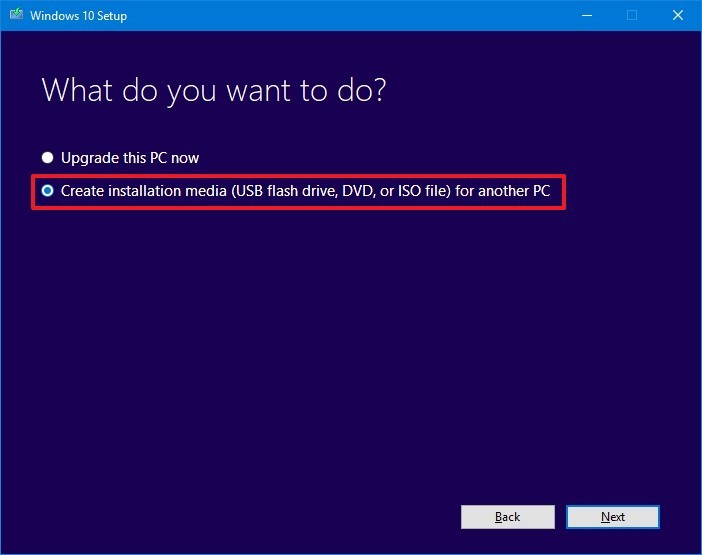
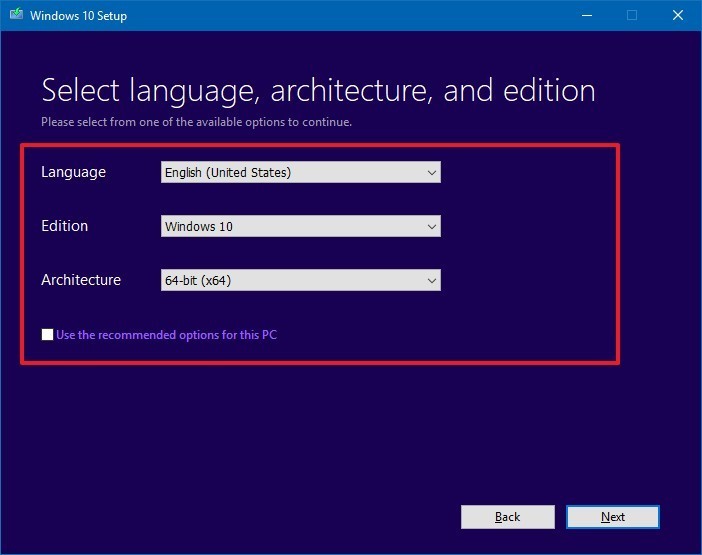
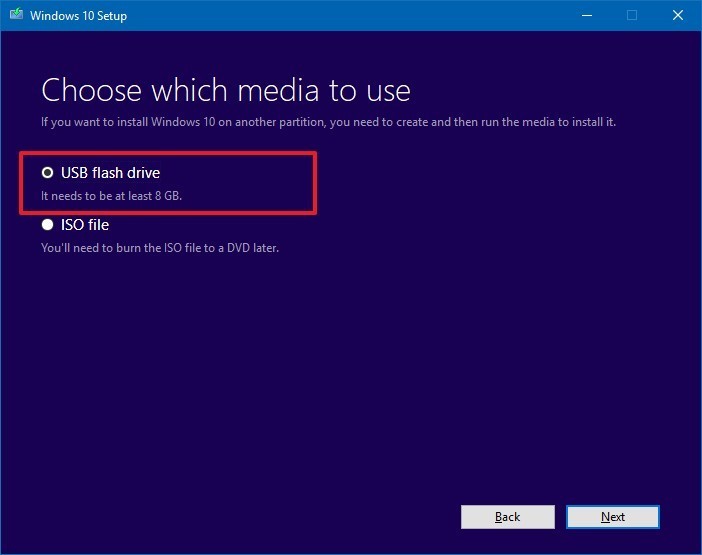
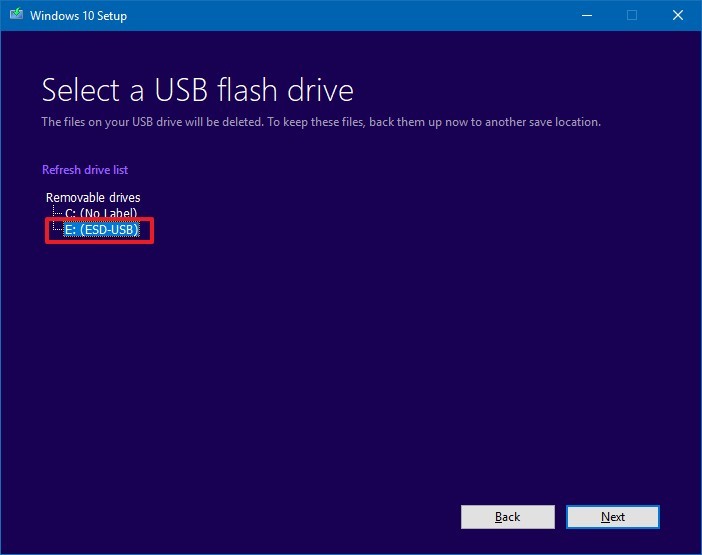


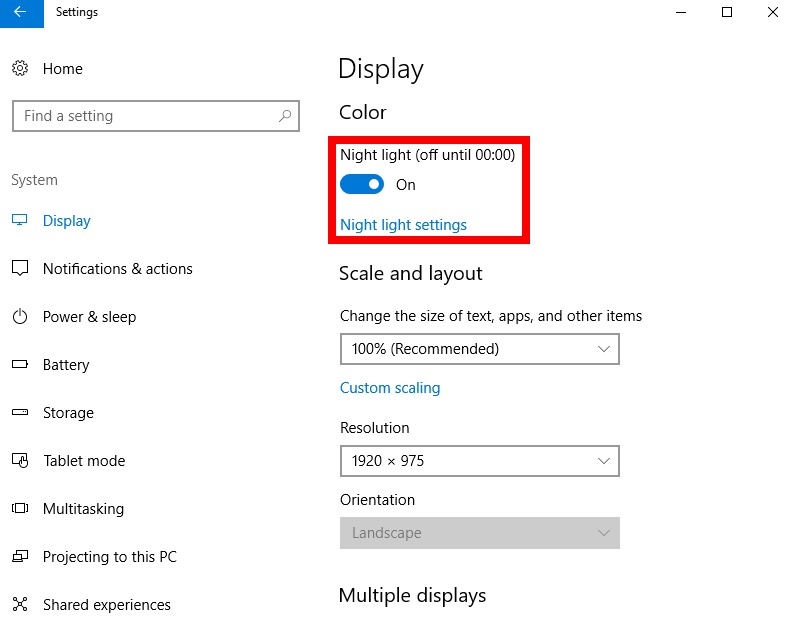
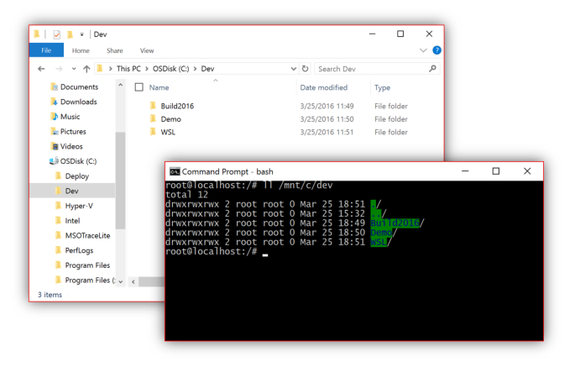
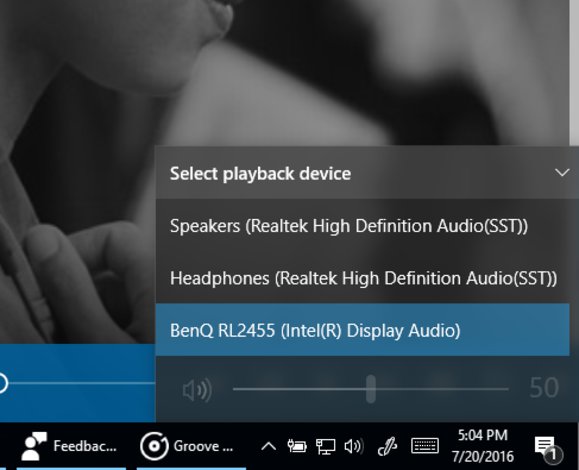

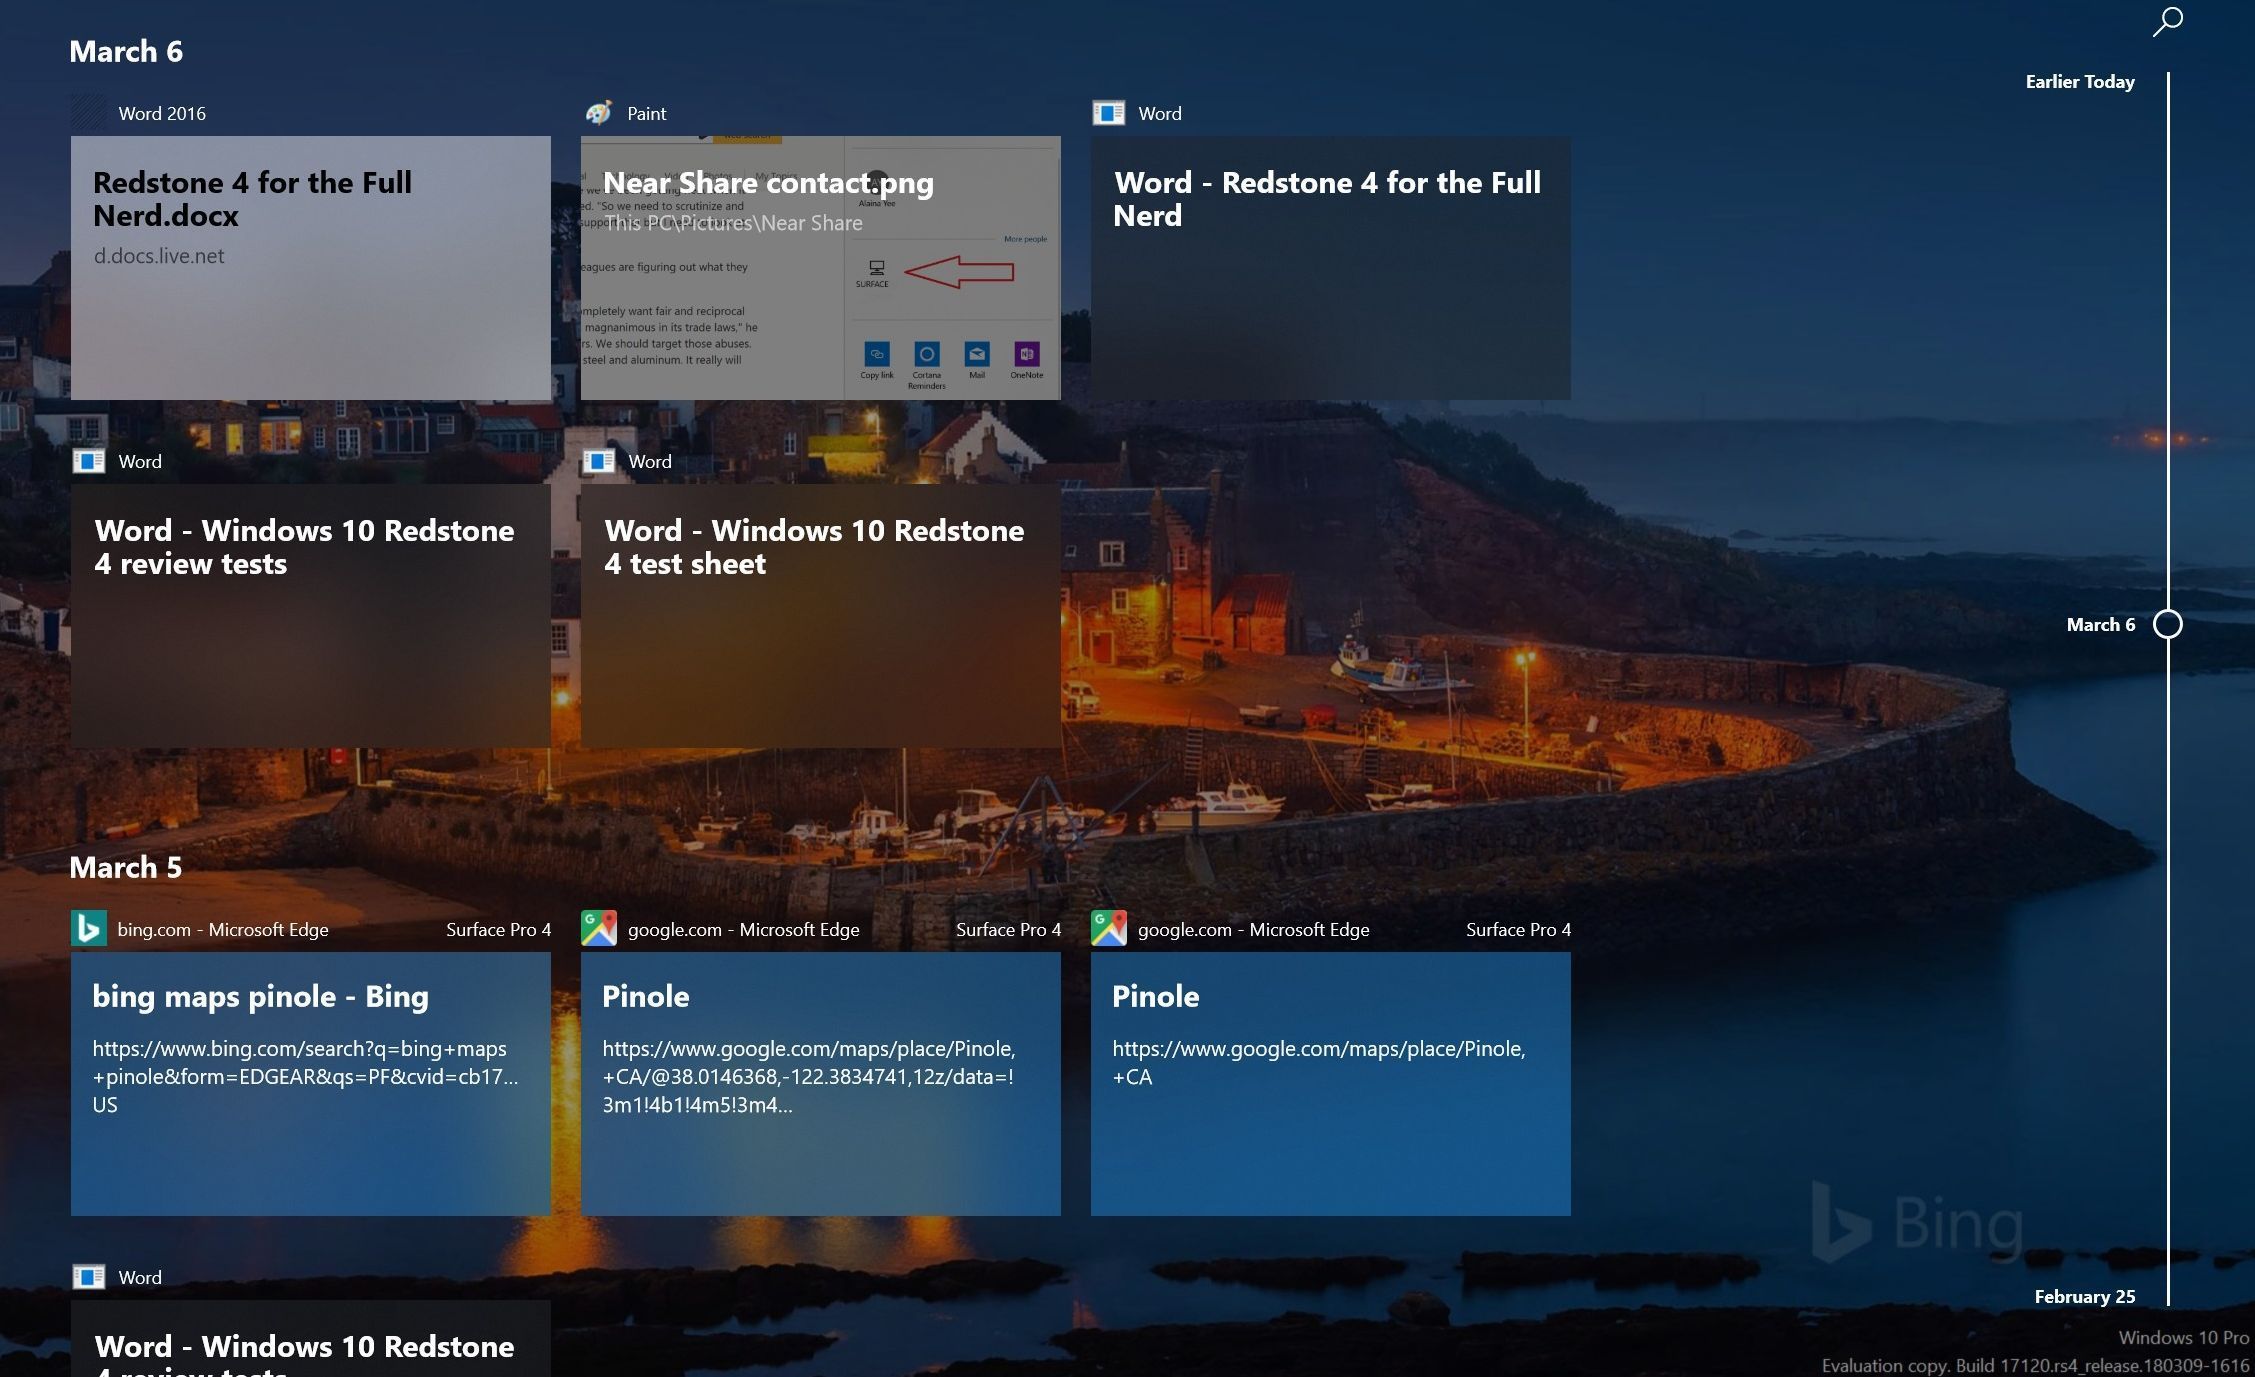
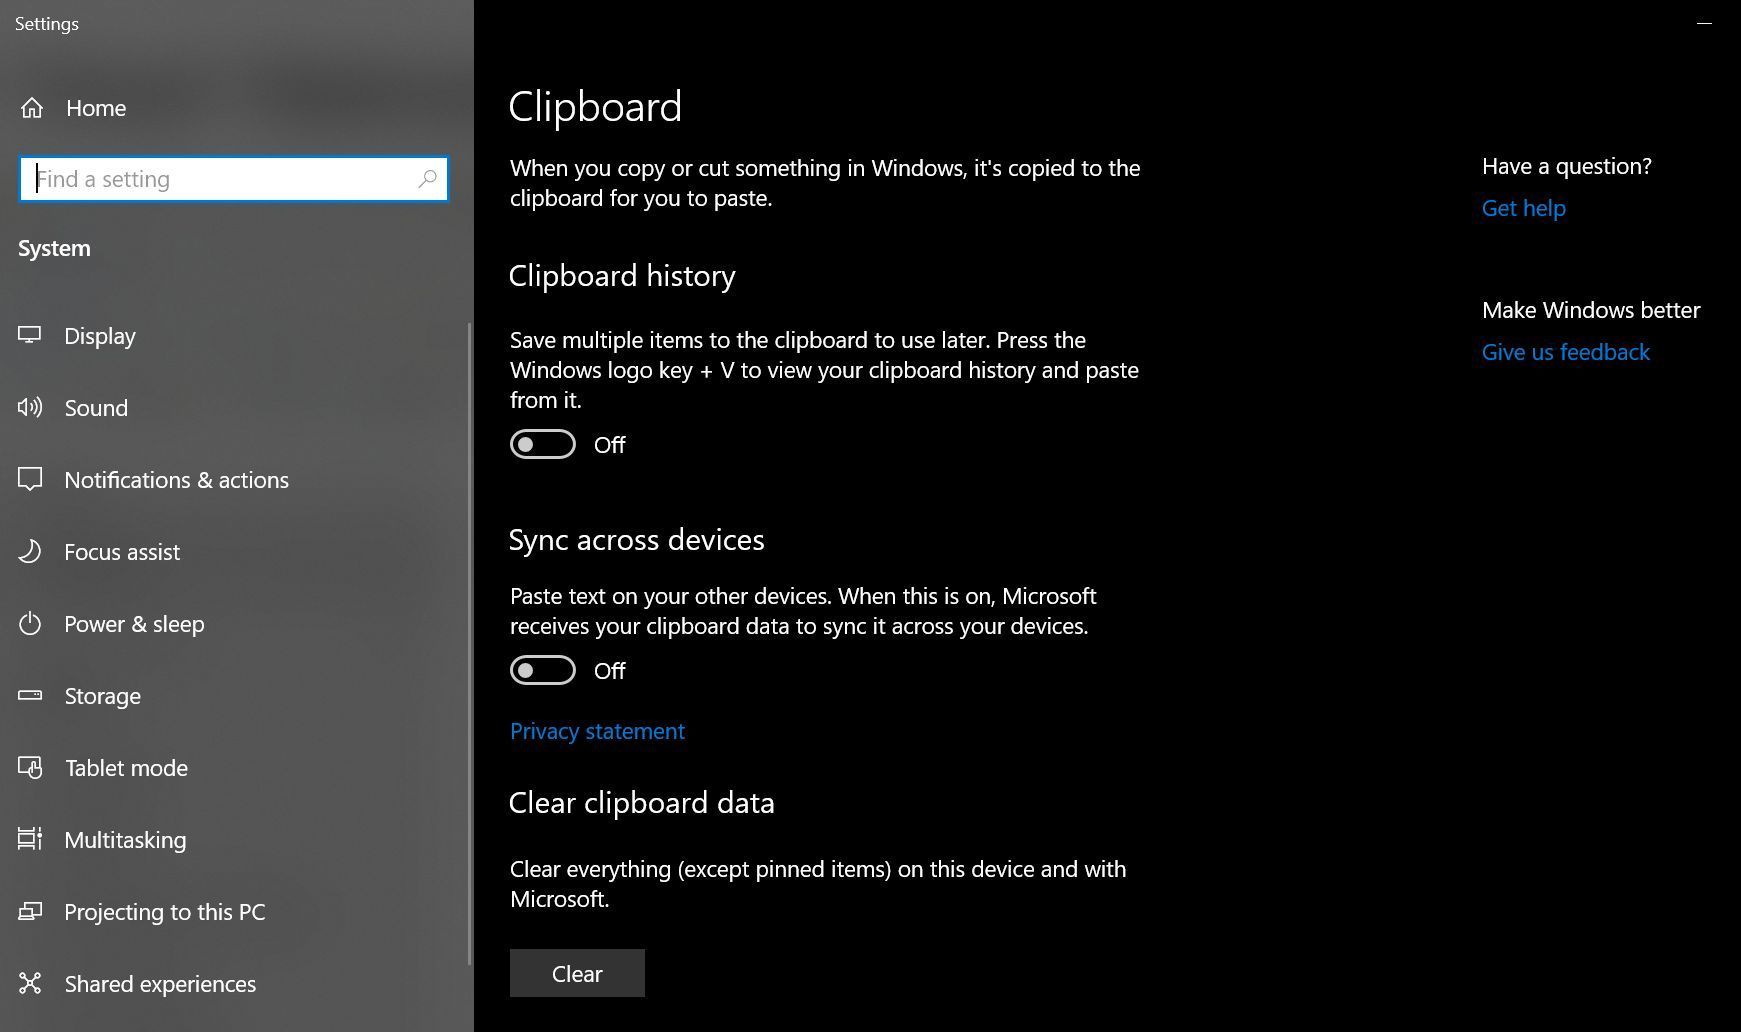
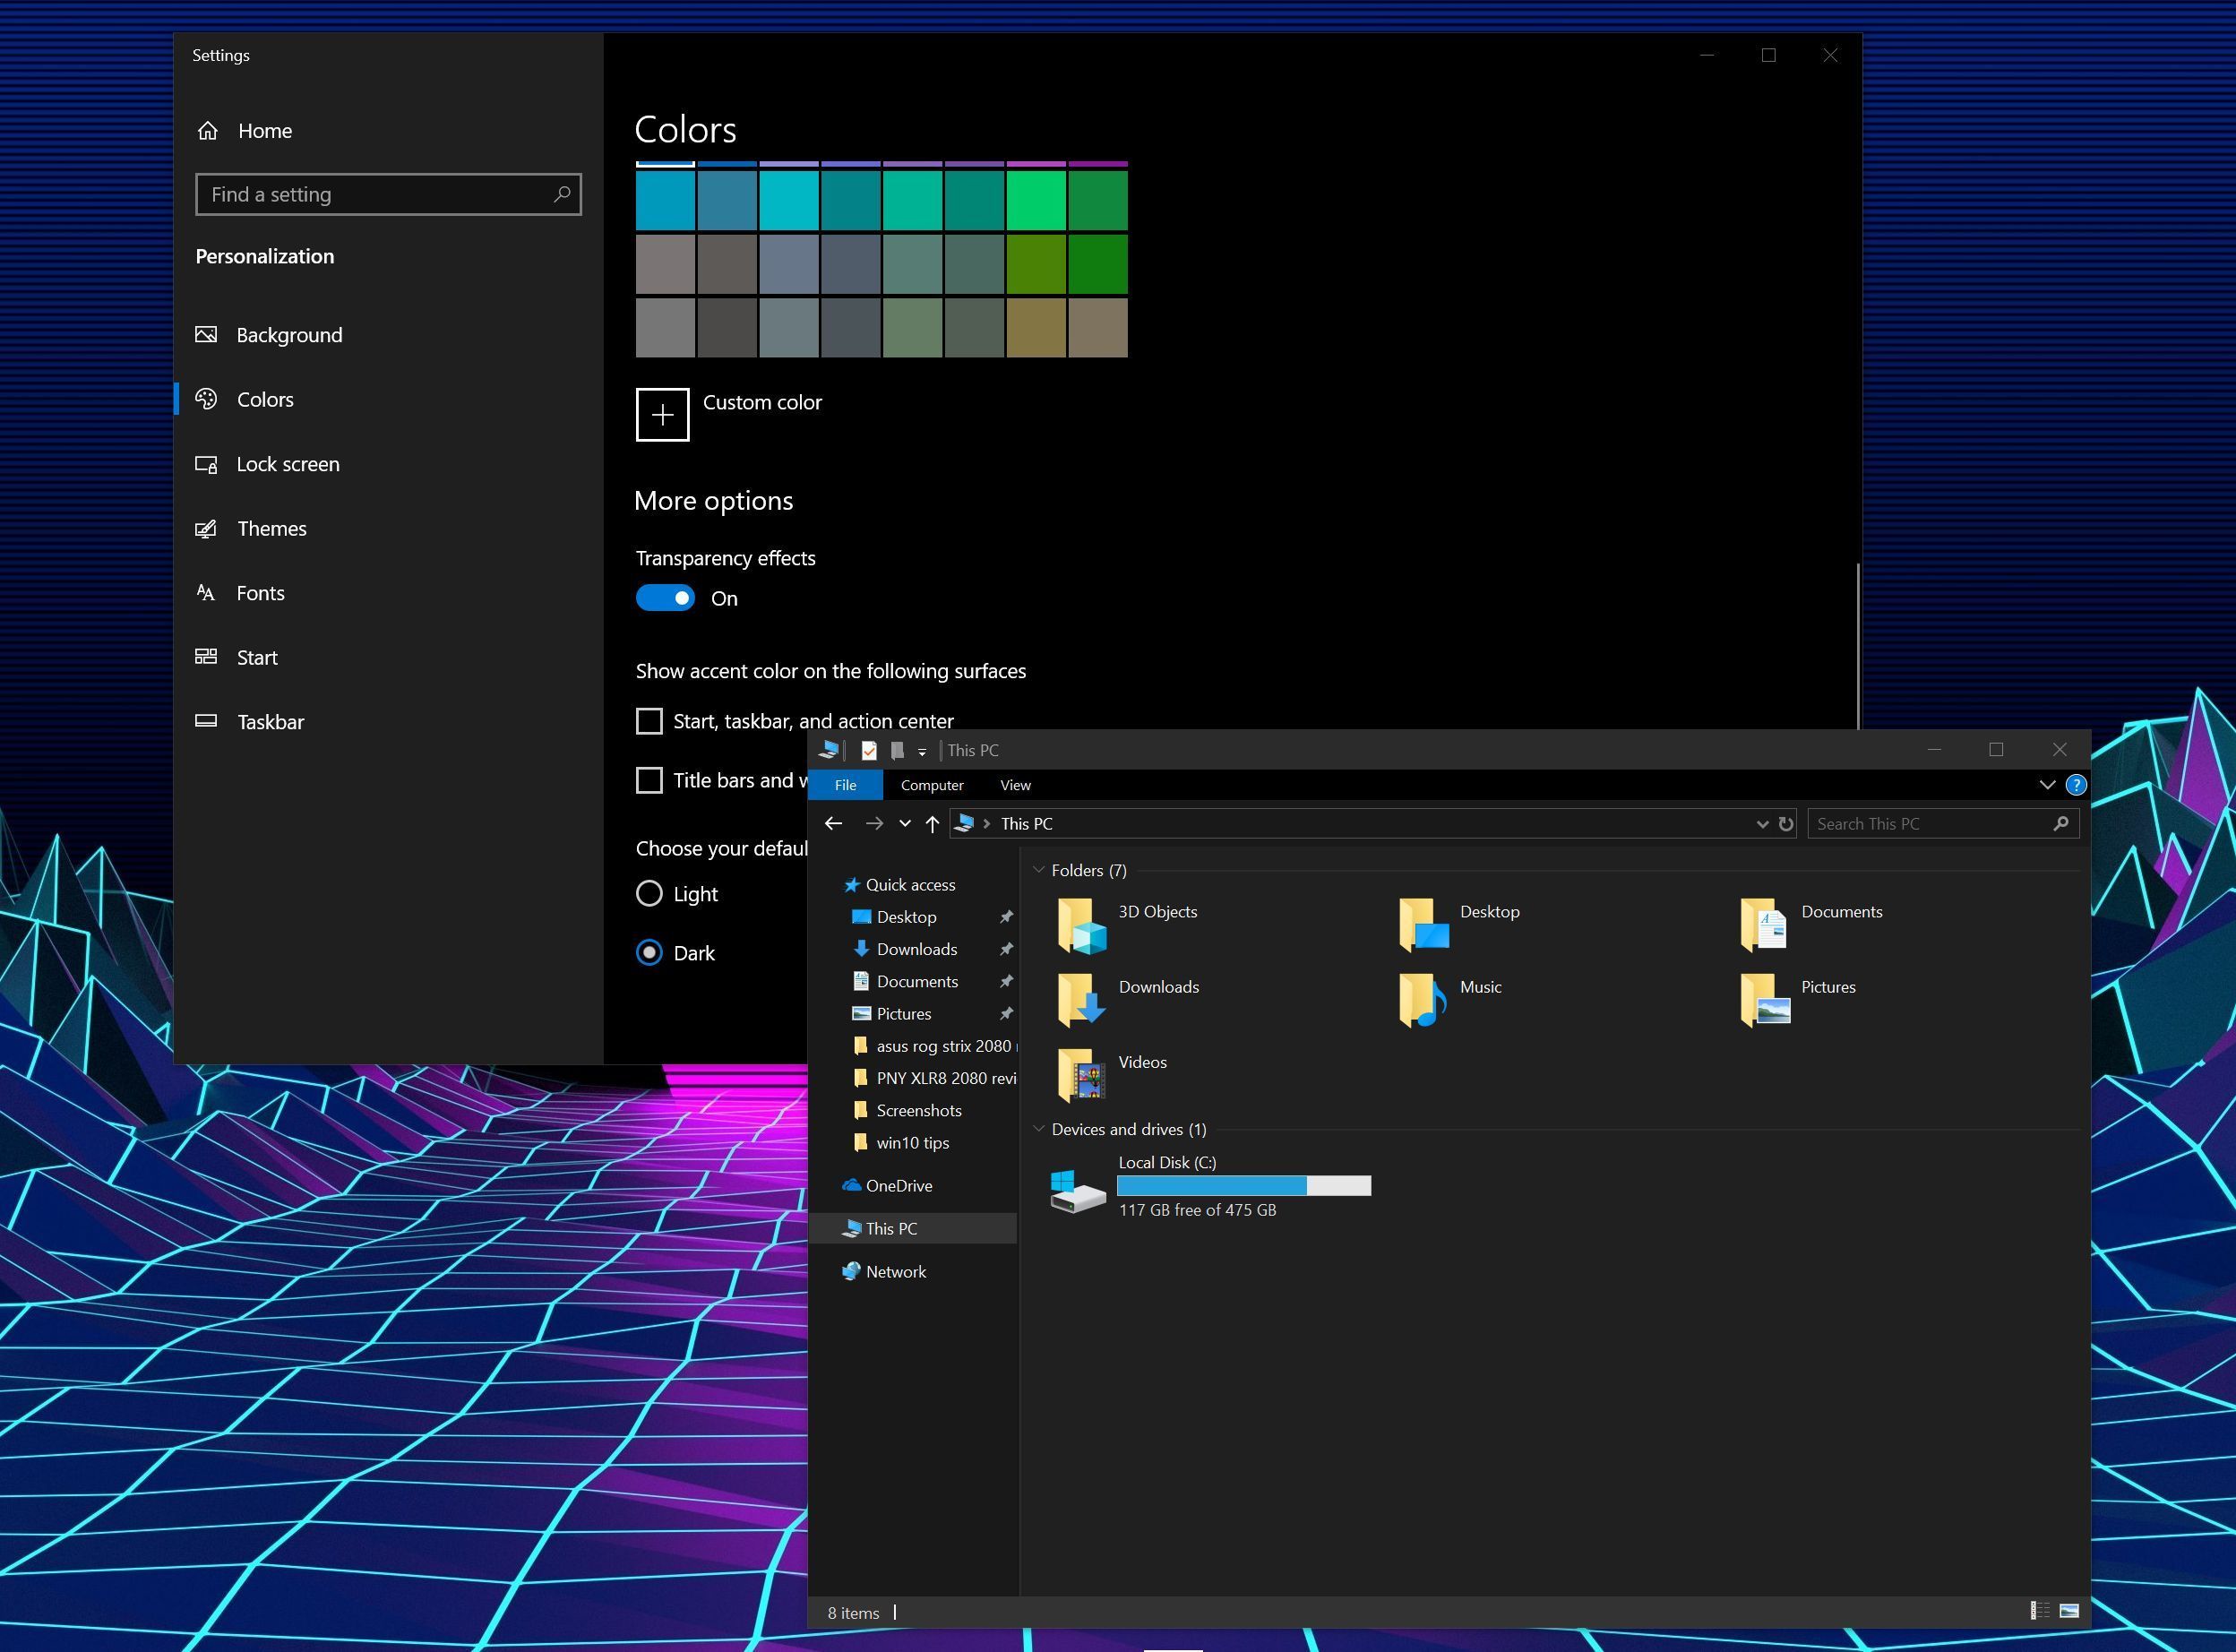
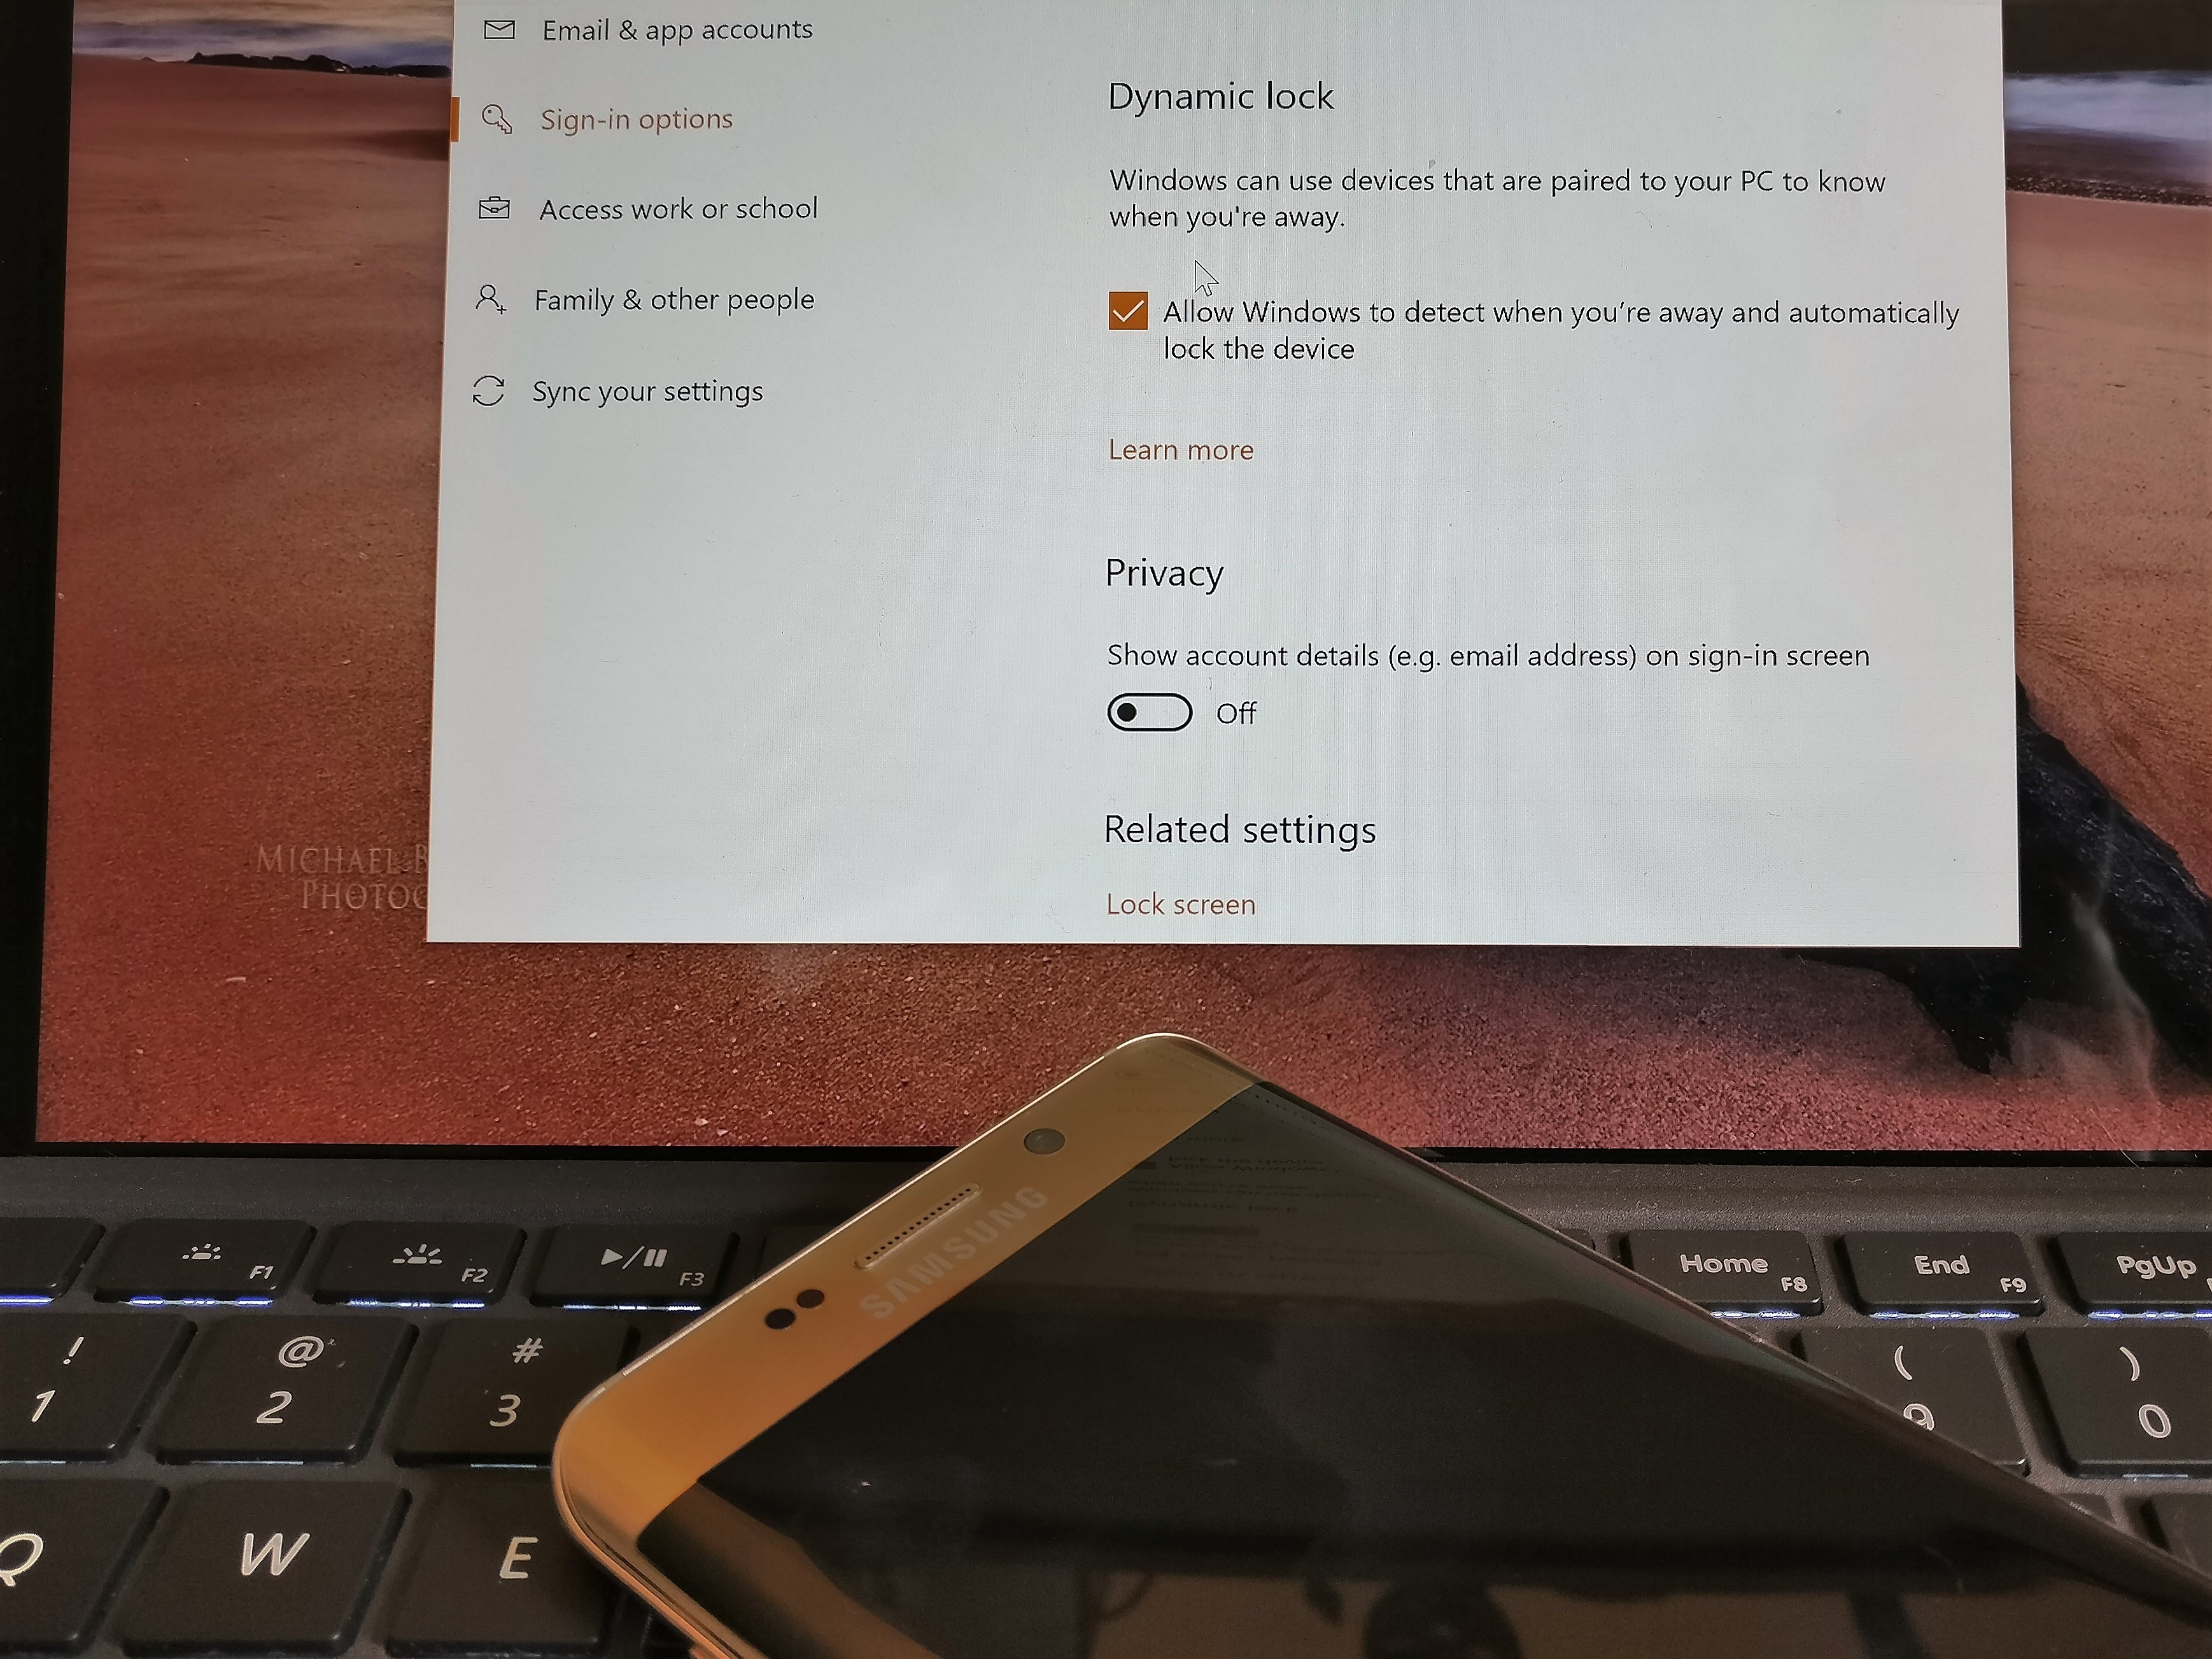
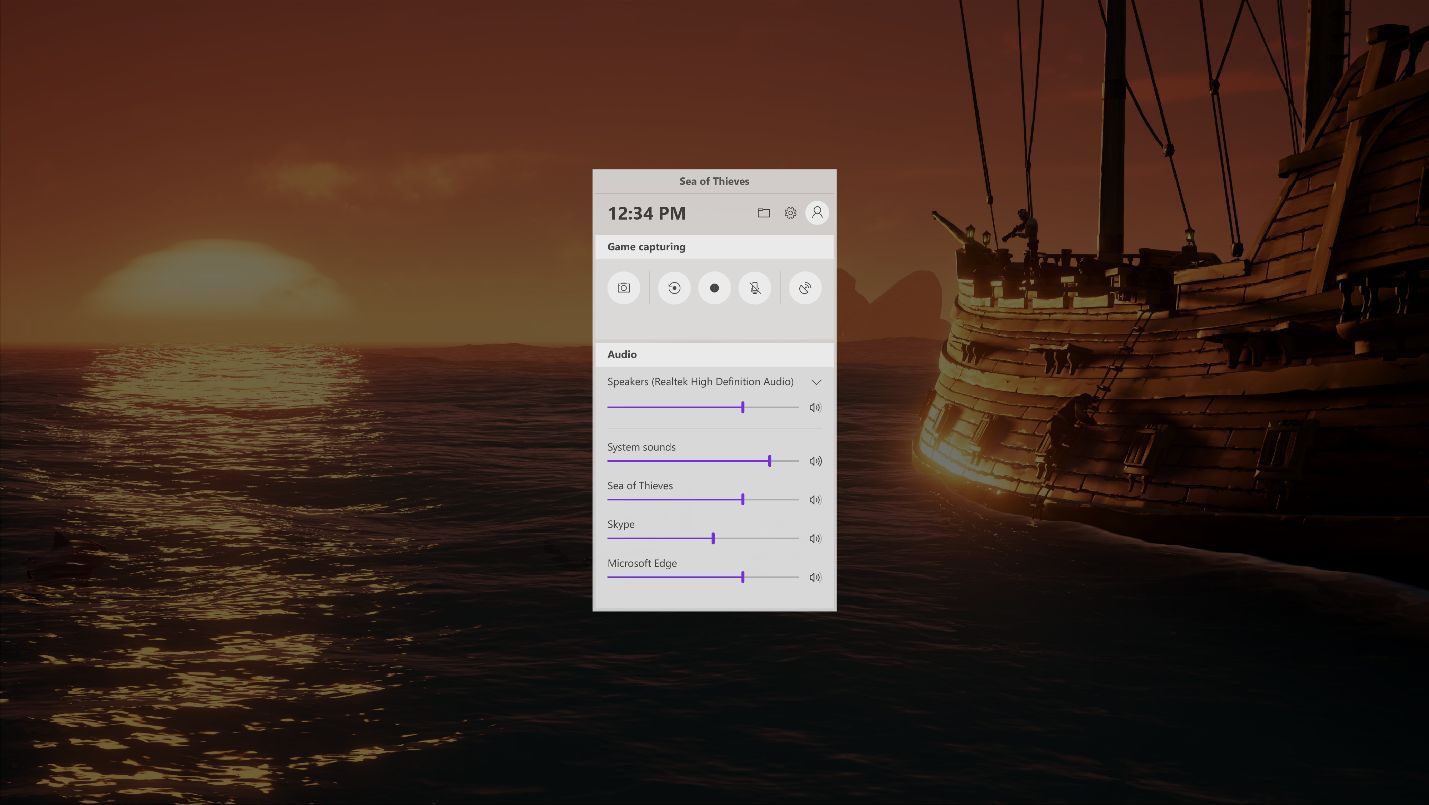
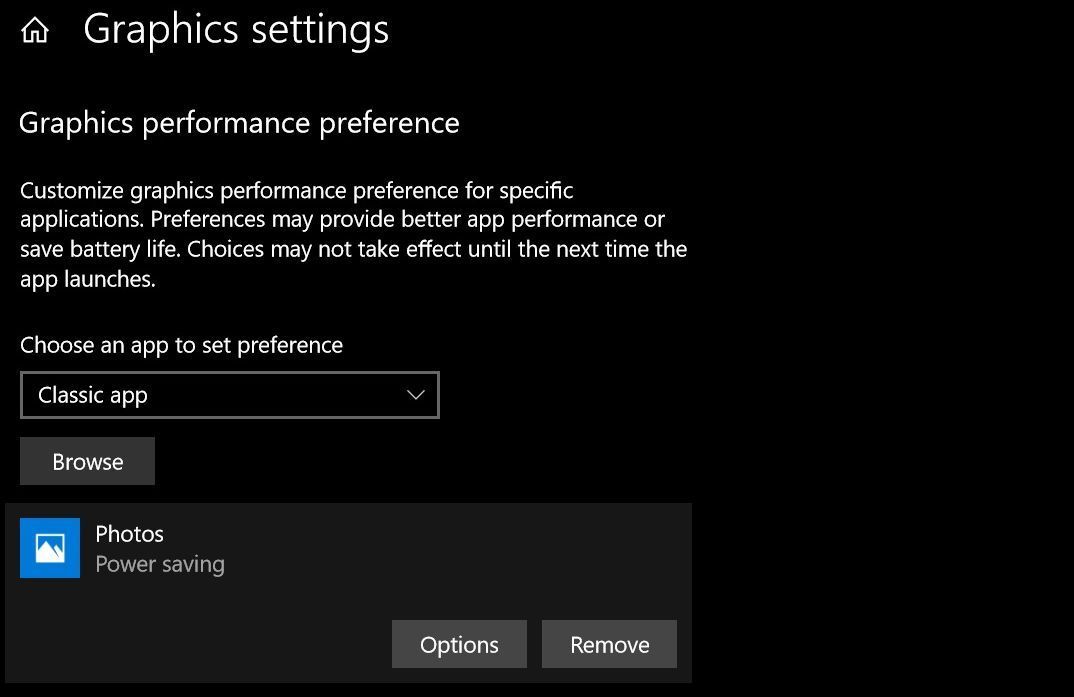
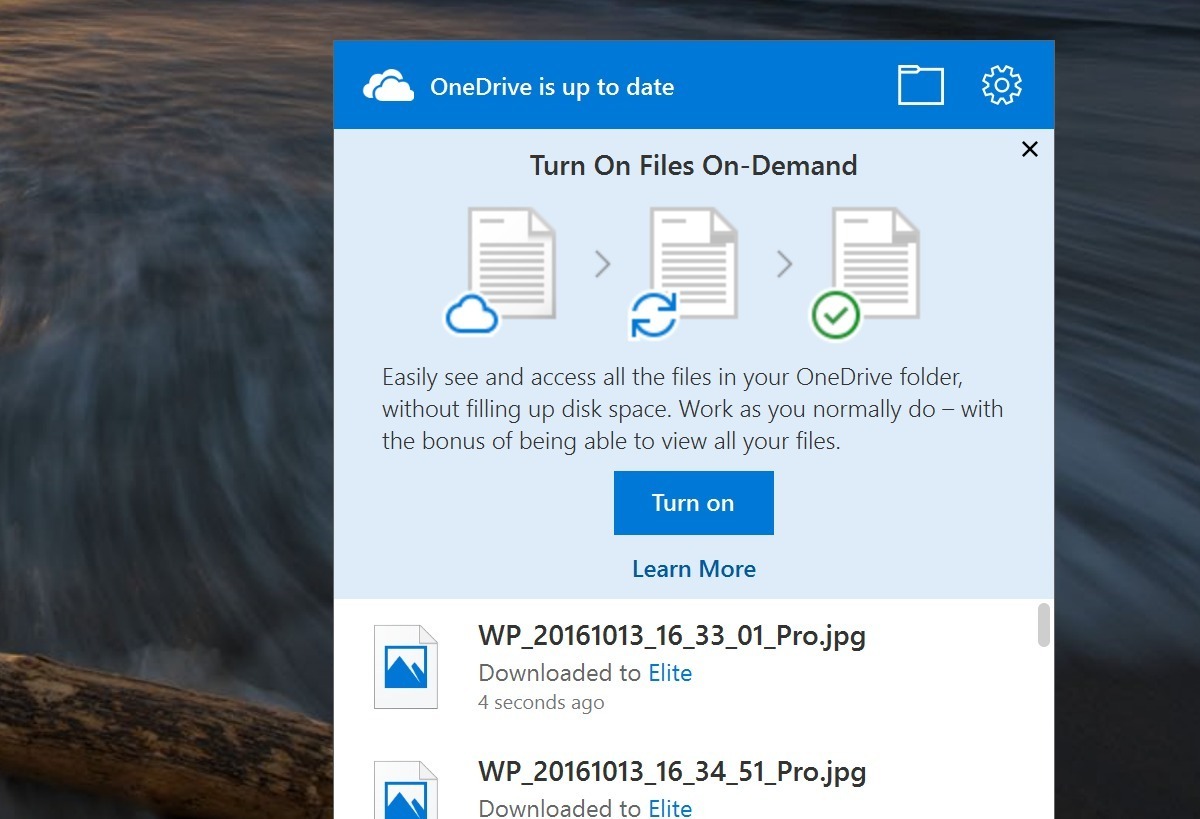
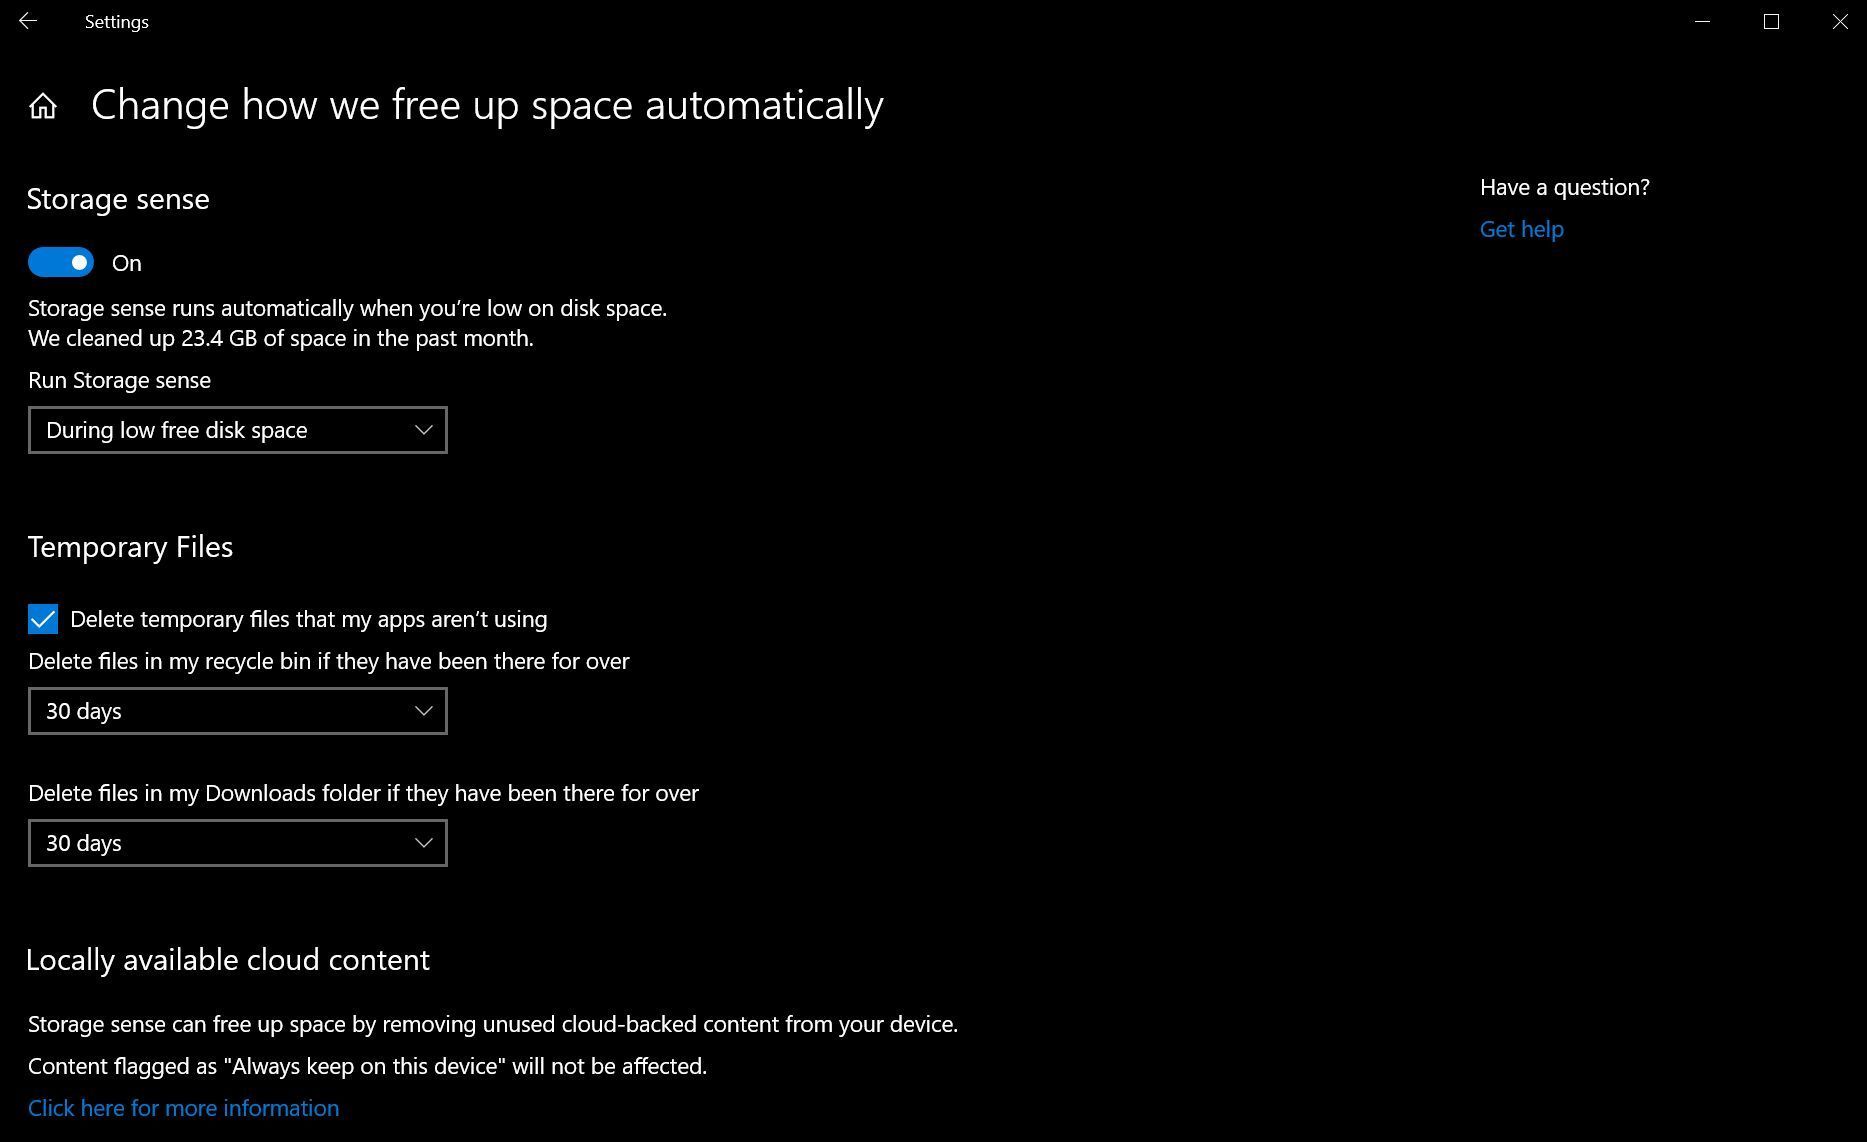
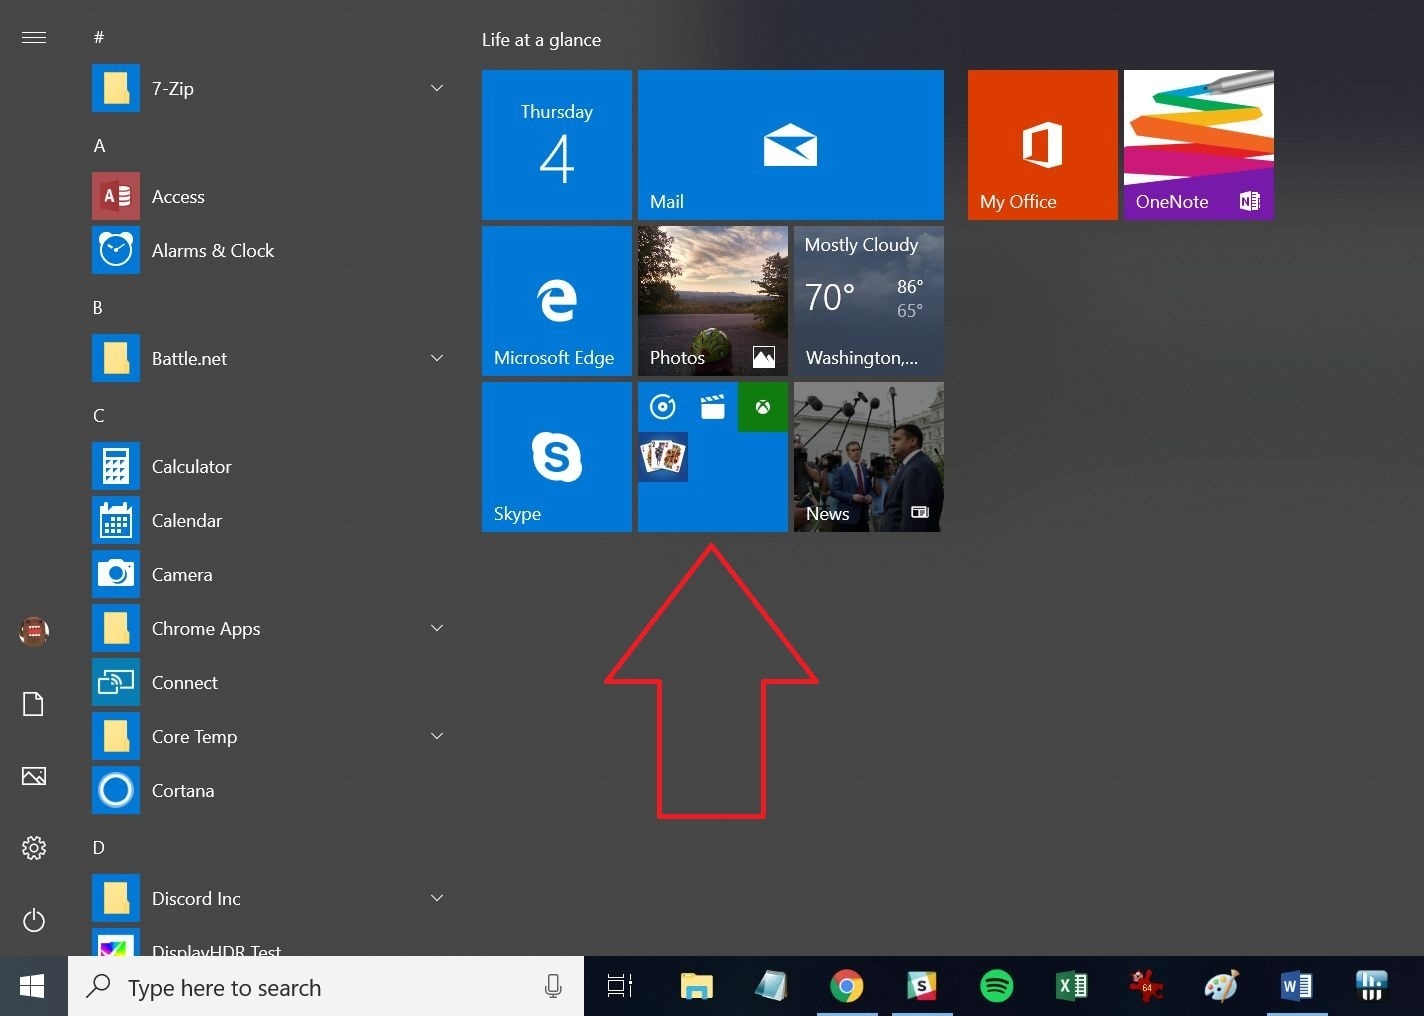
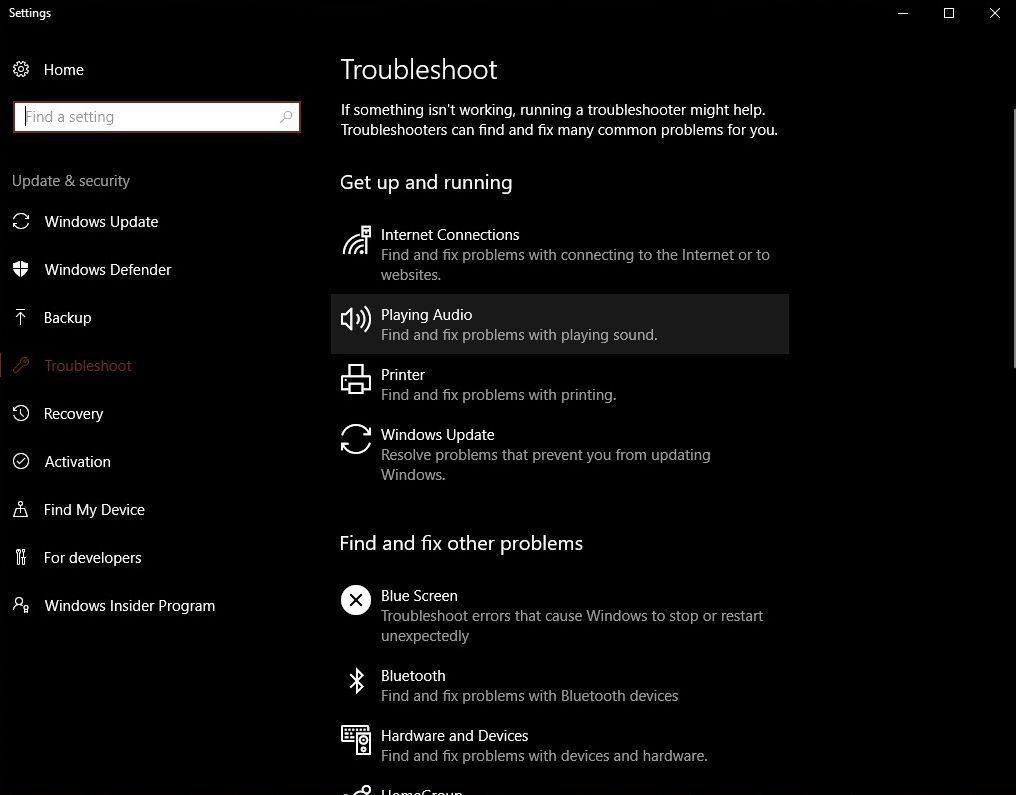
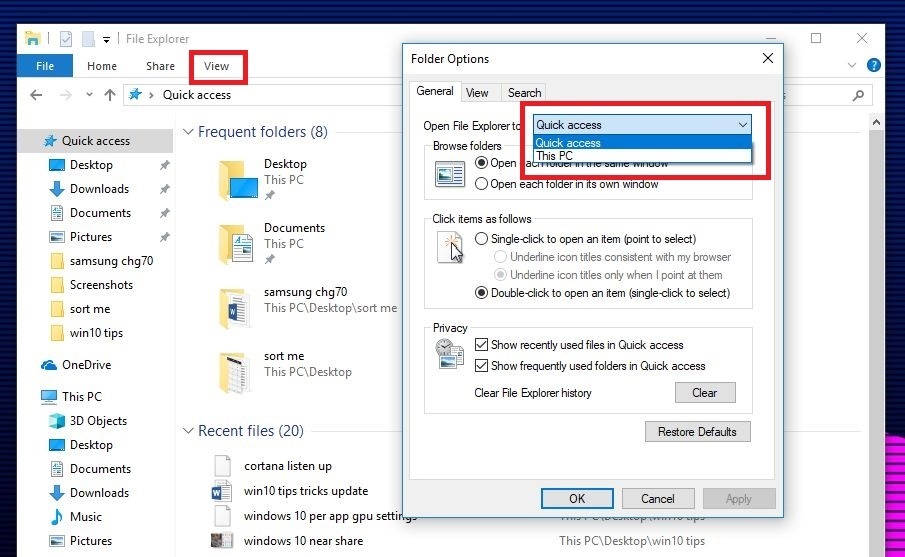
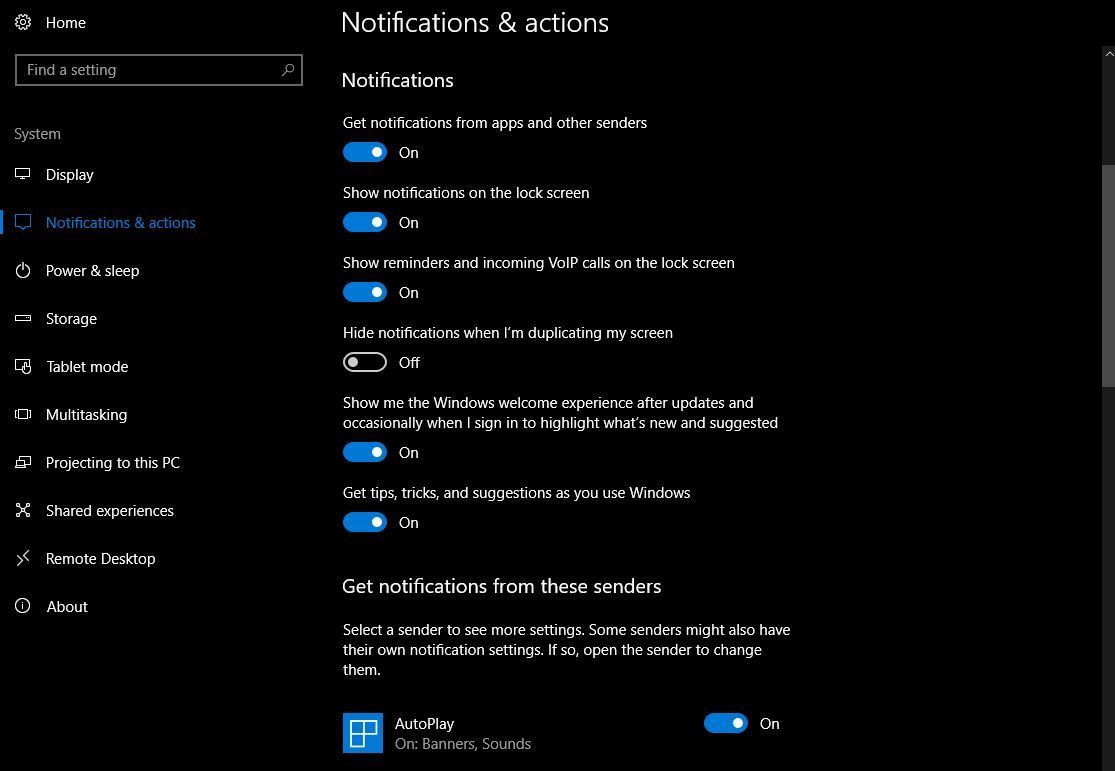
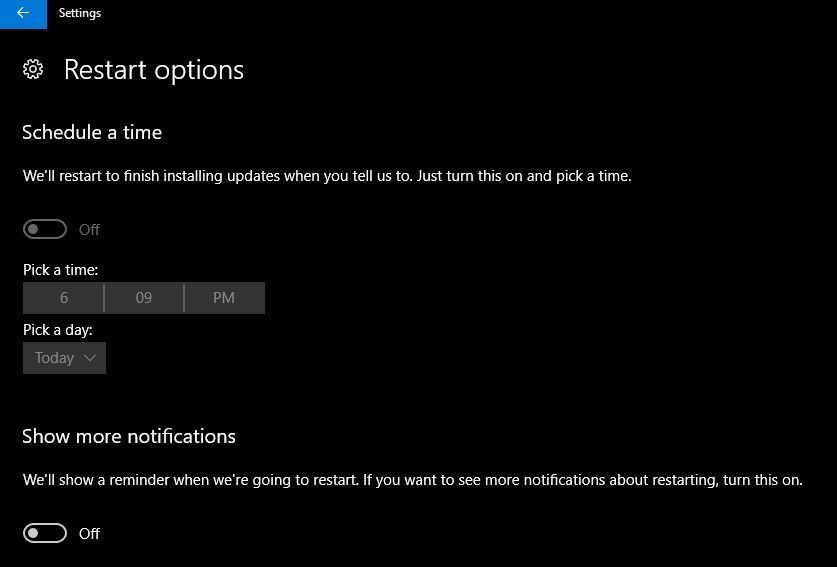
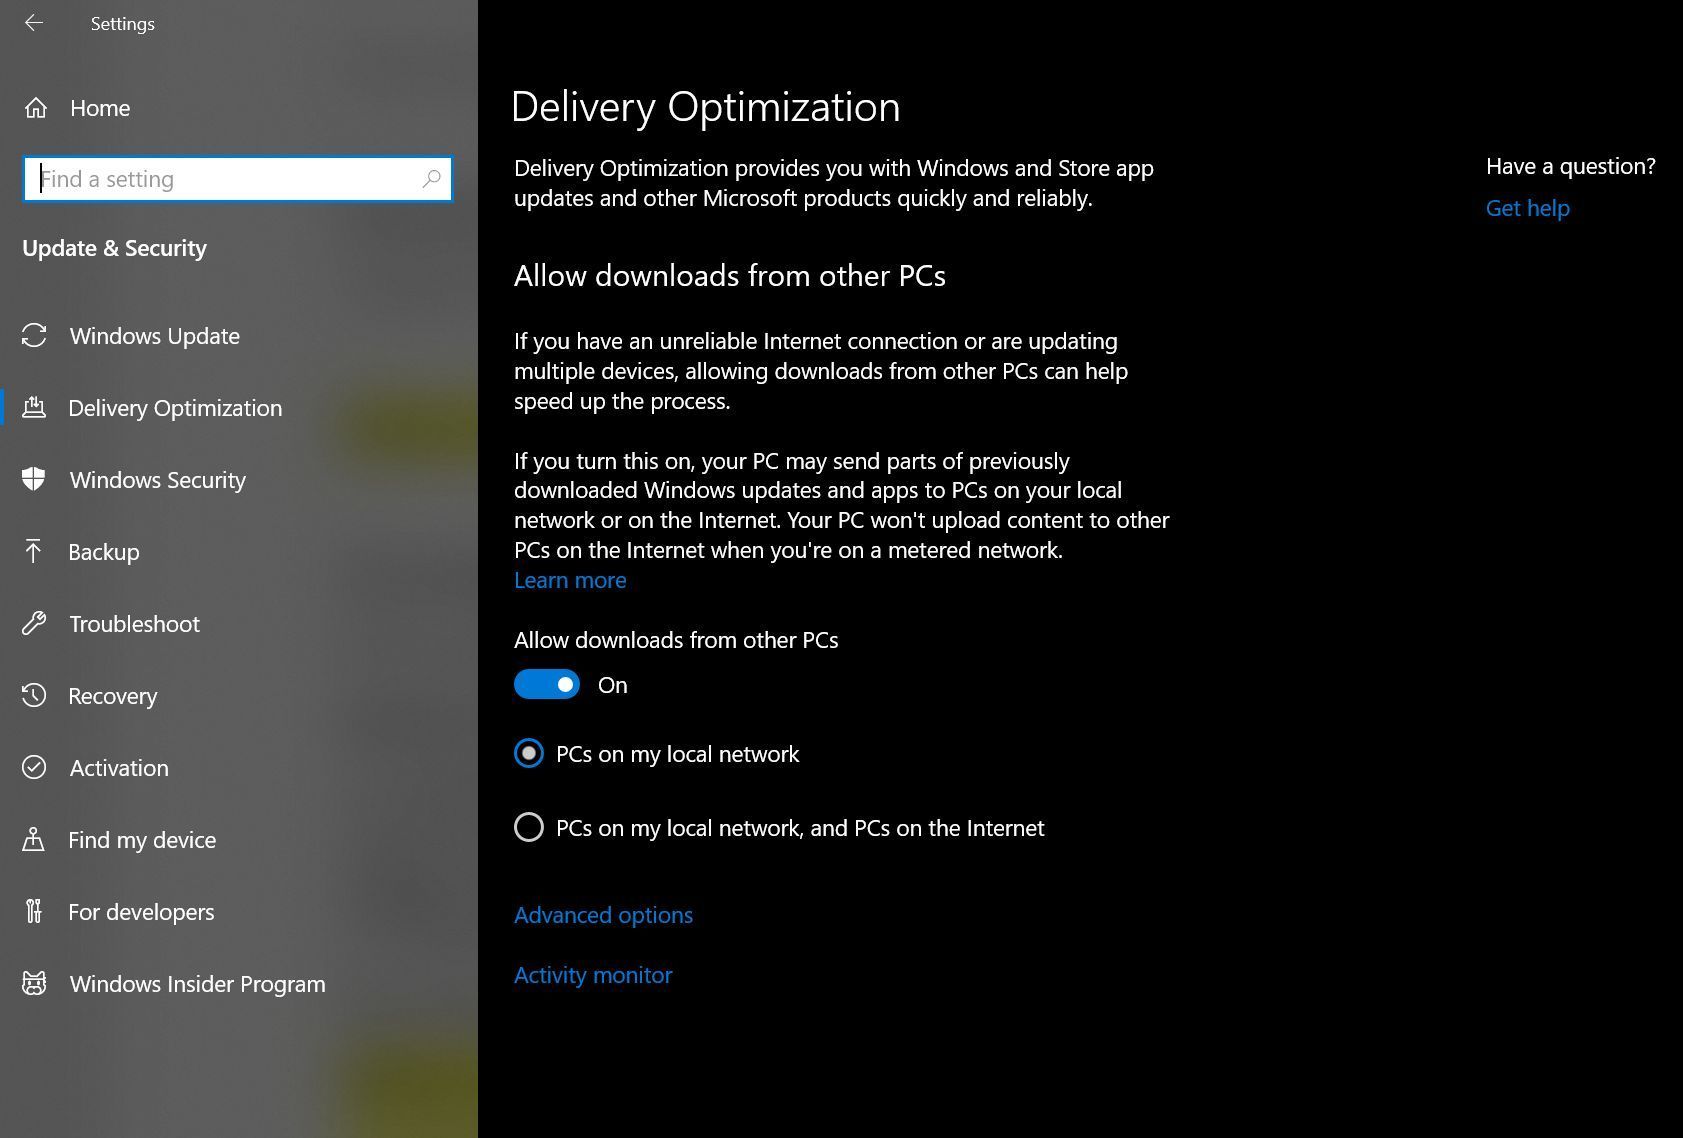

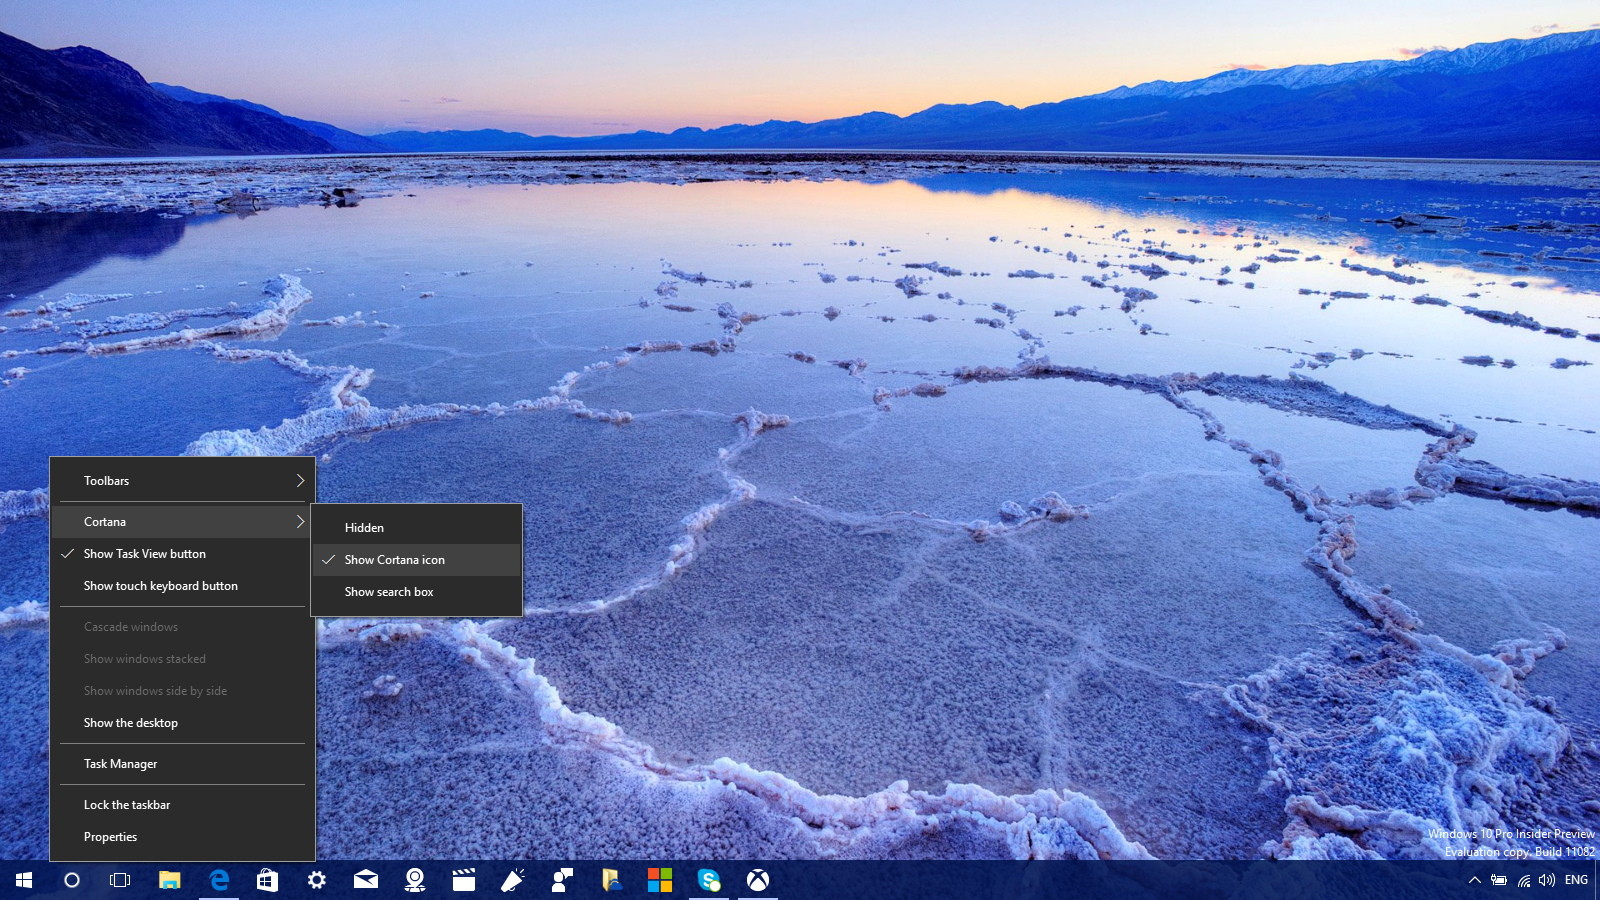




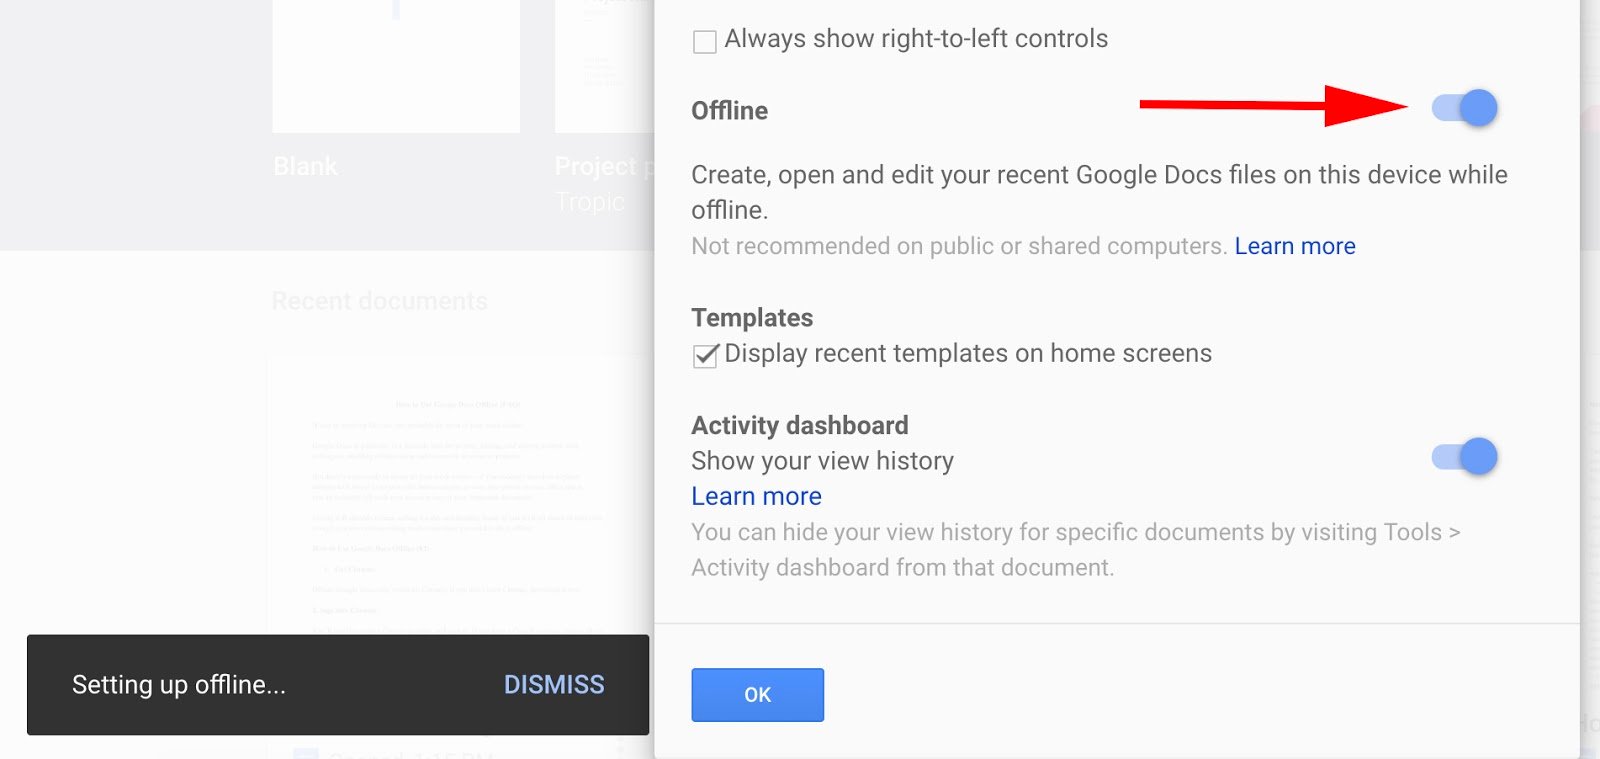


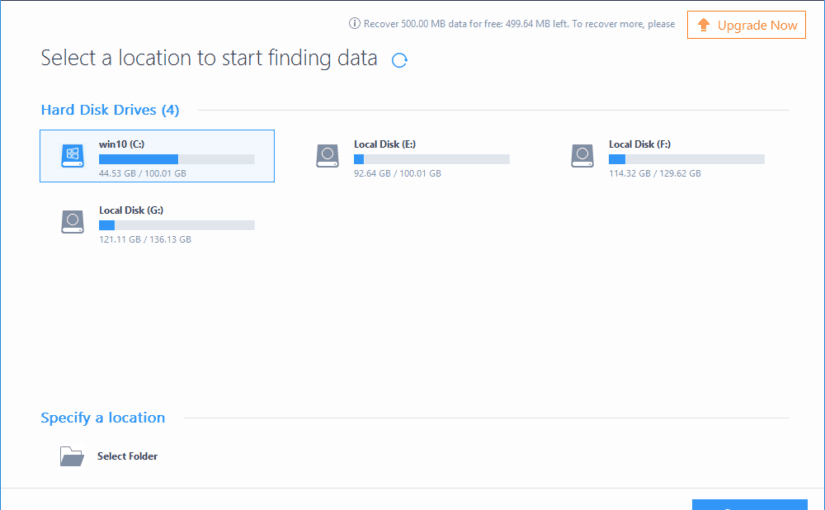
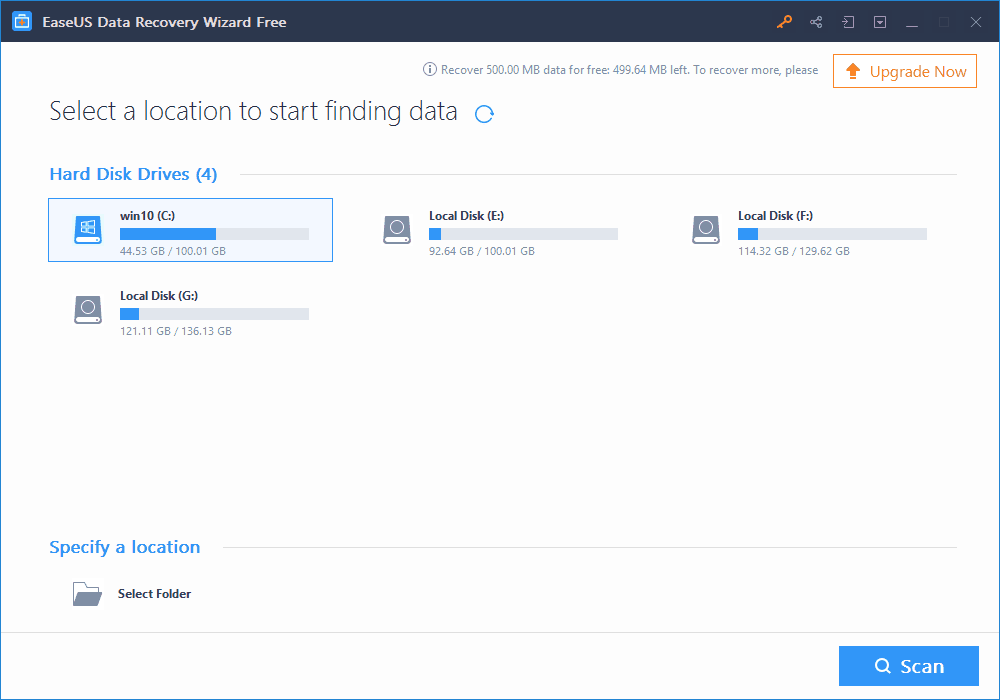


You must be logged in to post a comment.