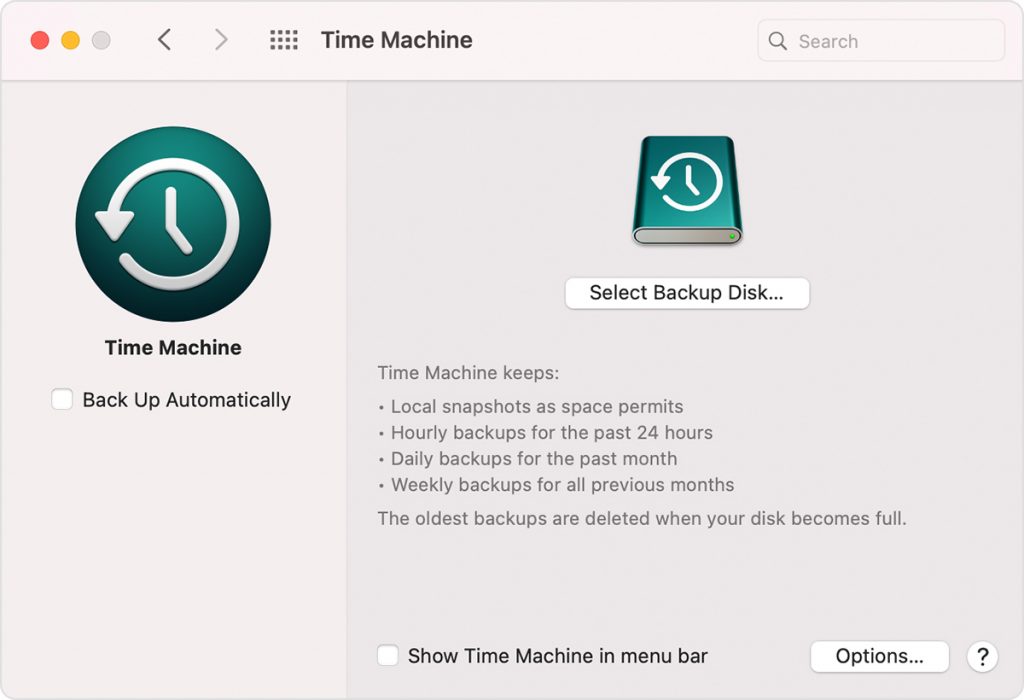
Creating a backup of your Mac is the only guarantee you can have of never losing your data and Apple has made it incredibly easier for you with Time Machine.
Time Machine is a built-in backup feature of your Mac, to automatically back up your personal data, including apps, music, photos, email, and documents. Having a backup allows you to recover files that were deleted, or that were lost because the hard disk (or SSD) in your Mac needed to be erased or replaced.
In this article, we will walk you through:
- How to create a Time Machine backup
- How to restore your Mac from a backup
- Backup disks you can use with Time Machine
- How to move your content to a new Mac
How to Create a Time Machine backup
To create backups with Time Machine, all you need is an external storage device. After you connect the storage device and select it as your backup disk, Time Machine automatically makes hourly backups for the past 24 hours, daily backups for the past month, and weekly backups for all previous months. The oldest backups are deleted when your backup disk is full.
Connect an external storage device
Connect one of the following external storage devices, sold separately. Learn more about backup disks that you can use with Time Machine.
- External drive connected to your Mac, such as a USB or Thunderbolt drive
- Network-attached storage (NAS) device that supports Time Machine over SMB
- Mac shared as a Time Machine backup destination
- AirPort Time Capsule, or external drive connected to an AirPort Time capsule or AirPort Extreme Base Station (802.11ac)
Select your storage device as the backup disk
- Open Time Machine preferences from the Time Machine menu in the menu bar. Or choose Apple menu > System Preferences, then click Time Machine.
- Click Select Backup Disk.

Enjoy the convenience of automatic backups
After you select a backup disk, Time Machine immediately begins making periodic backups—automatically and without further action by you. The first backup may take a long time, but you can continue using your Mac while a backup is underway. Time Machine backs up only the files that changed since the previous backup, so future backups will be faster.
To start a backup manually, choose Back Up Now from the Time Machine menu in the menu bar. Use the same menu to check the status of a backup or skip a backup in progress.
You must be logged in to post a comment.