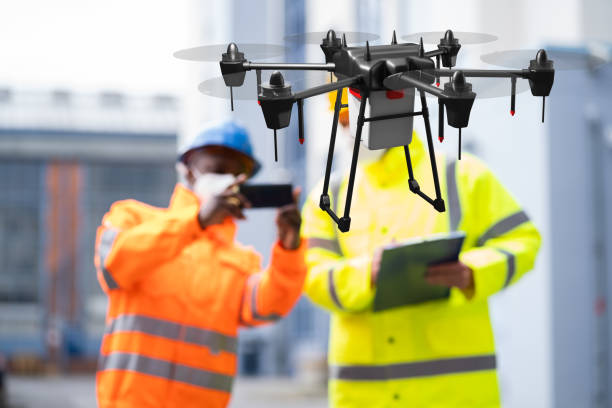
Capturing stunning aerial images of properties has never been easier. Drones, with their ability to soar high and capture expansive views, have become an essential tool in real estate photography. These unmanned aerial devices combine advanced technology with high-altitude photography, transforming how real estate properties are marketed.
Why Drones are Good for Real Estate Photography
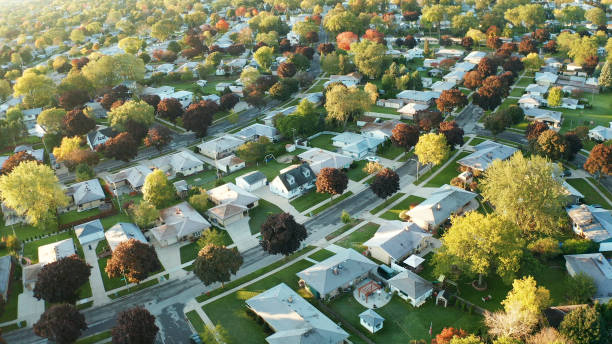
As the demand for drones in real estate photography grows, their affordability has increased, making high-quality aerial shots accessible to more professionals. However, selecting the best drone and mastering its use can be daunting, whether you’re new to drone photography or already have some experience.
Here are nine essential tips to help you maximise your real estate drone photography journey:
1. Choose the Right Drone for Real Estate
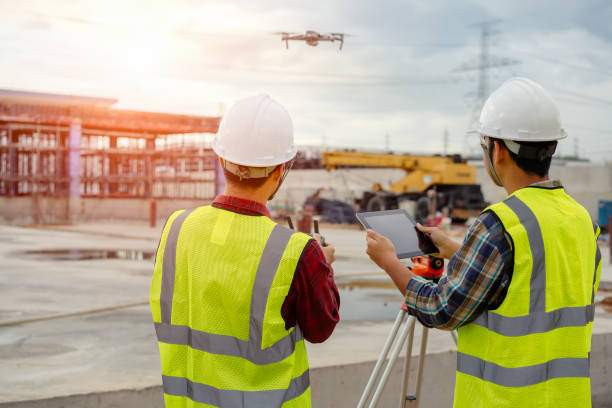
With a multitude of drones available, selecting the best one for real estate photography requires consideration:
- Integrated vs. Custom Cameras: Drones with built-in cameras may offer convenience but can have lower resolution. Drones that allow you to attach your own camera, such as a GoPro, might provide superior image quality and flexibility.
- Skill Level: Beginners should opt for lightweight, durable drones that are easy to handle and affordable. These models generally have fewer features but are perfect for getting started.
- Drone Capabilities: Determine whether you need a drone for indoor or outdoor use, night-time shooting capabilities, or extended range. Choose a drone that aligns with your specific needs.
2. Read the Drone’s Instruction Manual
While it may not be the most exciting task, reading the instruction manual is necessary. It contains important information about your drone’s functions, helping you avoid common pitfalls and allowing you to focus on capturing impressive property shots.
3. Get Familiar with Drone Features
Drones come with a variety of features to enhance your real estate photography:
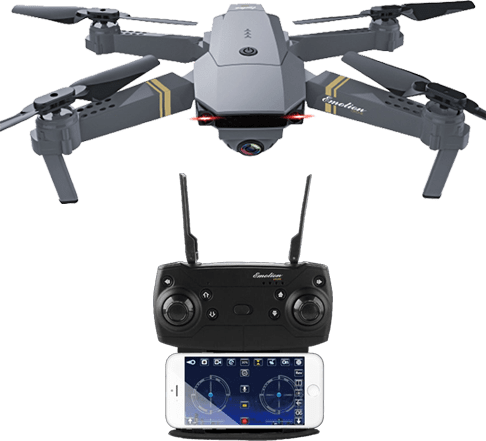
- Smartphone Feed: This feature allows you to view real-time footage from your drone, helping you frame shots more accurately.
- Smart Mode: Ideal for beginners, this mode stabilises the drone in challenging conditions, ensuring smoother and more professional-looking footage.
- Tracking: Use the “follow-me” option to capture dynamic shots of the property or surroundings by keeping the drone focused on a moving subject.
- Geofence: This feature restricts the drone’s flight area, helping you stay within safe and legal boundaries.
4. Understand Local Regulations
Drone regulations vary by location. In the USA, for example, UAVs weighing between 0.55 and 55 lbs require FAA registration. Make sure to research and comply with local laws regarding where you can fly your drone to avoid fines and legal issues.
5. Prepare a Pre-Flight Checklist
Before taking off, ensure you’ve covered these checks:
- Flight Zone: Verify whether you are flying in a private or public area.
- Weather Conditions: Check that the weather is suitable for flying.
- Surroundings: Be aware of obstacles and ensure the area is safe for flying.
- Battery Life: Ensure all batteries are fully charged.
- Camera Settings: Adjust the drone’s camera settings to suit the property’s lighting and composition.
- Drone Components: Inspect propellers, motors, and controls for proper function.
6. Drone Training
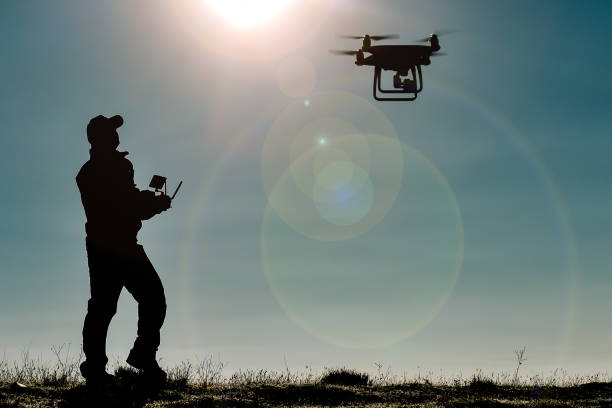
To avoid accidents, practice flying your drone in a spacious area. This will help you get accustomed to the controls and reduce the risk of damaging your equipment.
7. Master Real Estate Photography Techniques
To capture compelling real estate images, follow these photography principles:
- Apply Basics: Use techniques like the rule of thirds and leading lines to enhance your shots.
- Look for Patterns: Seek out interesting patterns and symmetry from above to highlight property features.
- Keep Compositions Simple: Focus on clean, uncluttered shots that showcase the property effectively.
- Utilise Light: Shoot during times of day that create attractive lighting and shadows.
8. Edit Your Photos
Post-processing is key to achieving professional results. Use editing software like Photoshop or Lightroom to edit your photos, correct colours, and improve composition.
9. Invest in Drone Accessories
Consider these accessories to optimise your real estate drone photography:
- Extra Batteries: Extend your shooting time with additional batteries.
- Propeller Guards: Protect your drone and avoid accidents with propeller guards.
- Extra Propellers: Keep spares on hand for quick replacements.
- Additional SD Cards: Ensure you have ample storage for high-resolution images and videos.
Also, consider fun accessories such as a mini landing pad for safer landings and LED lights for shooting in low-light conditions.
You must be logged in to post a comment.