If you just graduated from a college and still want to see those amazing pictures of your friends taking during your graduation by your friends and relatives. Well, you can do that now without visiting the timeline of your friends.
Yesterday, Facebook rolled out yet another feature, which lets up to 50 users contribute pictures to the same album on users timeline.
- Also Read: How to Embed Facebook Post into a Blog Post
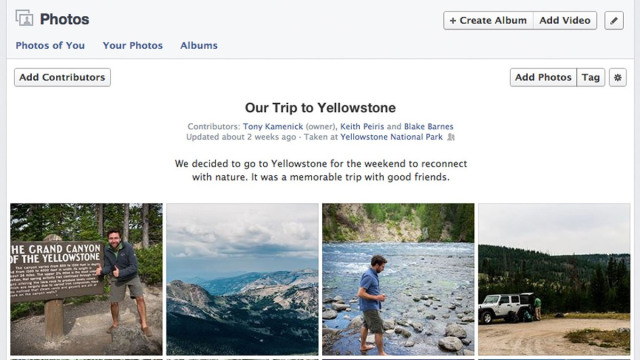 |
| Image credit: techcrunch |
Creating a shared photo album on Facebook is quite easy. It only require you to follow the steps below and in a few seconds you will be rocking your Facebook shared album.
Simple Guide to Create your Facebook Shared Album
- After you log in to Facebook, click on the “Photos” tab to the far left of the News Feed or at the top of your profile page. You will be taken to your stream of photos, where you will see a “Create Album” tab in the top right-hand corner; click on it
- Select the photos that you want to upload from your computer (you can always come back, and upload additional pictures later). As with any other photo album, you’ll be prompted to fill out information about the album you’re creating. Feel free to include as little or as much about the album as you want. In order to use the shared albums feature, you need to click the “Post Photos” button in the lower right-hand corner.
- At the top of the next screen, you will have the option to make the album a shared album by clicking on the button in the upper left-hand corner. You will then be able to search for, and add up to 50 of your Facebook friends as “contributors” to the album. This is also where you’ll want to take a moment to explore the album’s privacy settings.
- A shared album has three settings: public, friends of contributors and contributors only. You can also decide whether you want to allow contributors to invite others to the album. Deselecting the blue check box below the list of contributors will ensure that the album creator is the only user who is able to invite others to post photos in the album.
- If you ever need to go back and make changes to a shared album, you can do that, too. Just open the album, and click on the “Edit” button in the upper right-hand corner. You will then be able to remove or add contributors, change the album title or description, and alter privacy settings.
This feature is still new to Facebook and currently has some limitations. If you intend to use shared photo album on facebook, feel free to express your views and experiences in the comment section. Credits: Mashable.com