How to Restore your Mac from a Backup
MacOS Migration Assistant help you to transfer files from your Time Machine backup to your Mac. If you made a Time Machine backup of your Mac, Migration Assistant can use that backup to restore your personal files, including apps and everything in your user account.
If you prefer to restore just a few files or earlier versions of those files, learn how to use Time Machine to restore specific files on the Apple support article.
How to Use Migration Assistant
- Install MacOS
If you need to reinstall macOS, do that before continuing. For example, if your Mac starts up to a flashing question mark, you need to first reinstall macOS.
- Connect your backup disk to your Mac
Make sure that your Time Machine backup disk is connected to your Mac and turned on.
- Launch Migration Assistant app
Open Migration Assistant on your Mac. It’s in the Utilities folder of your Applications folder.
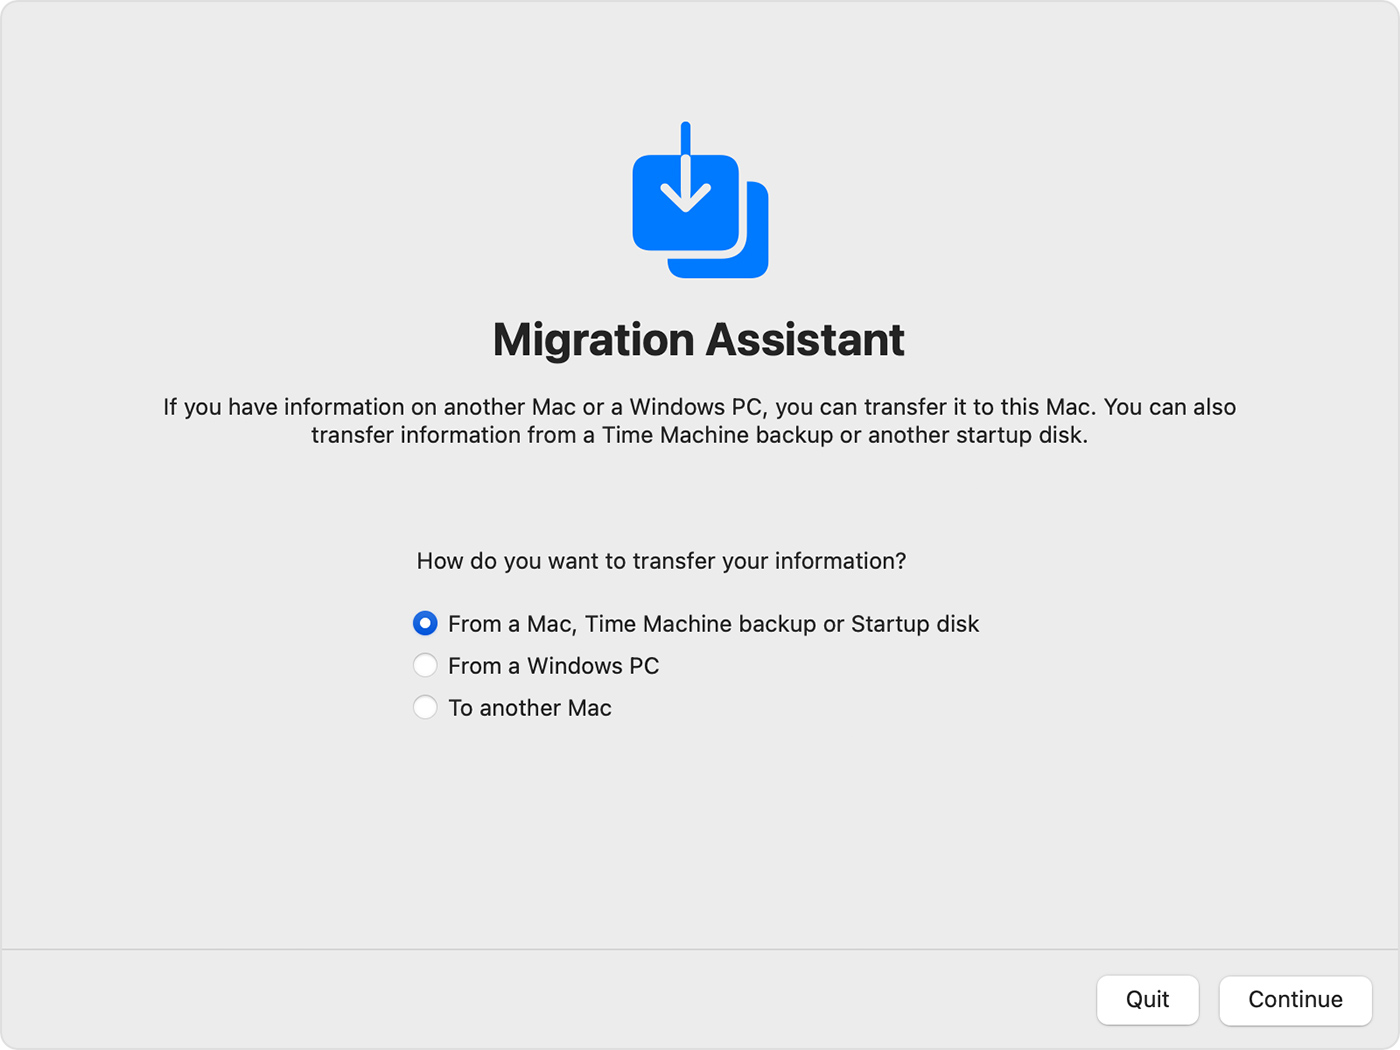
If your Mac starts up to a setup assistant, which asks for details like your country and network, continue to the next step, because the setup assistant includes a migration assistant. - Select backup restoration type
When asked how you want to transfer your information, select the option to transfer from a Mac, Time Machine backup, or startup disk. Then click Continue.
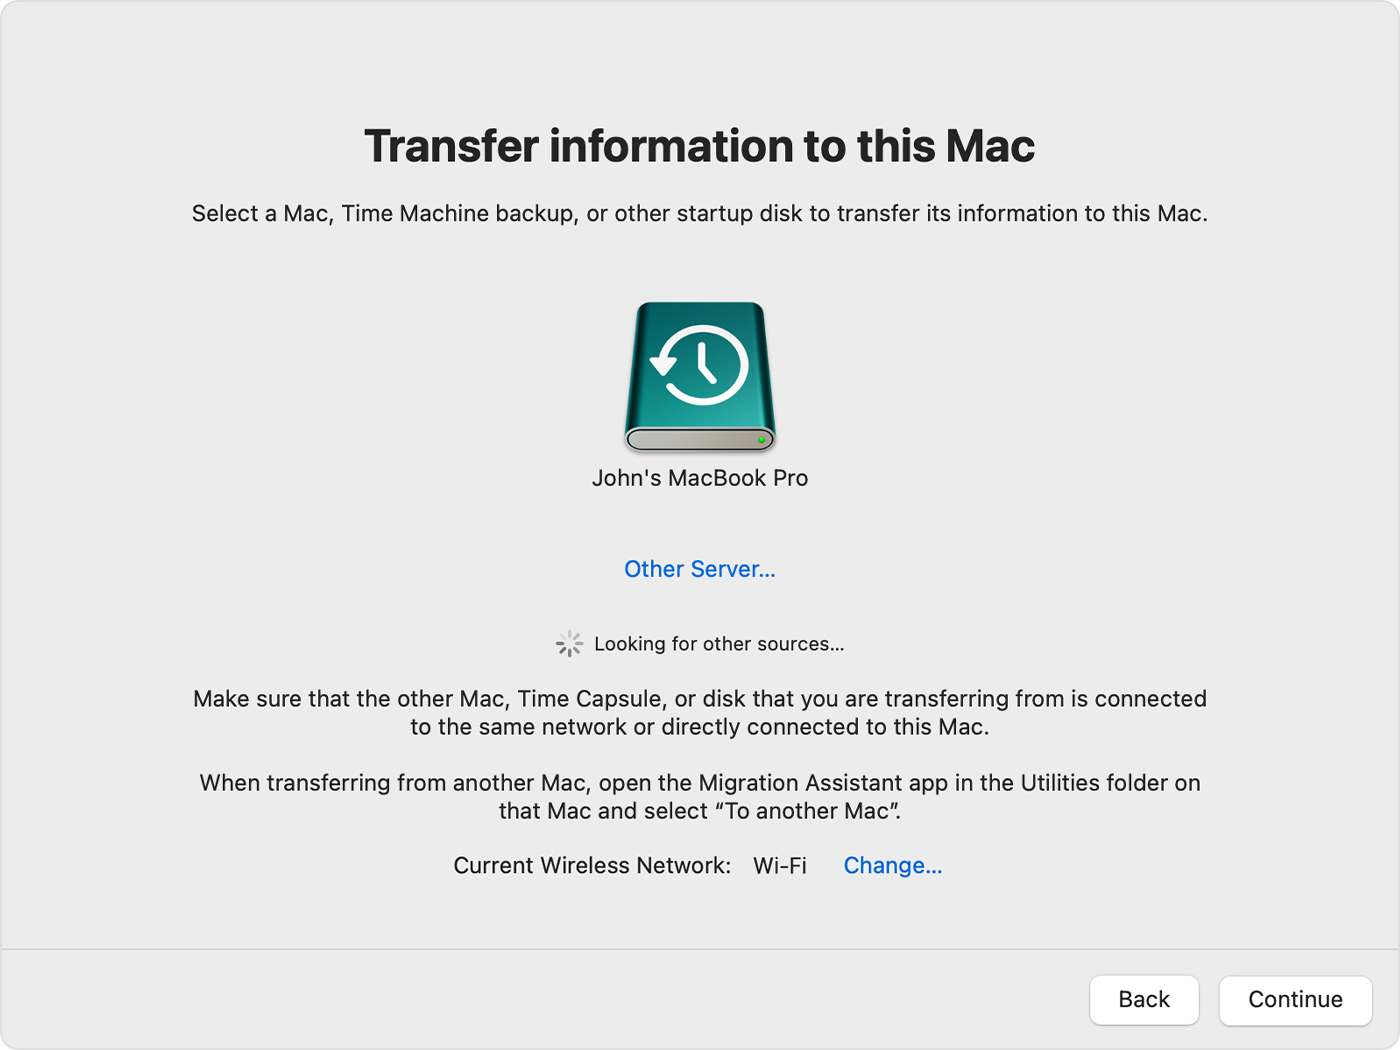
- Select your backup
Select your Time Machine backup, then click Continue.
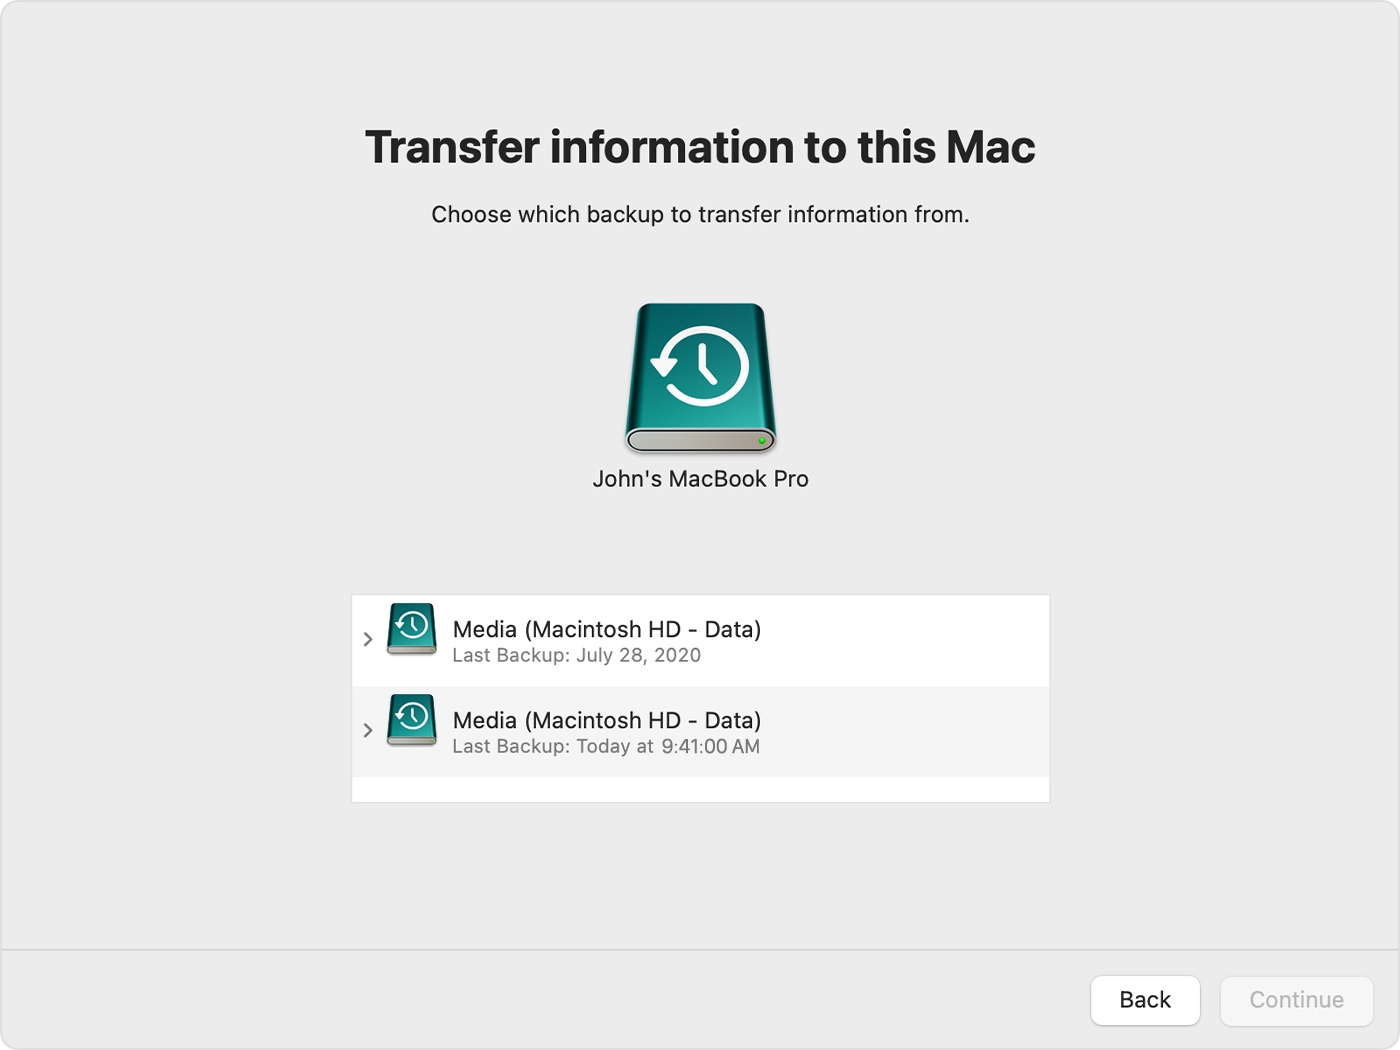
- Choose a backup source
Choose a backup and click Continue.
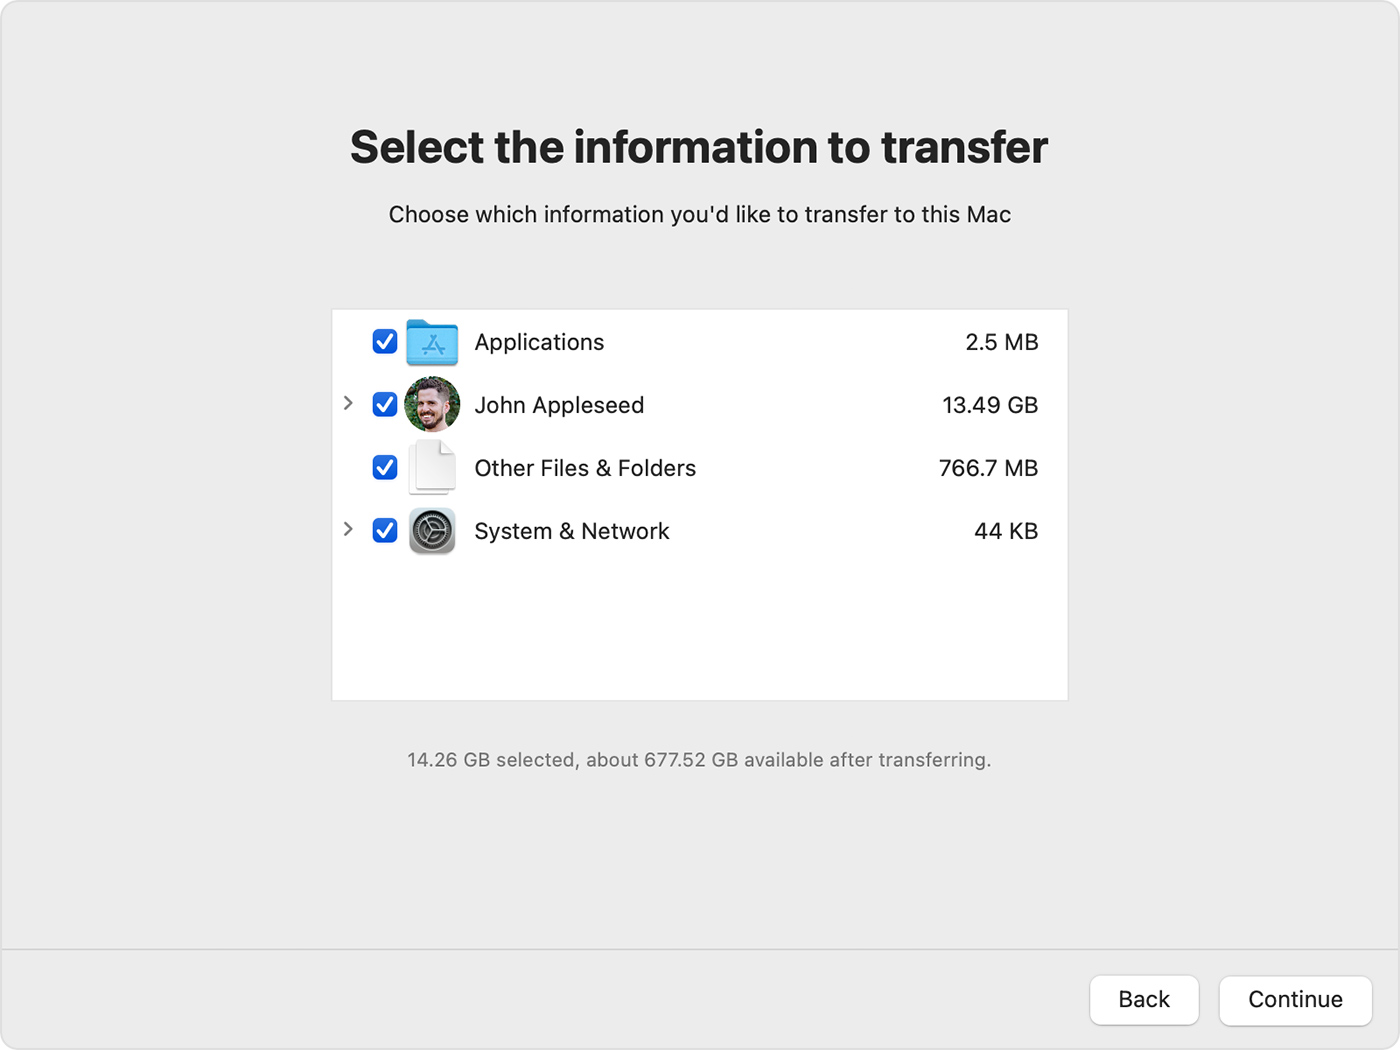
- Select the information to transfer.
In this example, John Appleseed is a macOS user account. If it has the same name as an account already on your Mac, you’re prompted to either rename the old account or replace the one on your Mac. If you rename, the old account will appear as a separate user on your Mac, with a separate home folder and login. If you replace, the old account will delete and then replace the account on your Mac, including everything in its home folder.
- Start backup restoration
Click Continue to start the transfer. Large transfers might need several hours to complete.