Android OS is gradually taking it’s place as the mobile king: every tom, dick and harry now own one. This insane increase in consumers has lead to the development of many third-party ‘useful’ Android application.

As a measure intended to shield your Android device from malwares synonymous with most third-party applications, the OS does not accept application unapproved by Google (unapproved applications may be installed but will not work correctly on non-rooted Android devices).
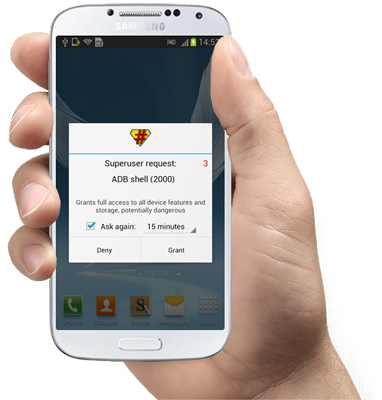
Rooting (or jailbreaking) your Android device gives you unimaginable control over your device, letting you have master control on how your device functions; update the OS, replace the firmware, overclock (or underclock) the processor, customize just about anything.
In the past rooting might be an easy “nut to crack” for Mr. tom Mr. dick, but certainly not for Mr. harry. The process was generally complicated and you might just end up in the ‘bricked’ zone with one miscalculated move. In this tutorial, I’m going to show you how to root/jailbreak any Android phone with just 1 click (or maybe 2).
Requirements:
– A healthy Windows PC (Windows XP, 7, 8 or higher).
– You must have Kingo Android Root software installed in your PC. If you don’t have the software, you can download a copy here.
– Your device must be properly charged.
Compatibility Check Up
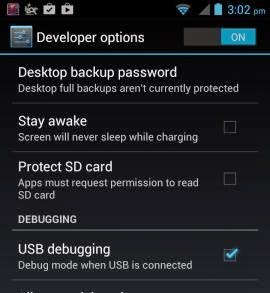
Enable USB Debugging
- GOTO Settings.
- Navigate to Developer Options
- Tick the box just beside “USB debugging.” (You may need to switch “Developer options” to On before you can do so.)

Follow this steps if your device is running on Android 4.2 and later:
- GOTO Settings
- Navigate to About Phone
- Enter Developer Options
- Tick the box next to “USB debugging“.
- Then Click OK to save your changes.
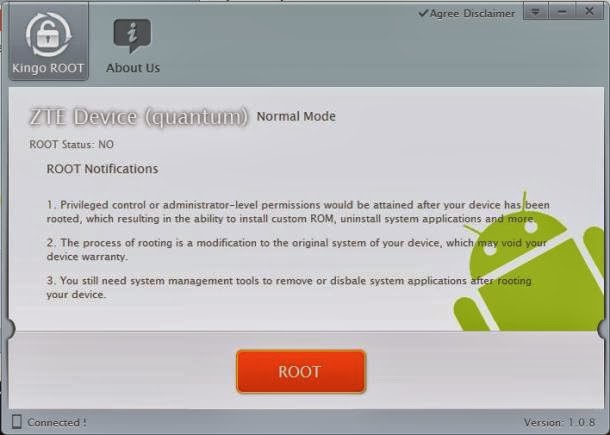
Run Kingo Android Root Software
