After a great success of my previous article about setting background images to the USB drives, here comes another USB related tutorial which I am sure many would love to try.
So many times we encounter a situation when data once deleted from a USB drives cannot be recovered back simply because the deleted data does not move into the Recycle Bin instead it is deleted permanently.
But don’t worry I got a solution to this problem. If we can mount our USBs to a windows folder then not only all deleted data can be recovered easily but also it will be lot easy to organize multiple USB drives.
Just follow the simple steps described below:-
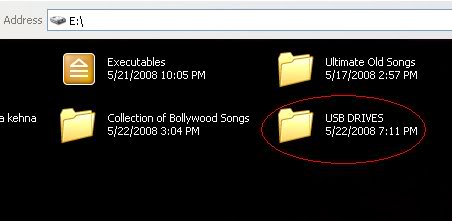
- Create a folder named “USB DRIVES” in any of windows partition (Desktop is the best option).

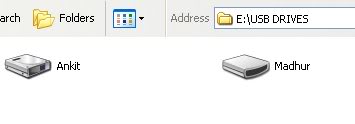
1.) Next create any number of subfolders inside the main folder “USB DRIVES” and give them proper names. Suppose you want to mount two of your USB drives, so it advisable to create two subfolders with the exact name of your USB drives.
3.) Press Win+R to open the Run window or alternatively go to Start->Run.
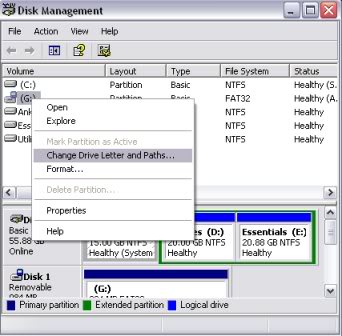
4.) Type in the location field diskmgmt.msc and hit enter to open Disk Management.

5.) Select your USB drive, right click on it and select Change Drive Letter and Paths… from the menu.
6.) Click on the Add button, select Mount into the following empty NTFS folder and click on browse. Now navigate to the subfolder that you want to assign the USB drive to and confirm the process.
That’s it you are done.

From now on, the USB drive will be accessible from the folder “USB DRIVES” as well when it is connected to the computer.
Hope you liked the tutorial. Any feedback is whole heartedly appreciated.
P.S. – When moving data around the mounted USB in folders setup will completely move the data, not copy it to your USB device. Make sure to copy and paste if you want source data to remain on your PC.
PLEASE LEAVE YOUR COMMENTS…………